Hexapod Spider Bot - Raspberry Pi + Arduino + Astropi + Video + OpenCV
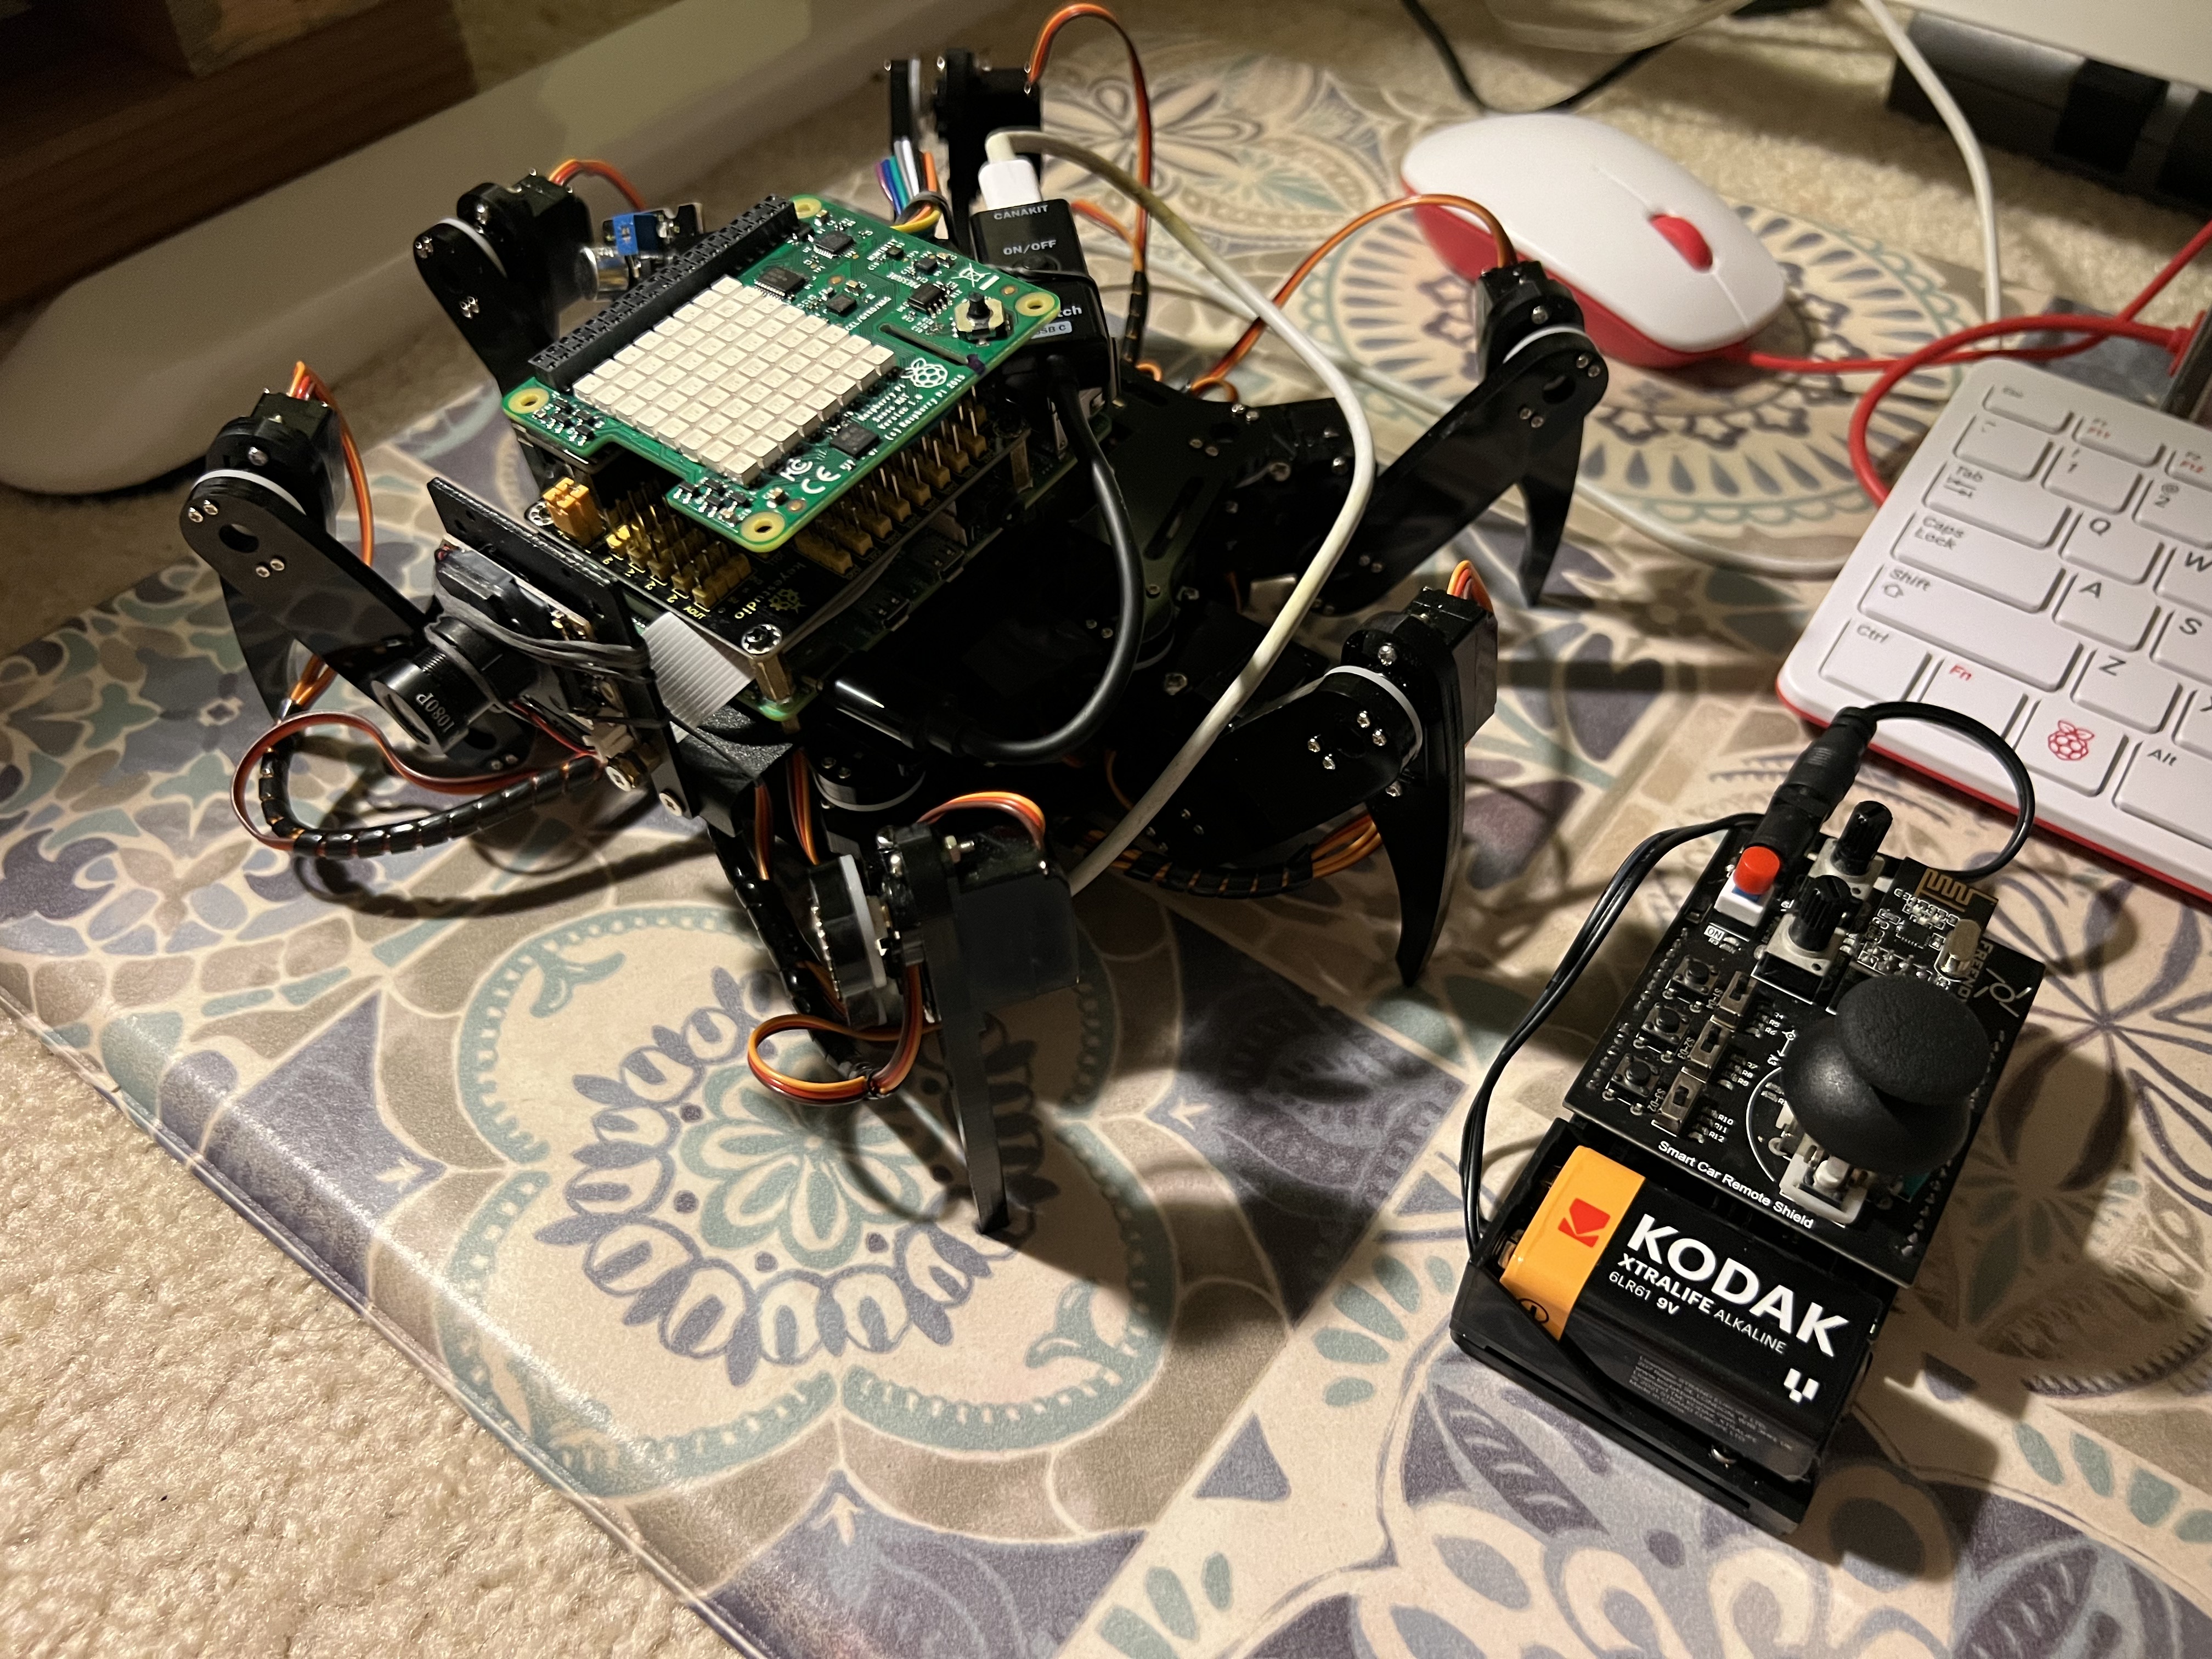
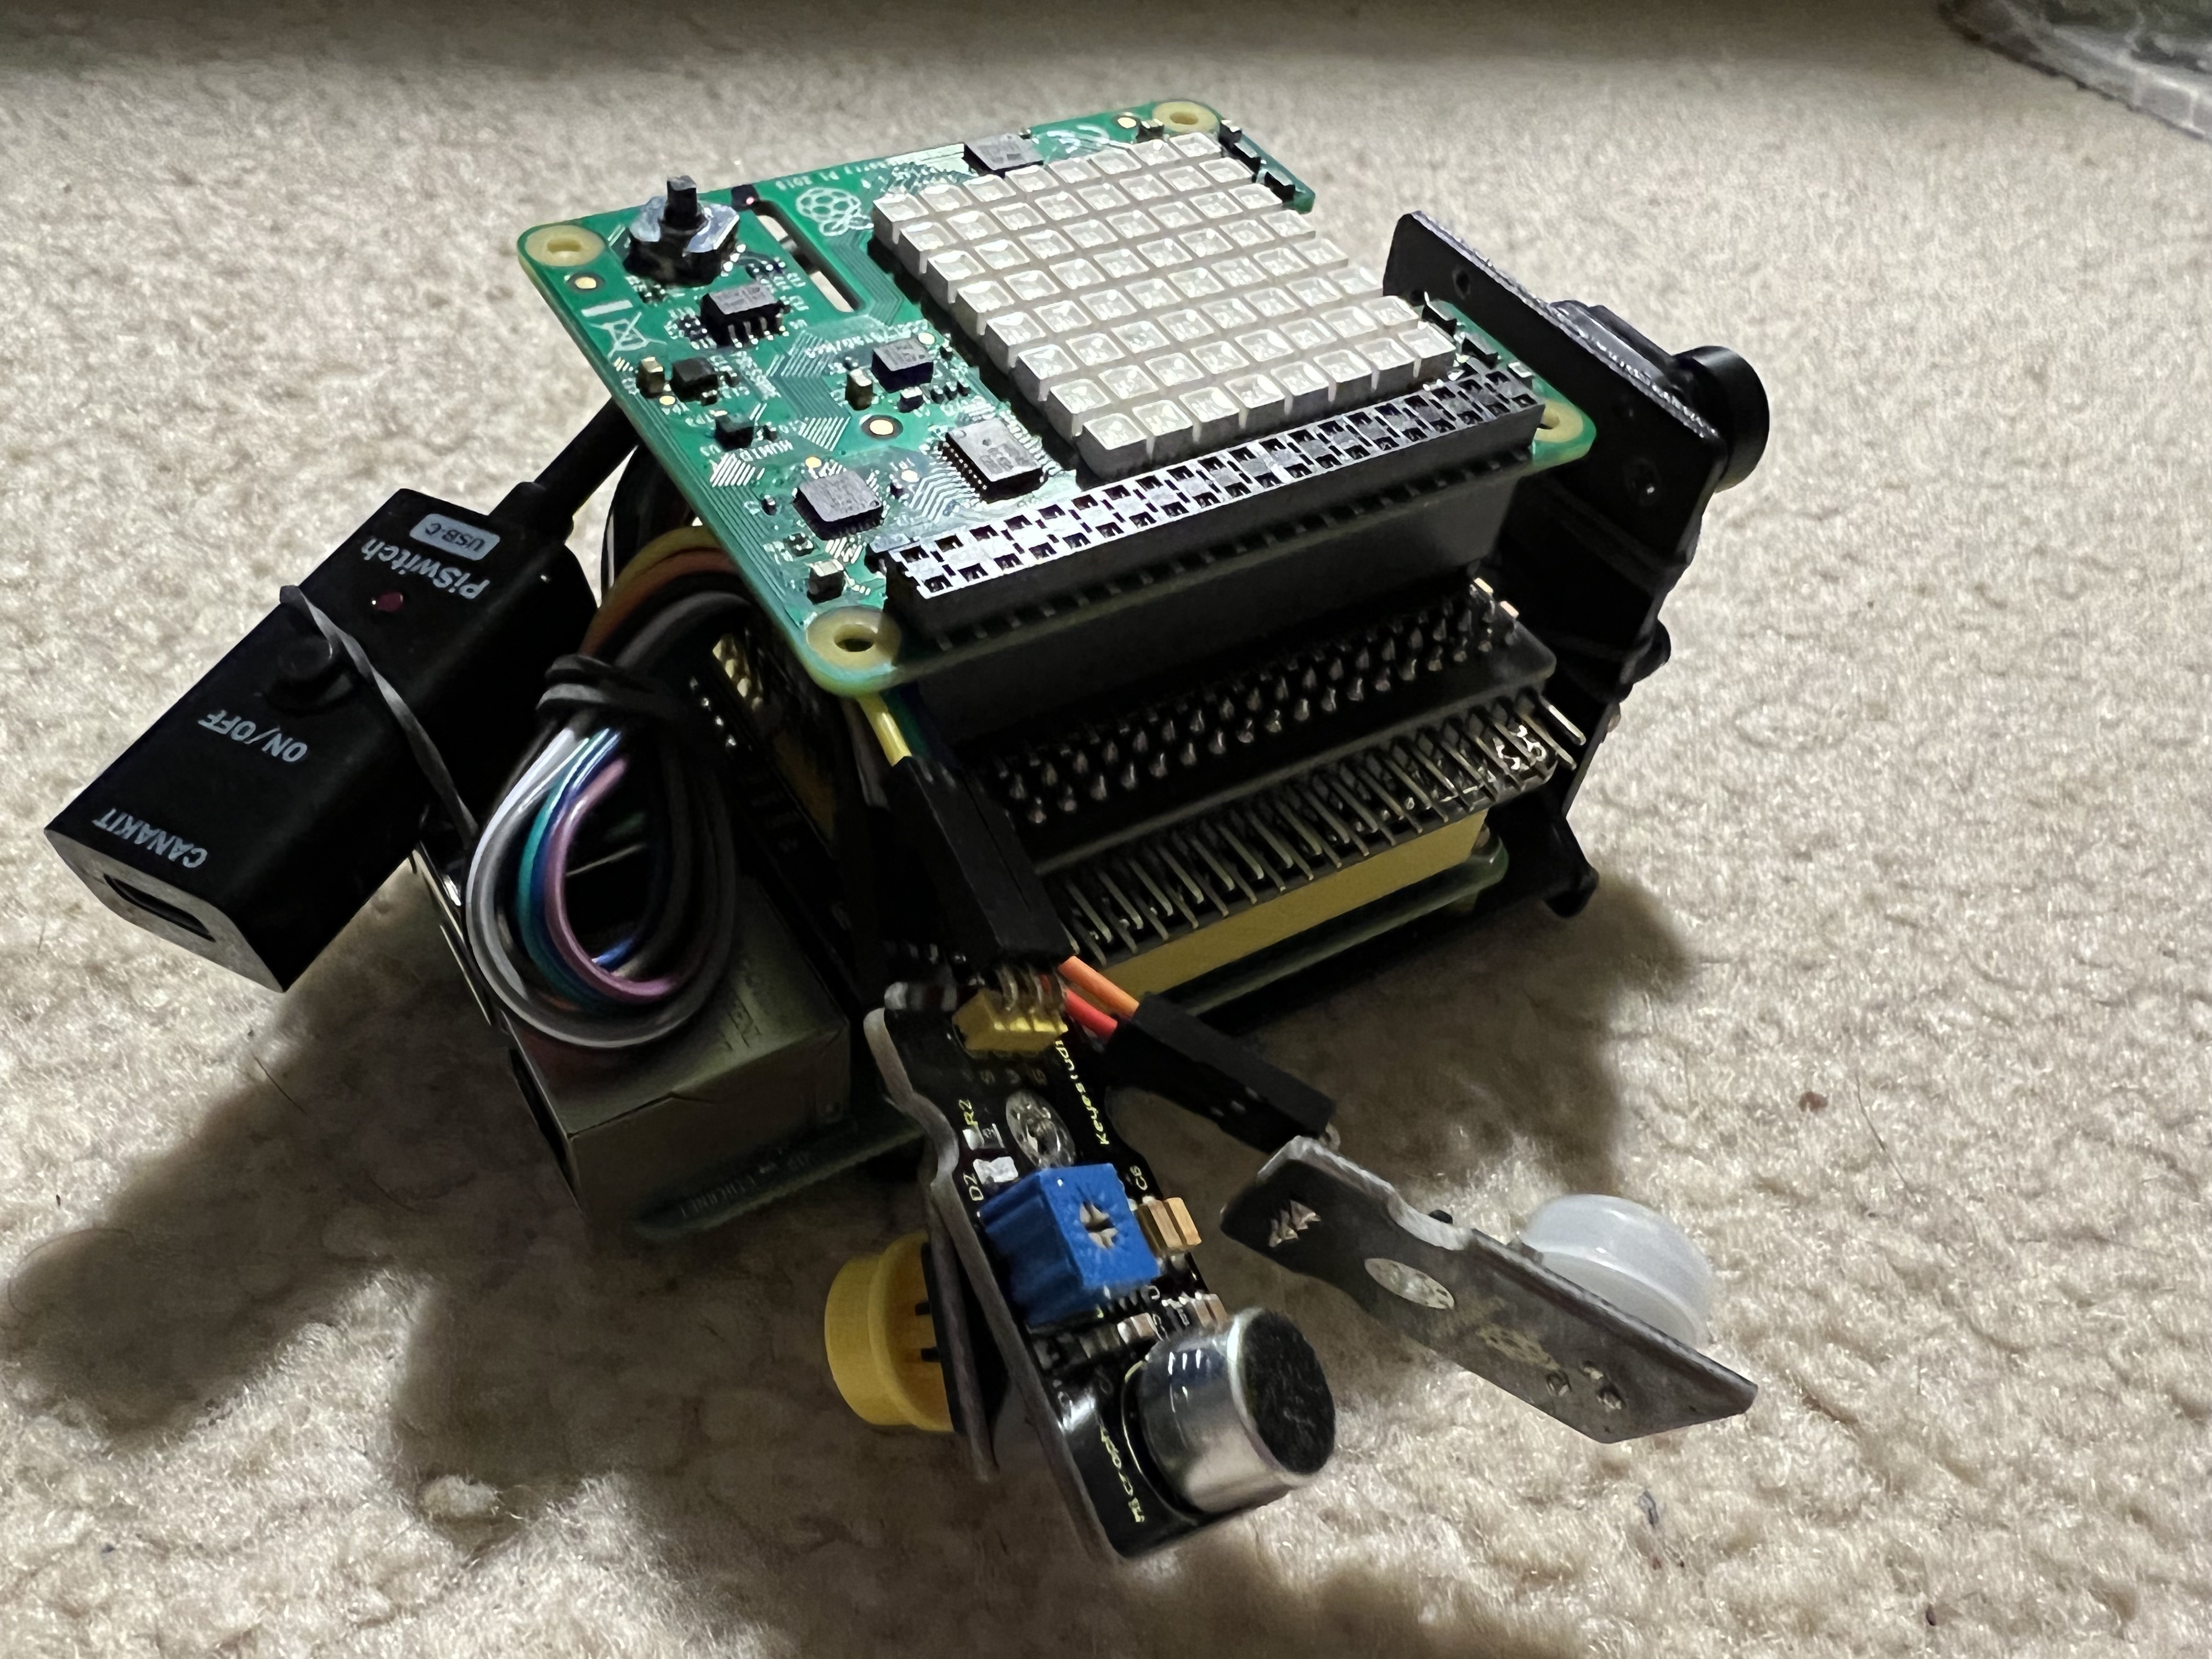
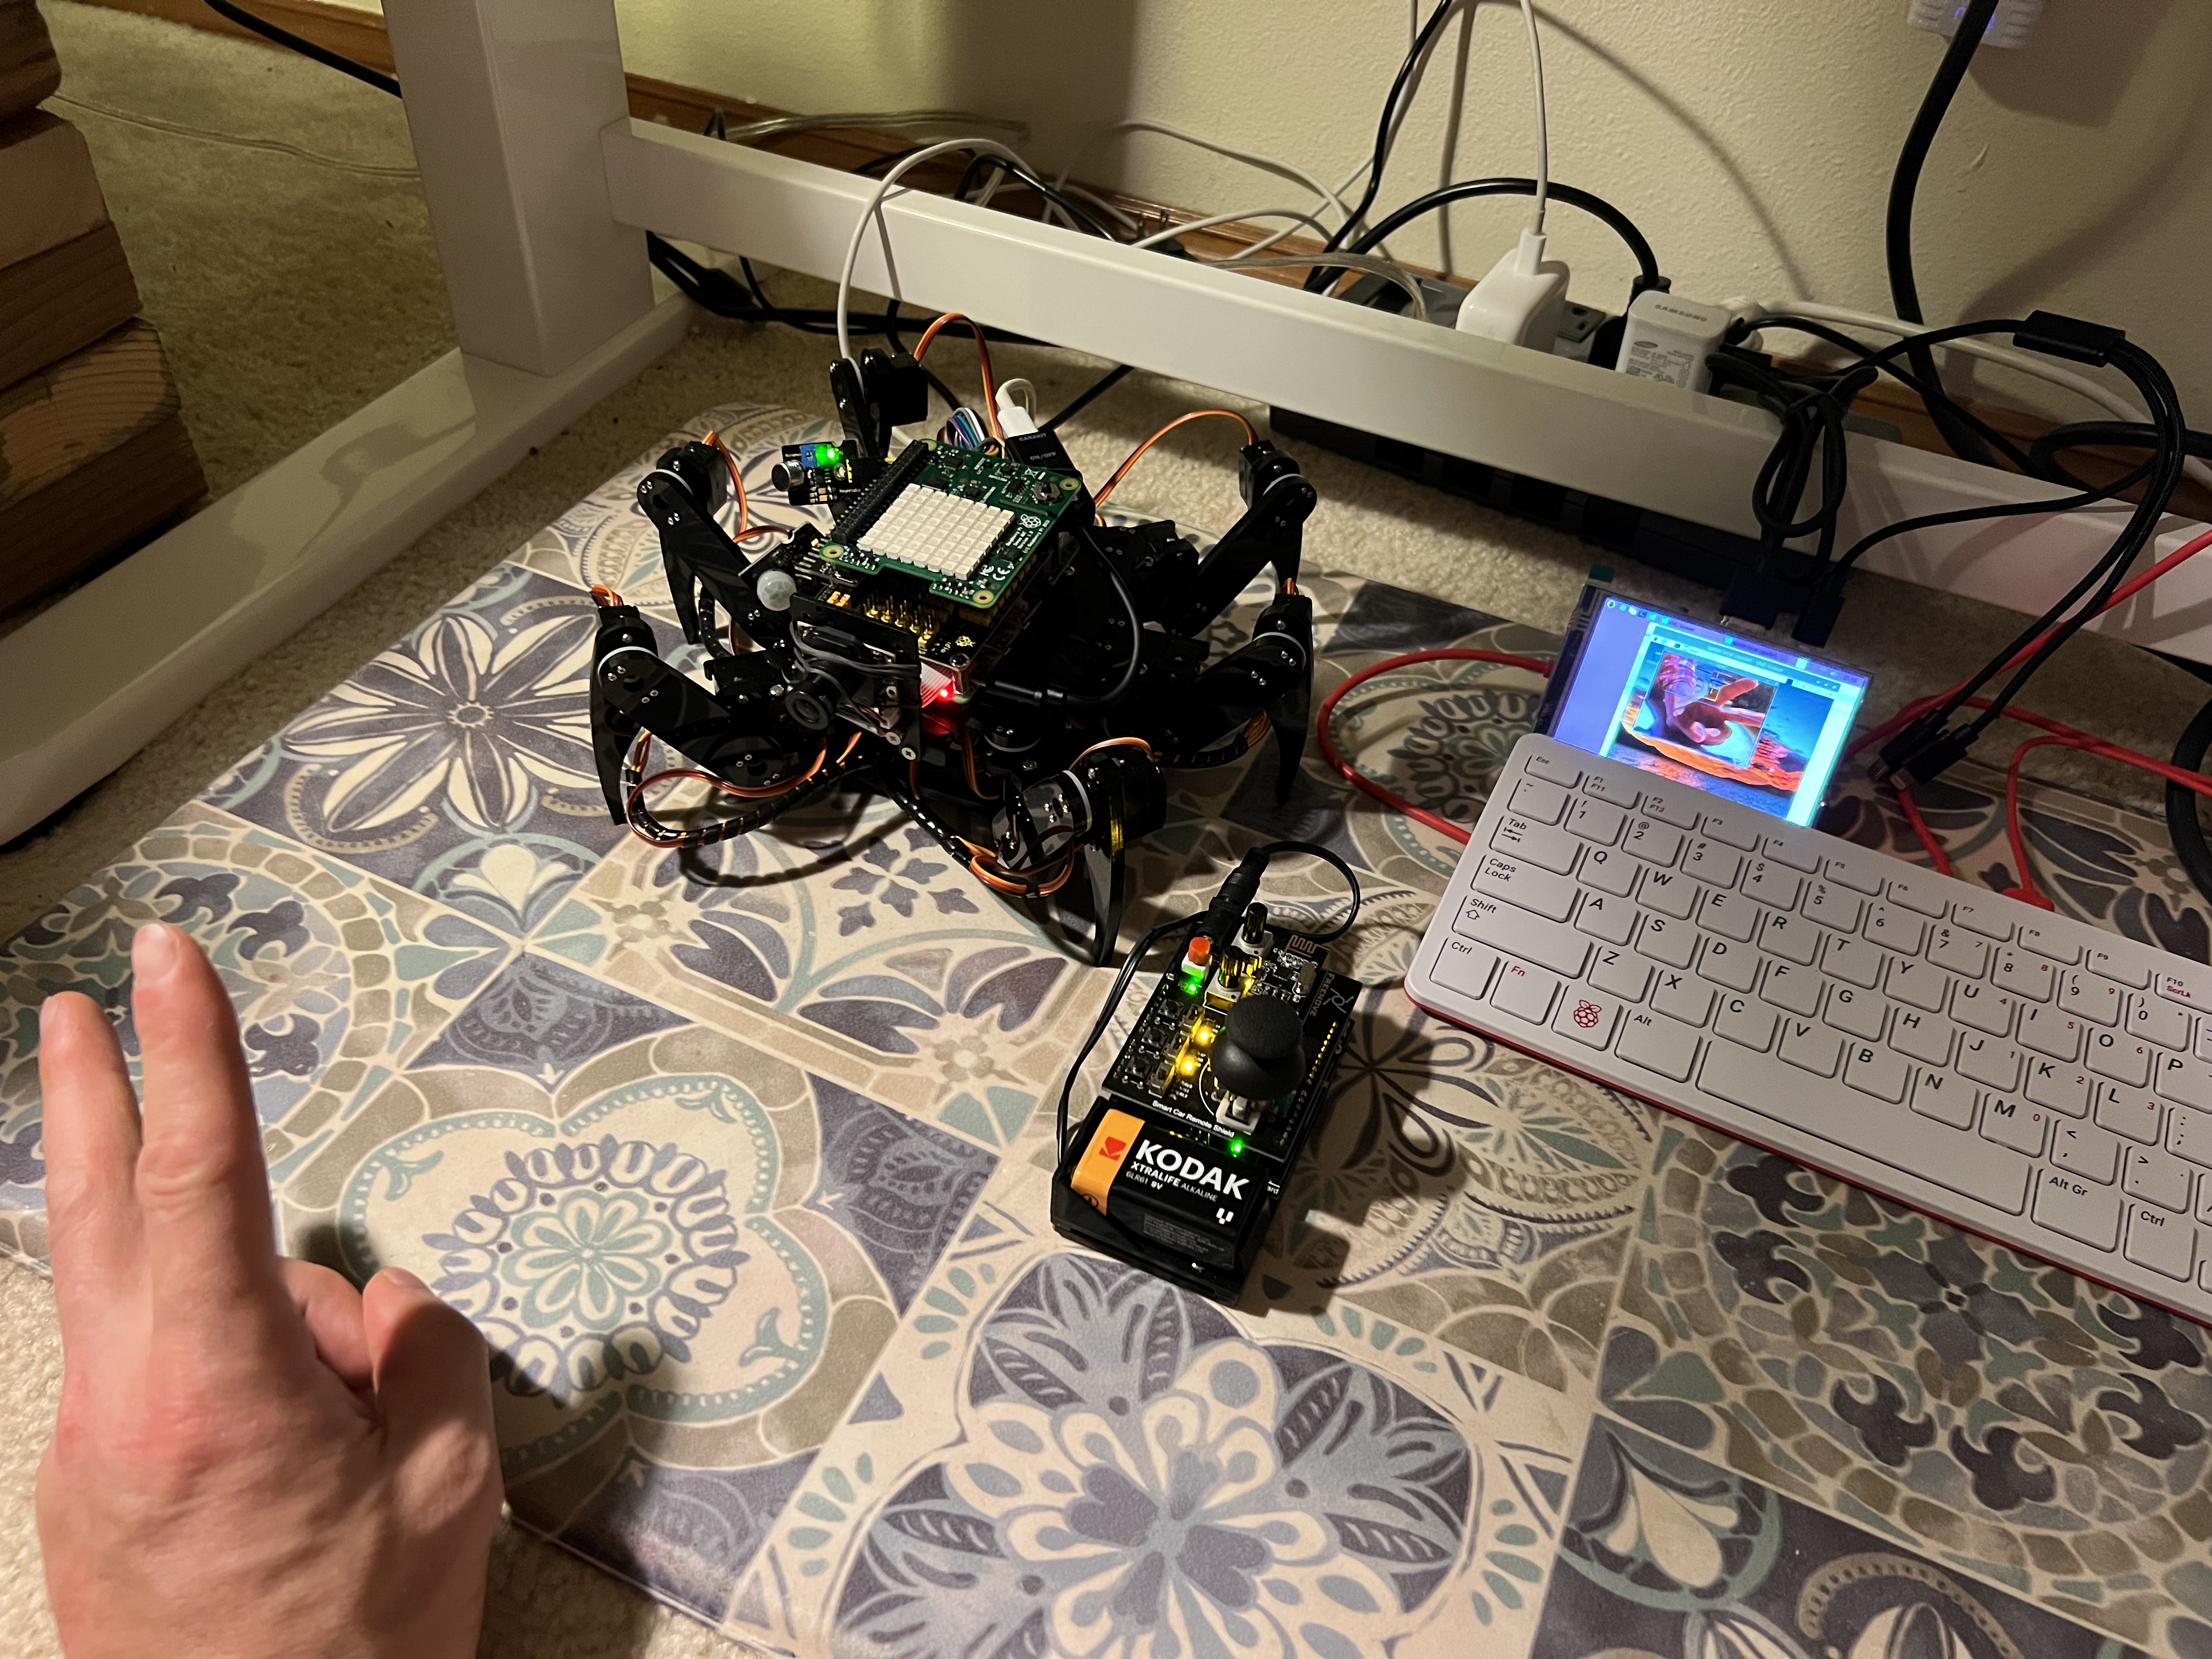 Finished Hexapod Spider Bot equipped with Raspberry Pi 4, Camera, and Astro Pi.
Background
During High School I joined a program called "Odyssey of the Mind". Our group's project was to build a remote-controlled robot. Those were some humbling weeks. It quickly became clear that I had bit off more than I could chew, and I ultimately gave up. I had no idea where to source the parts, and the internet wasn't as robust as it is nowadays.
My next attempt at robotics would by in 2008 during my year of study abroad in Japan, an amazing country and where I made many life-long friends. I spent my second semester learning about neural networks and robotics.
- ✅ The robot project was successful and I could control it via code.
- ✅ The neural network "research" was also successful and I learned alot.
- ❌ However, I did not at integrate the two; a larger task. :)
For my first robotics project in 15 years, I decided to purchase a "FREENOVE Hexapod Robot Kit with Remote" on Amazon for a very reasonable $129 USD. Freenove's customer support is also friendly and fast.
Features
- Remote Control via RF24 using Arduino + Sketch
- Walk, bend, and rotate in all directions
- Mounted Raspberry Pi4 (Now battery powered)
- Daytime/Nighttime camera mounted on front with virtual display
- Face/object detection via OpenCV
- Astro Pi HAT (temperature, humidity, accelerometer, air pressure, and more)
- KEYESTUDIO GPIO Breakout Board + 37 Sensor Kit (Flashlight / Infrared Sensor)
Code & Resources on GitHub
* For Hexapod code, I recommend downloading the latest sources from FREENODE directly.
Video Demo
A video demonstrating remote-control walking + camera w/face detection.
The Build
The build is broken into three phases:
- Build the Hexapod Base + Remote Control
- Build and mount the Raspberry Pi "Brain"
- Configure Camera + Live Video Stream w/OpenCV
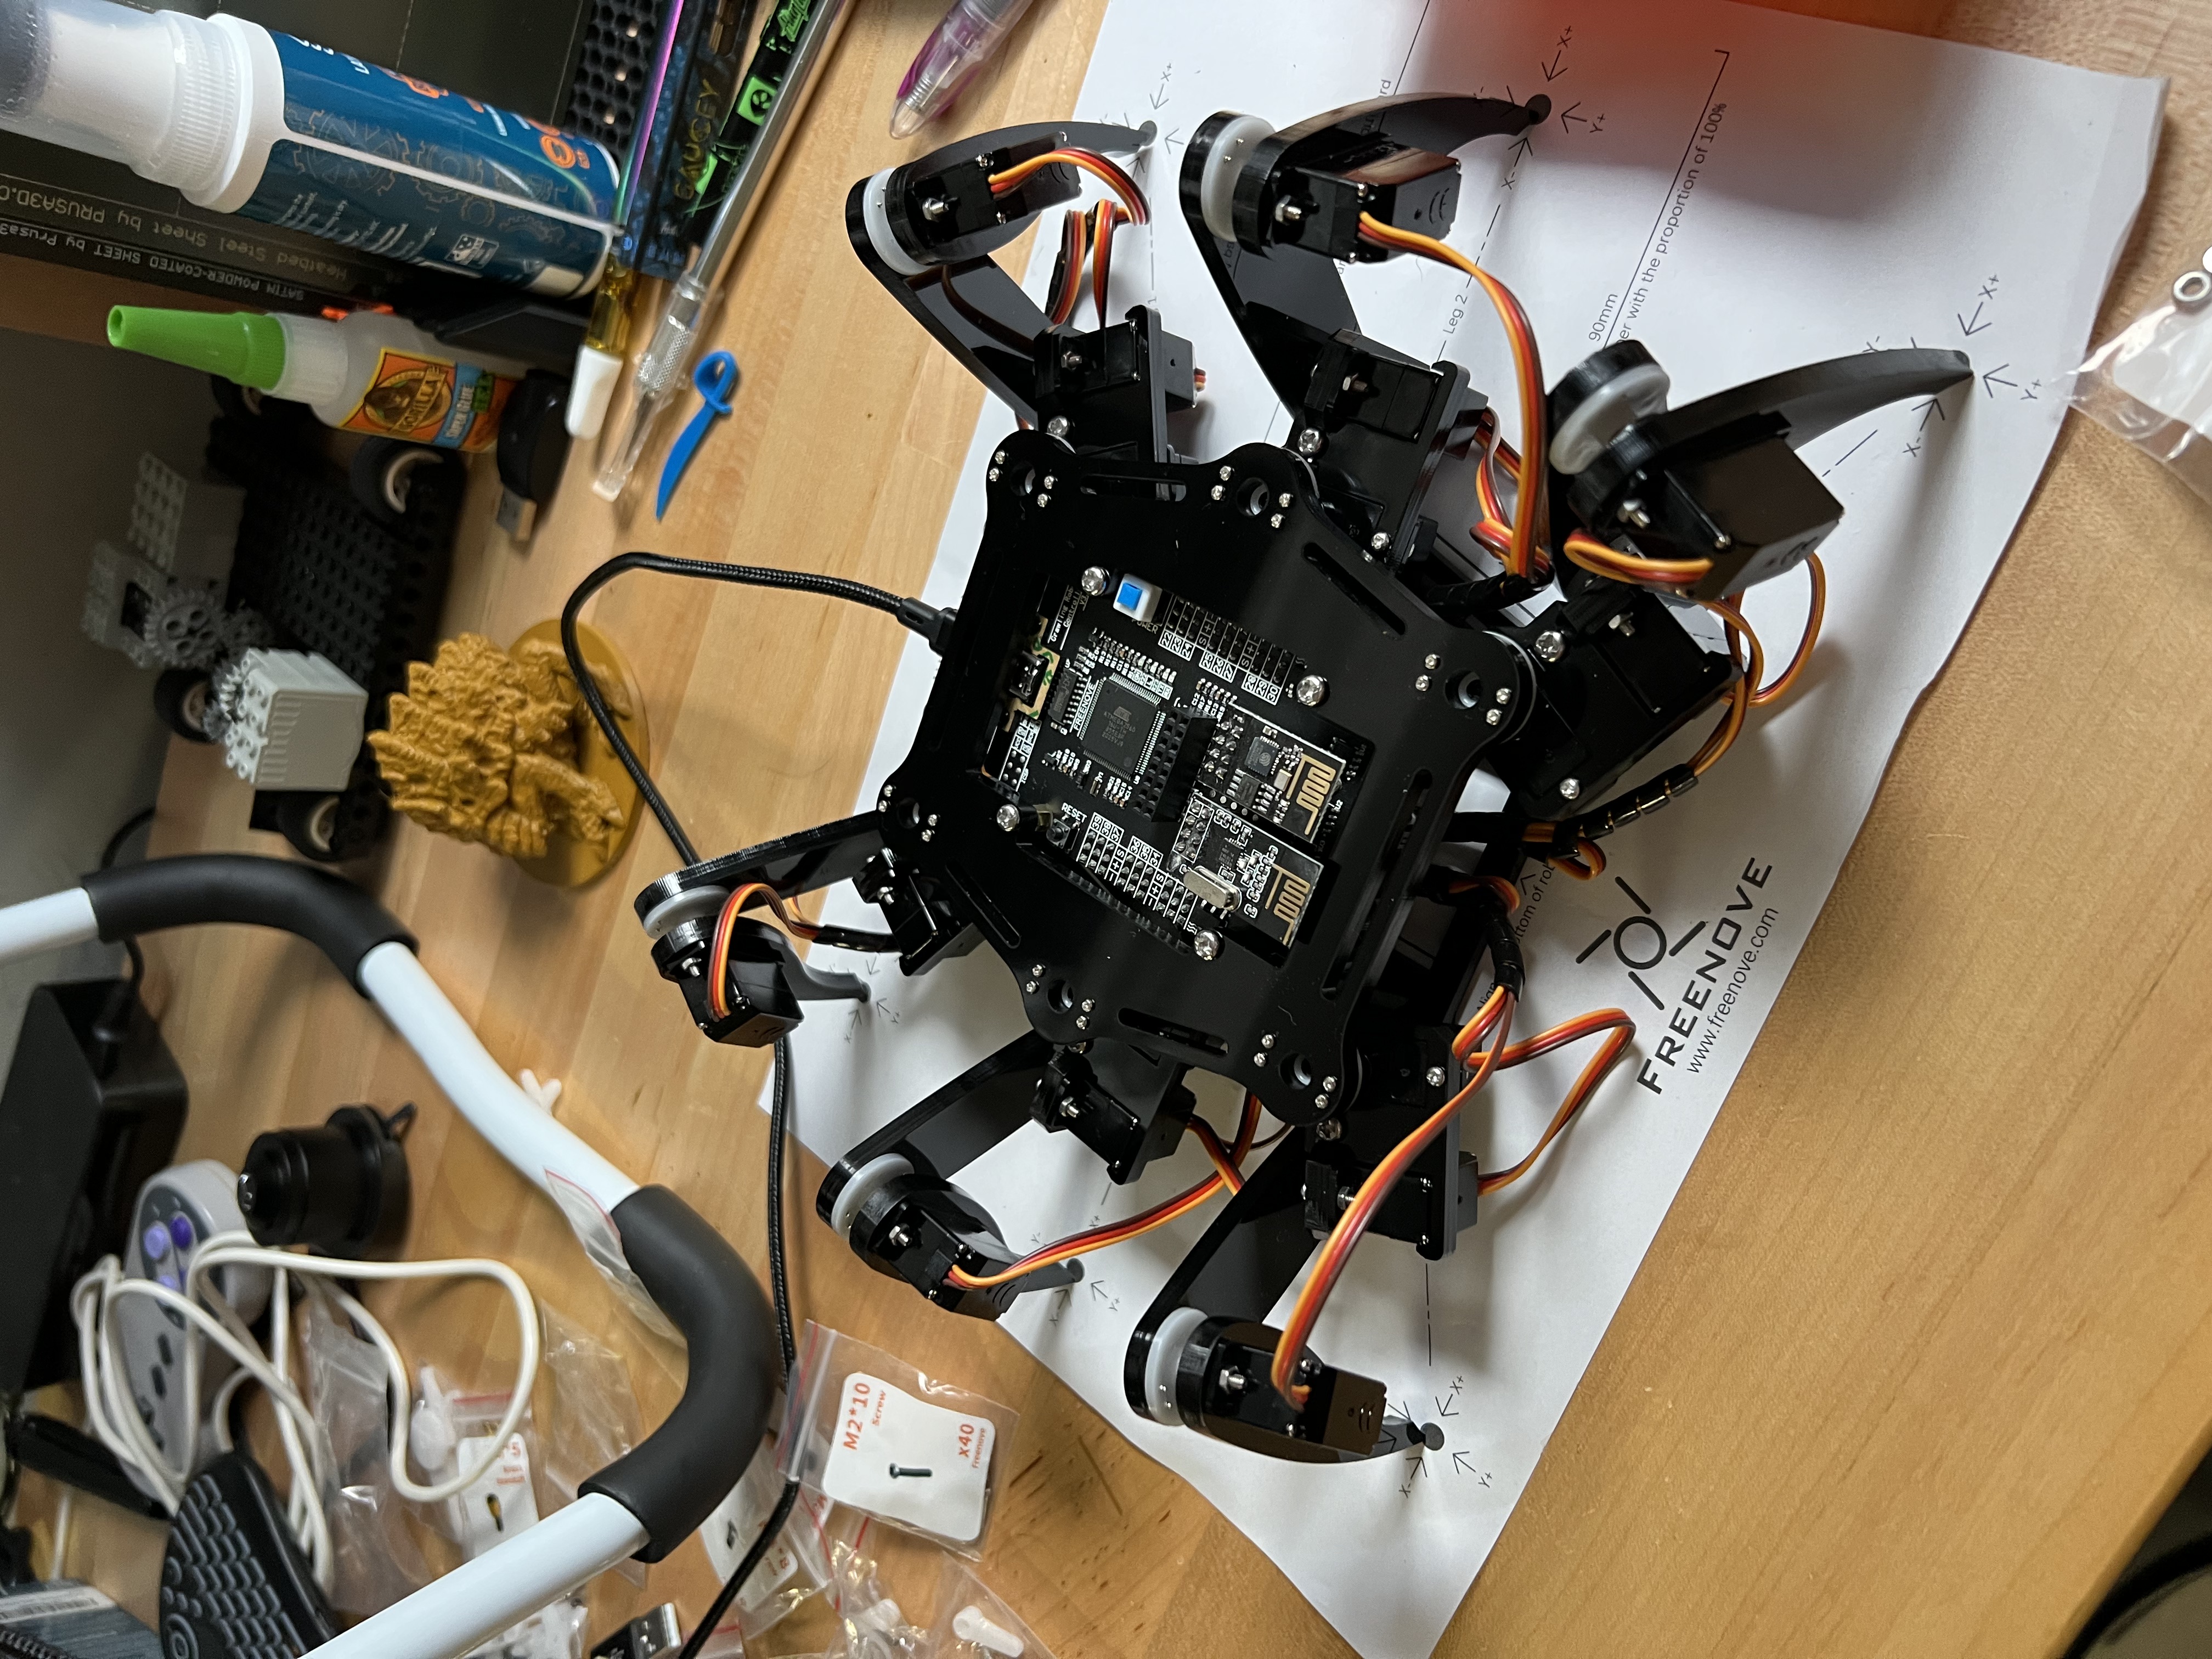
Hexapod Base Build
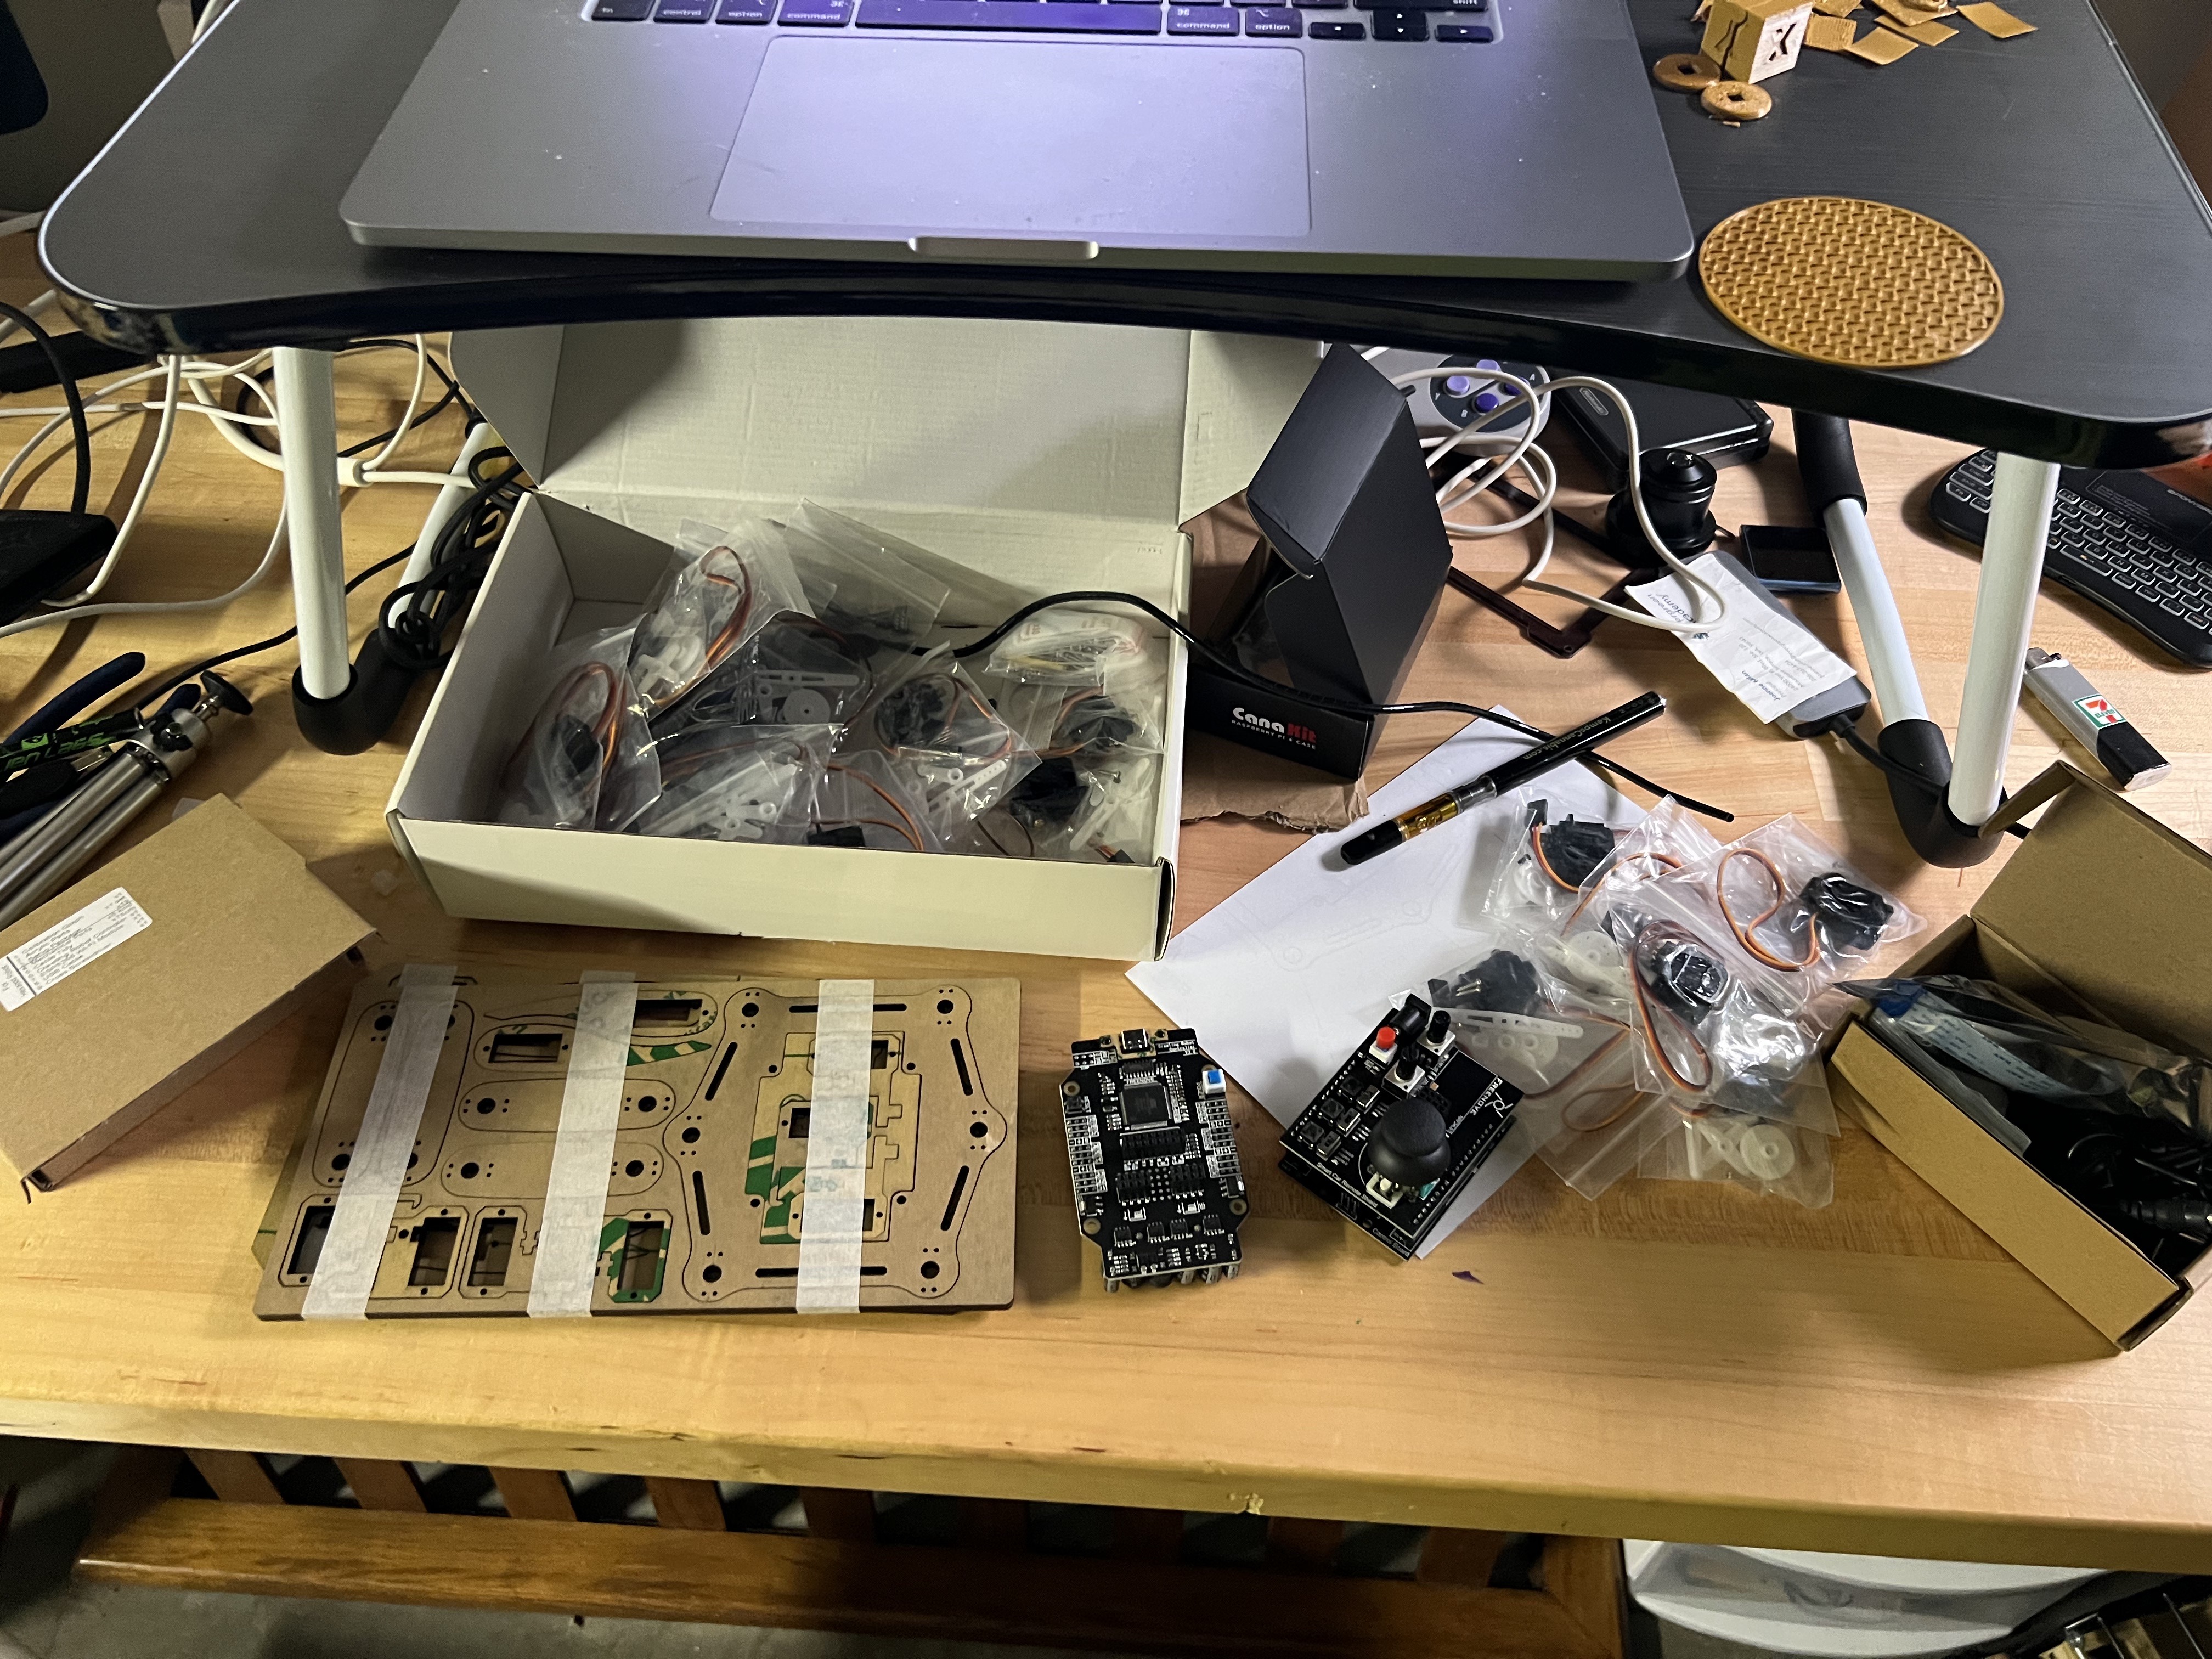
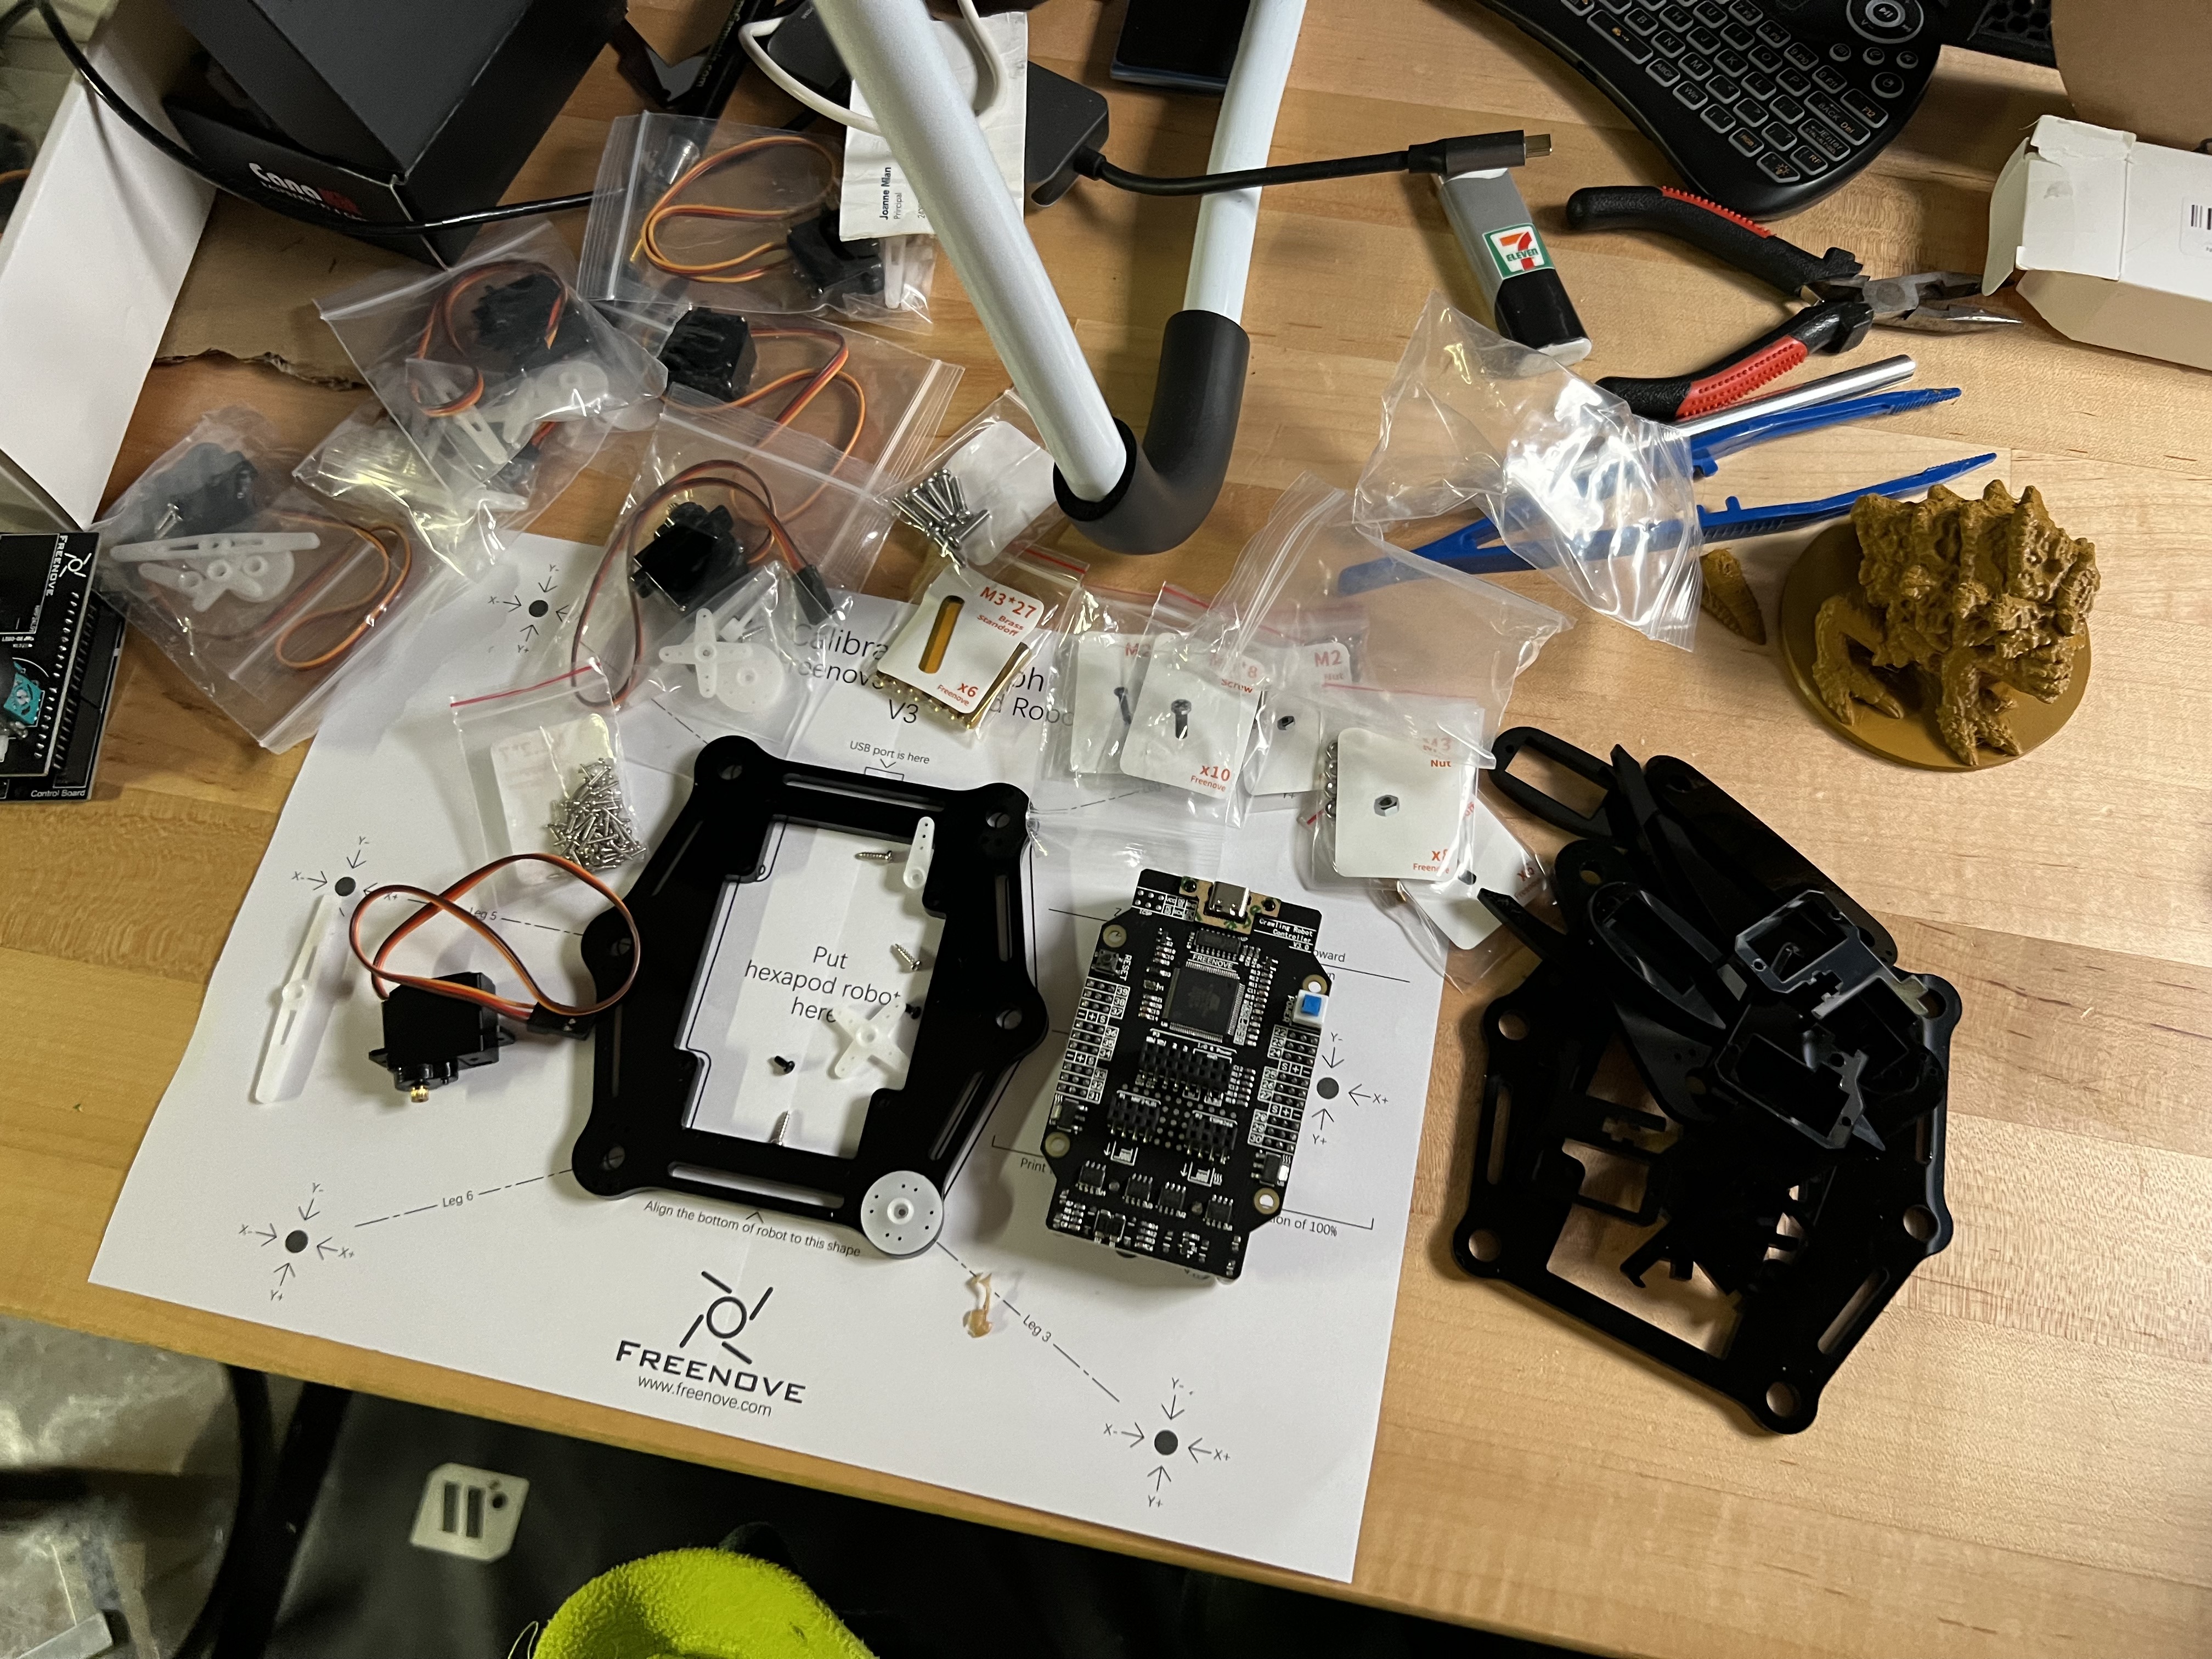
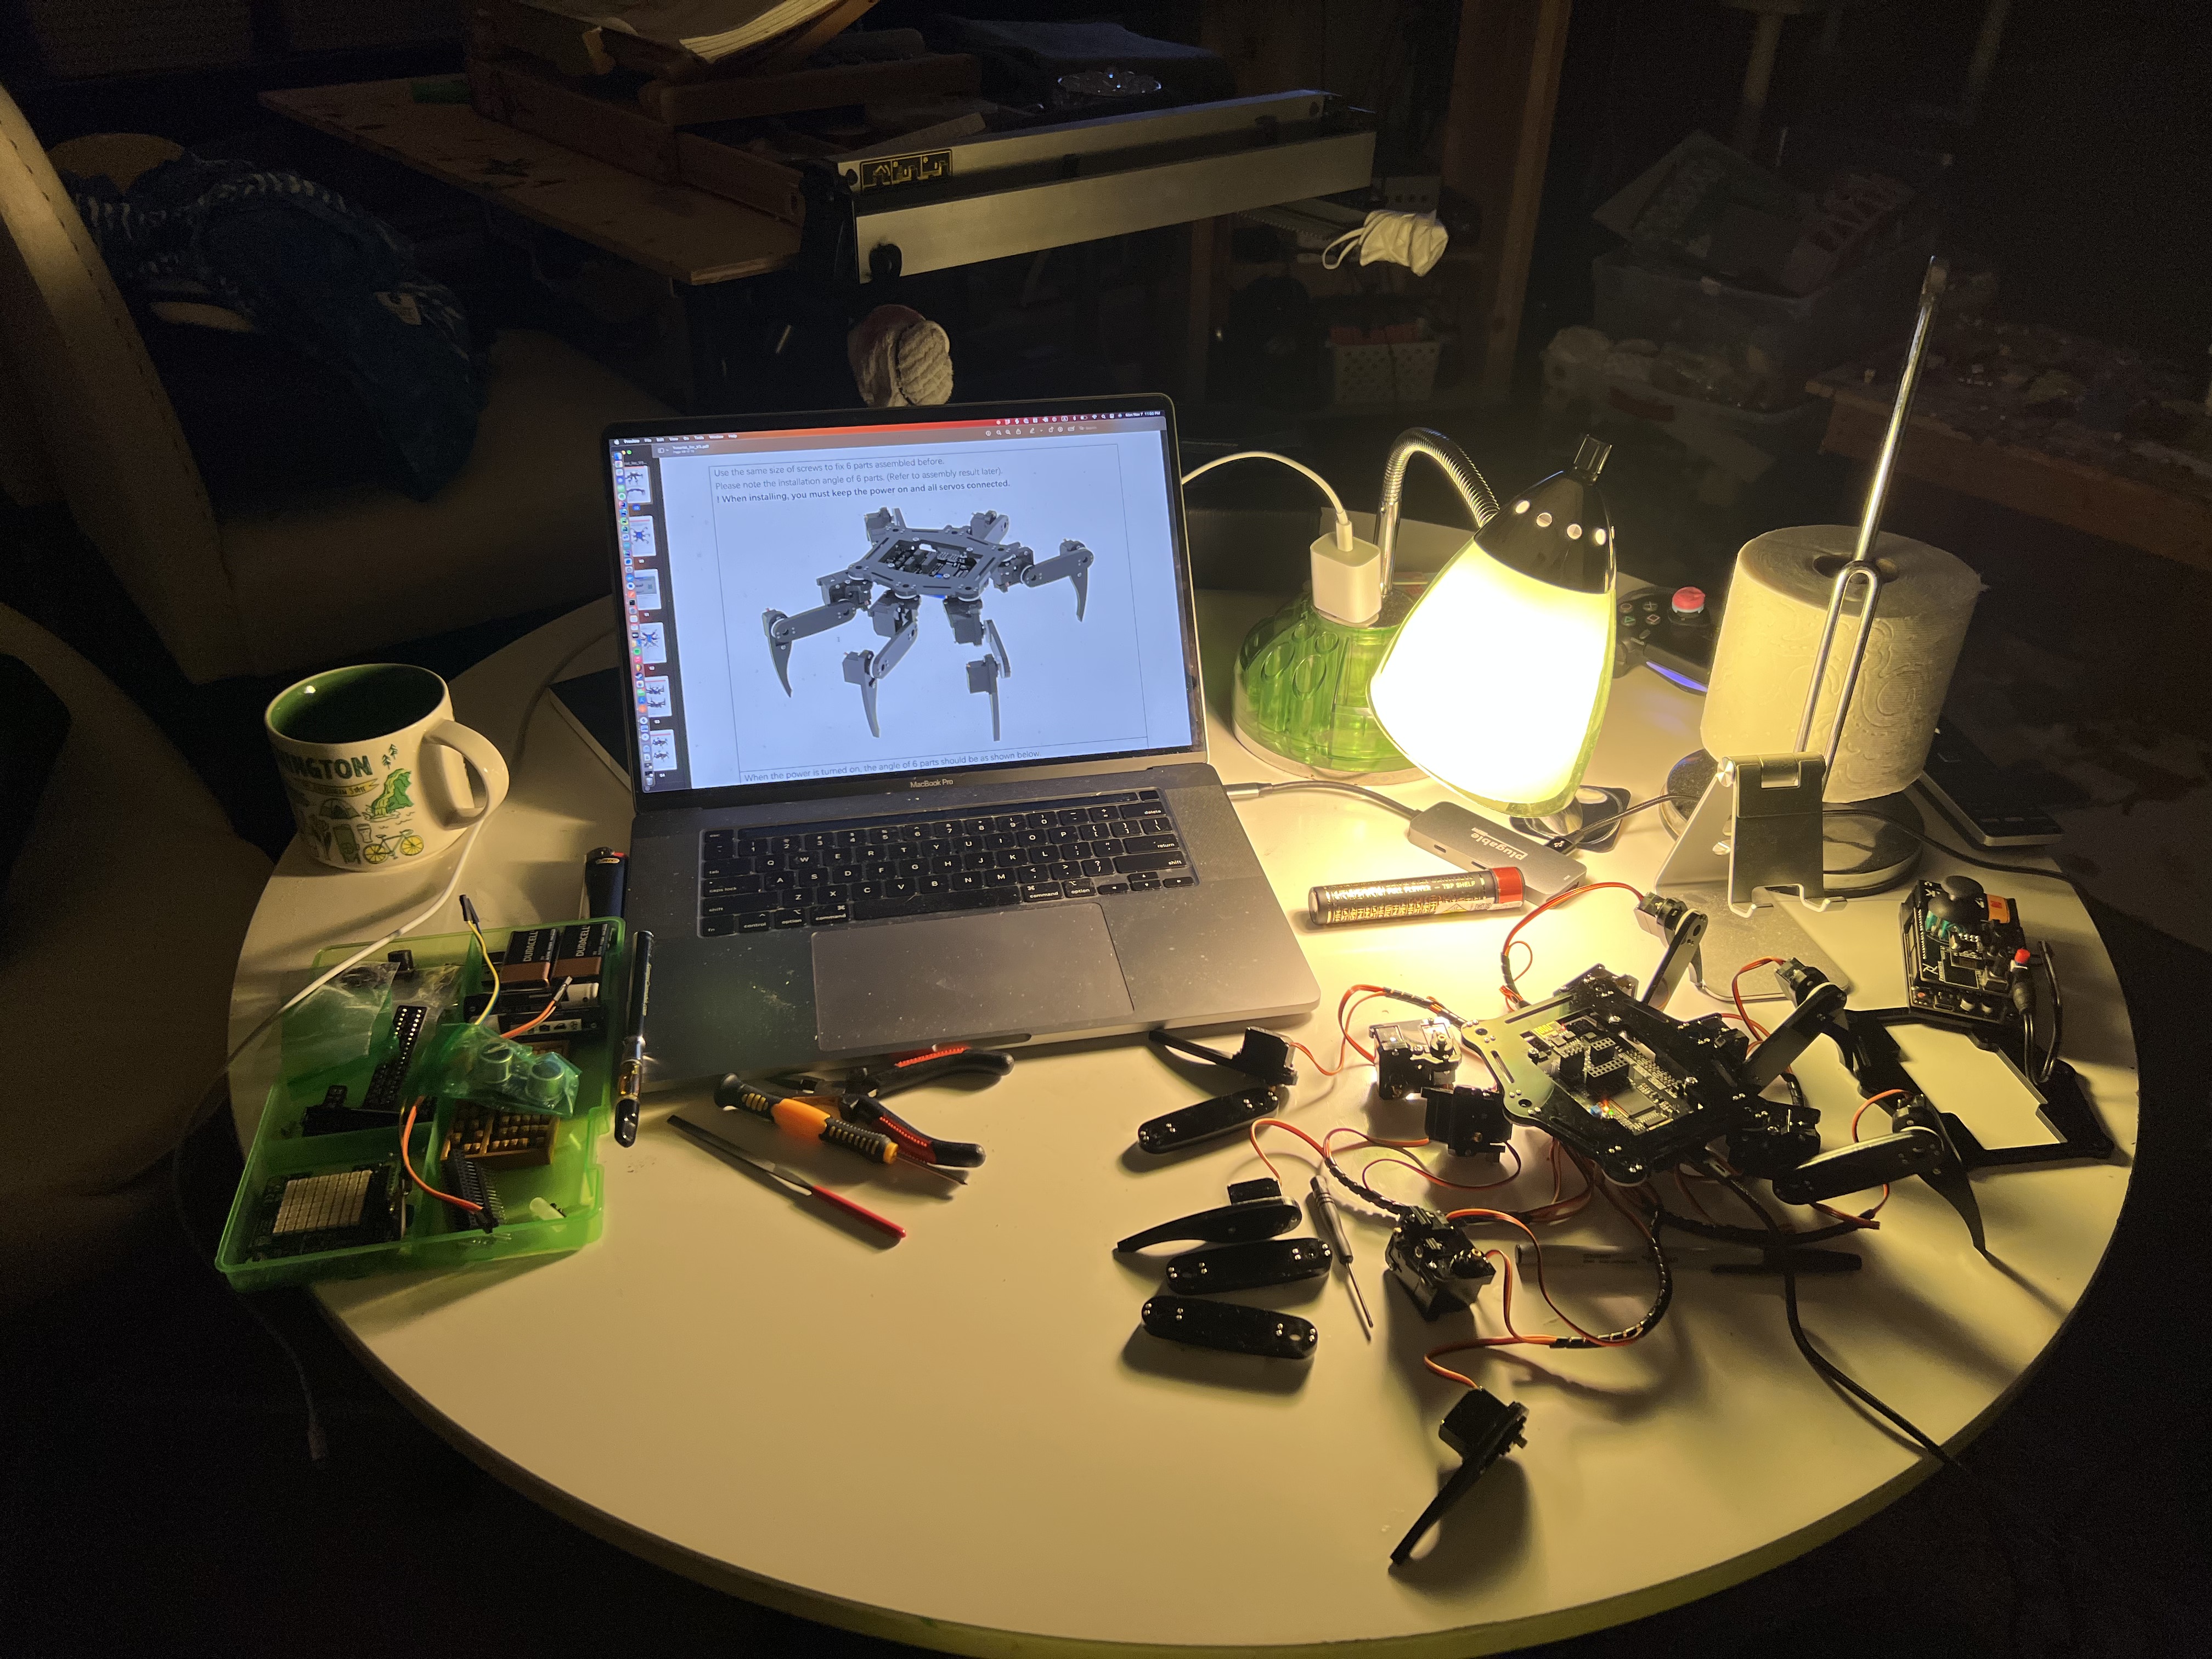
Before assembly, I examined each piece and read through a couple tutorials + instructions to gain some familiarity.
My first thought was that I was impressed with the quality of the acrylic pieces.
Some late night Netflixing & leg assembly.
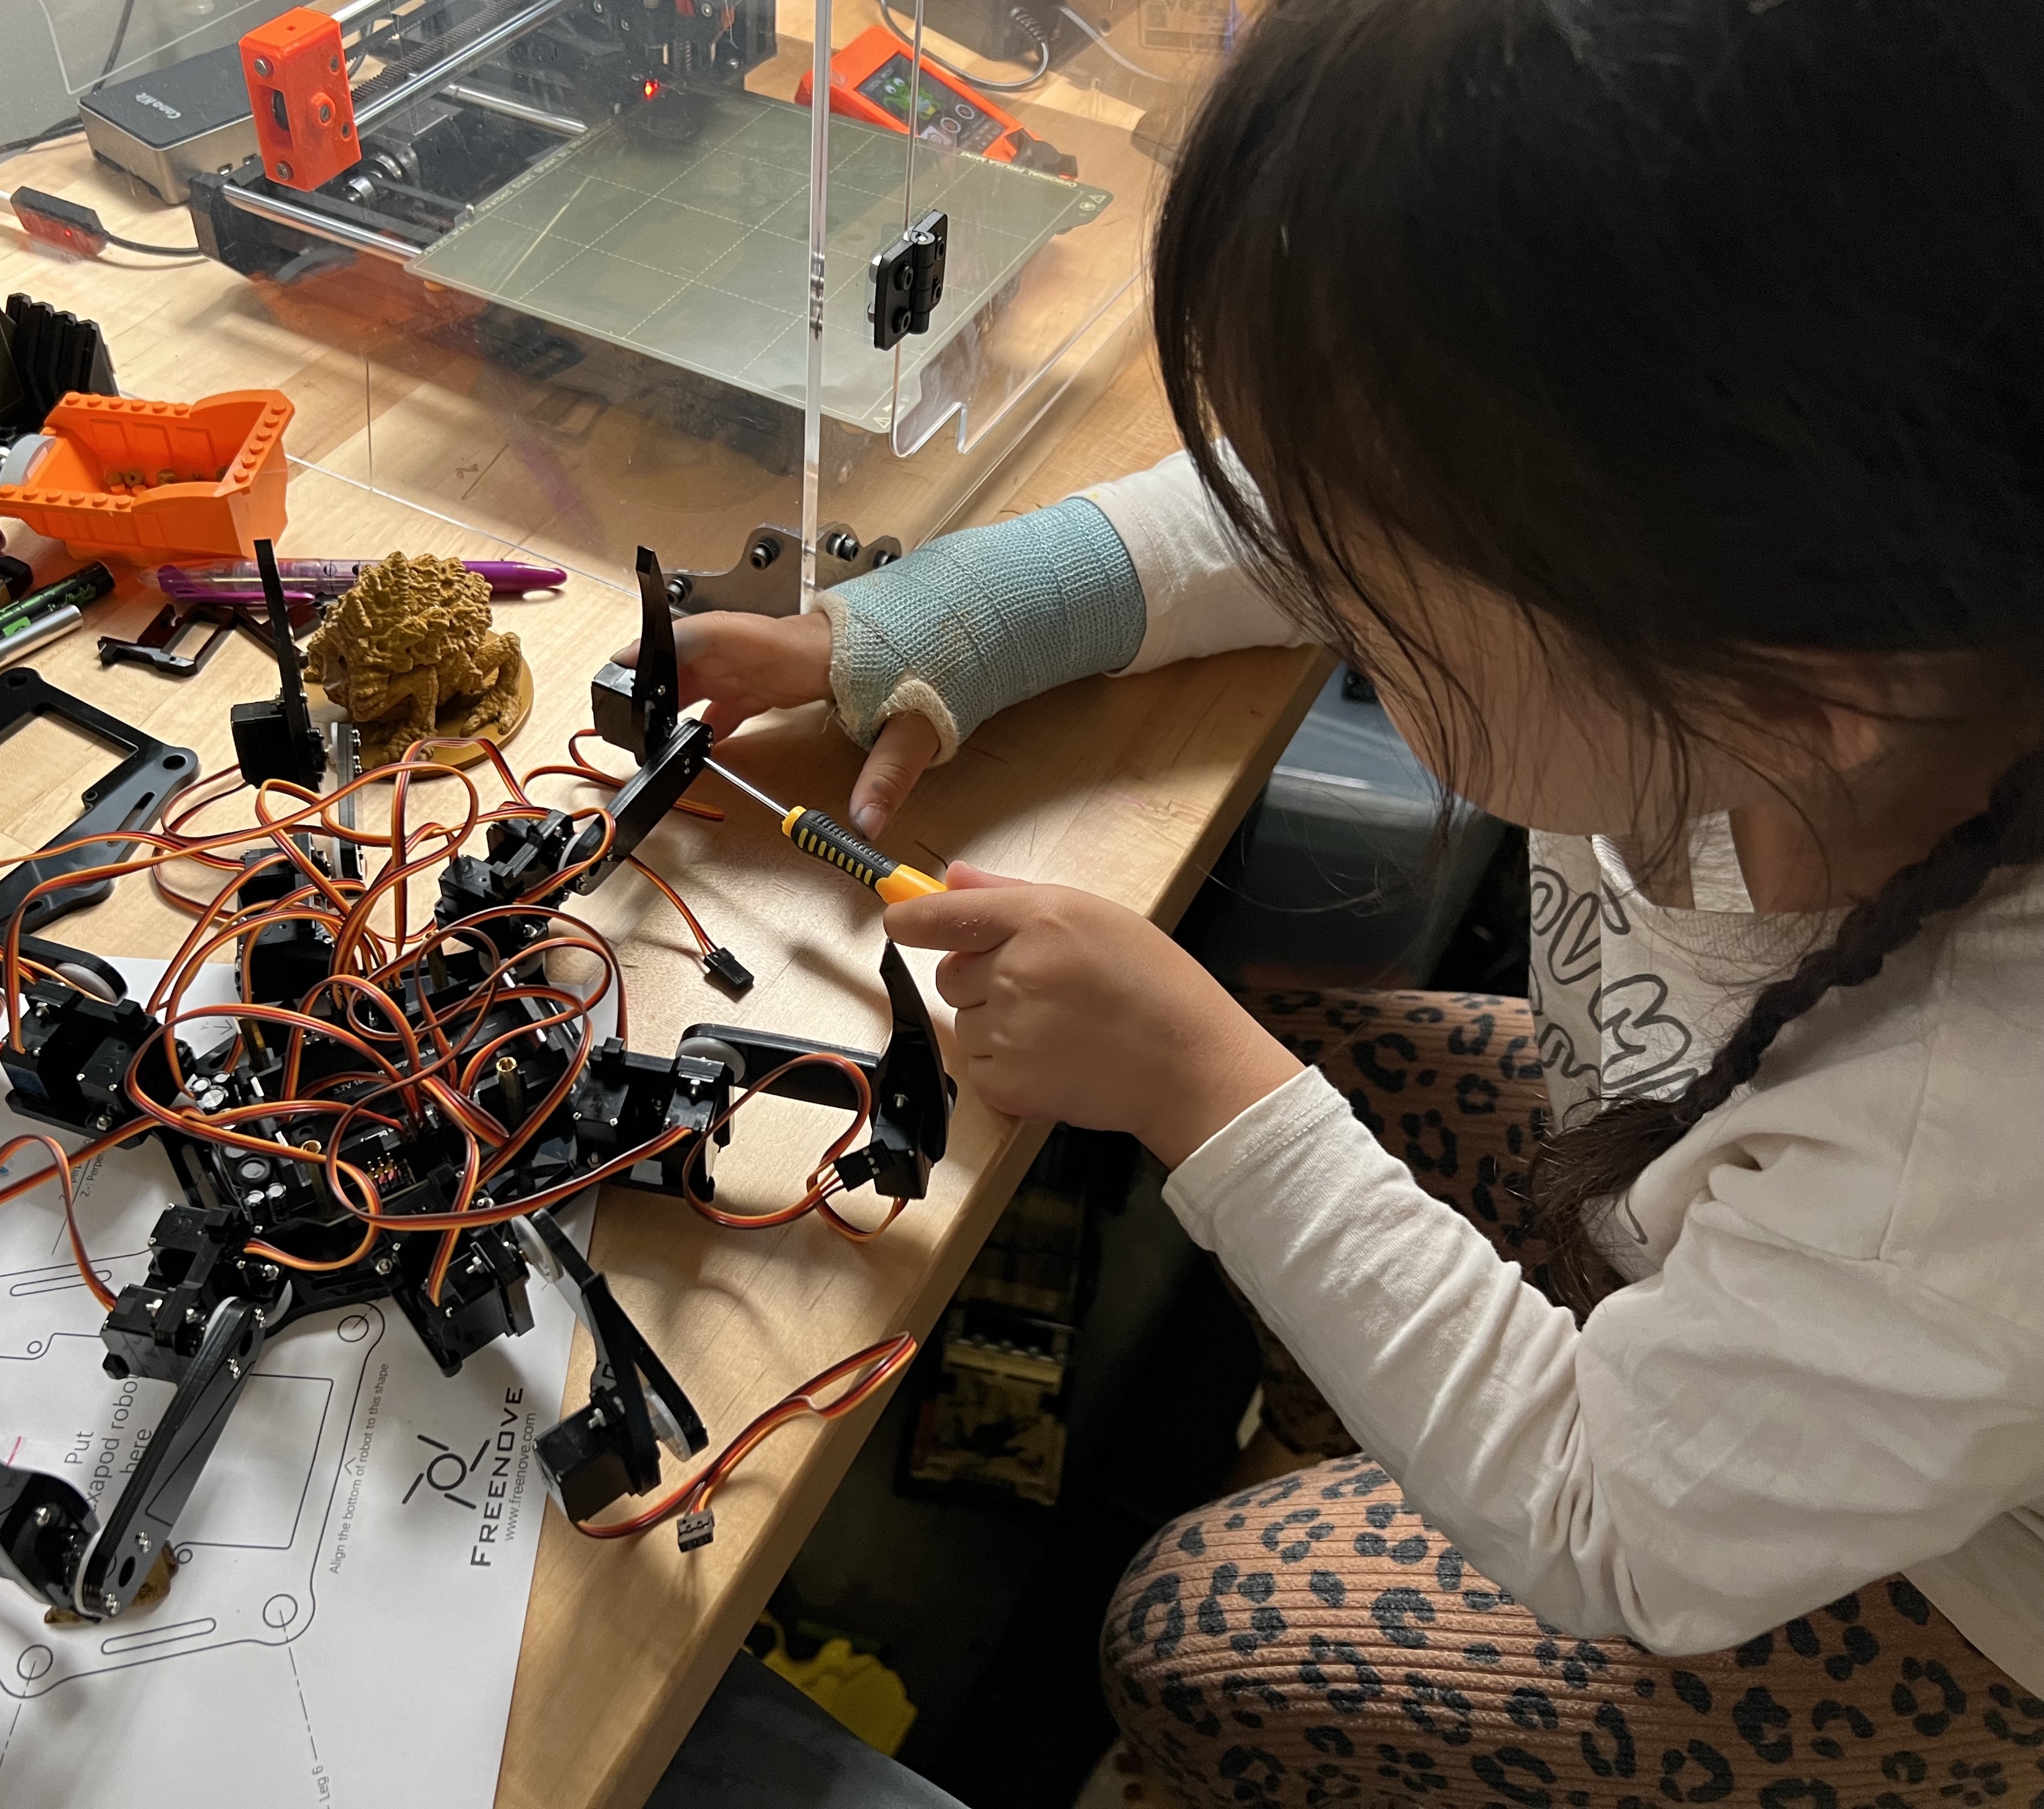
With some help of course. :)
I recommend paying particularly close attention when you are hooking up the leg wires to the Arduino board. It's very easy to mess up, and you may not know until you begin calibration.

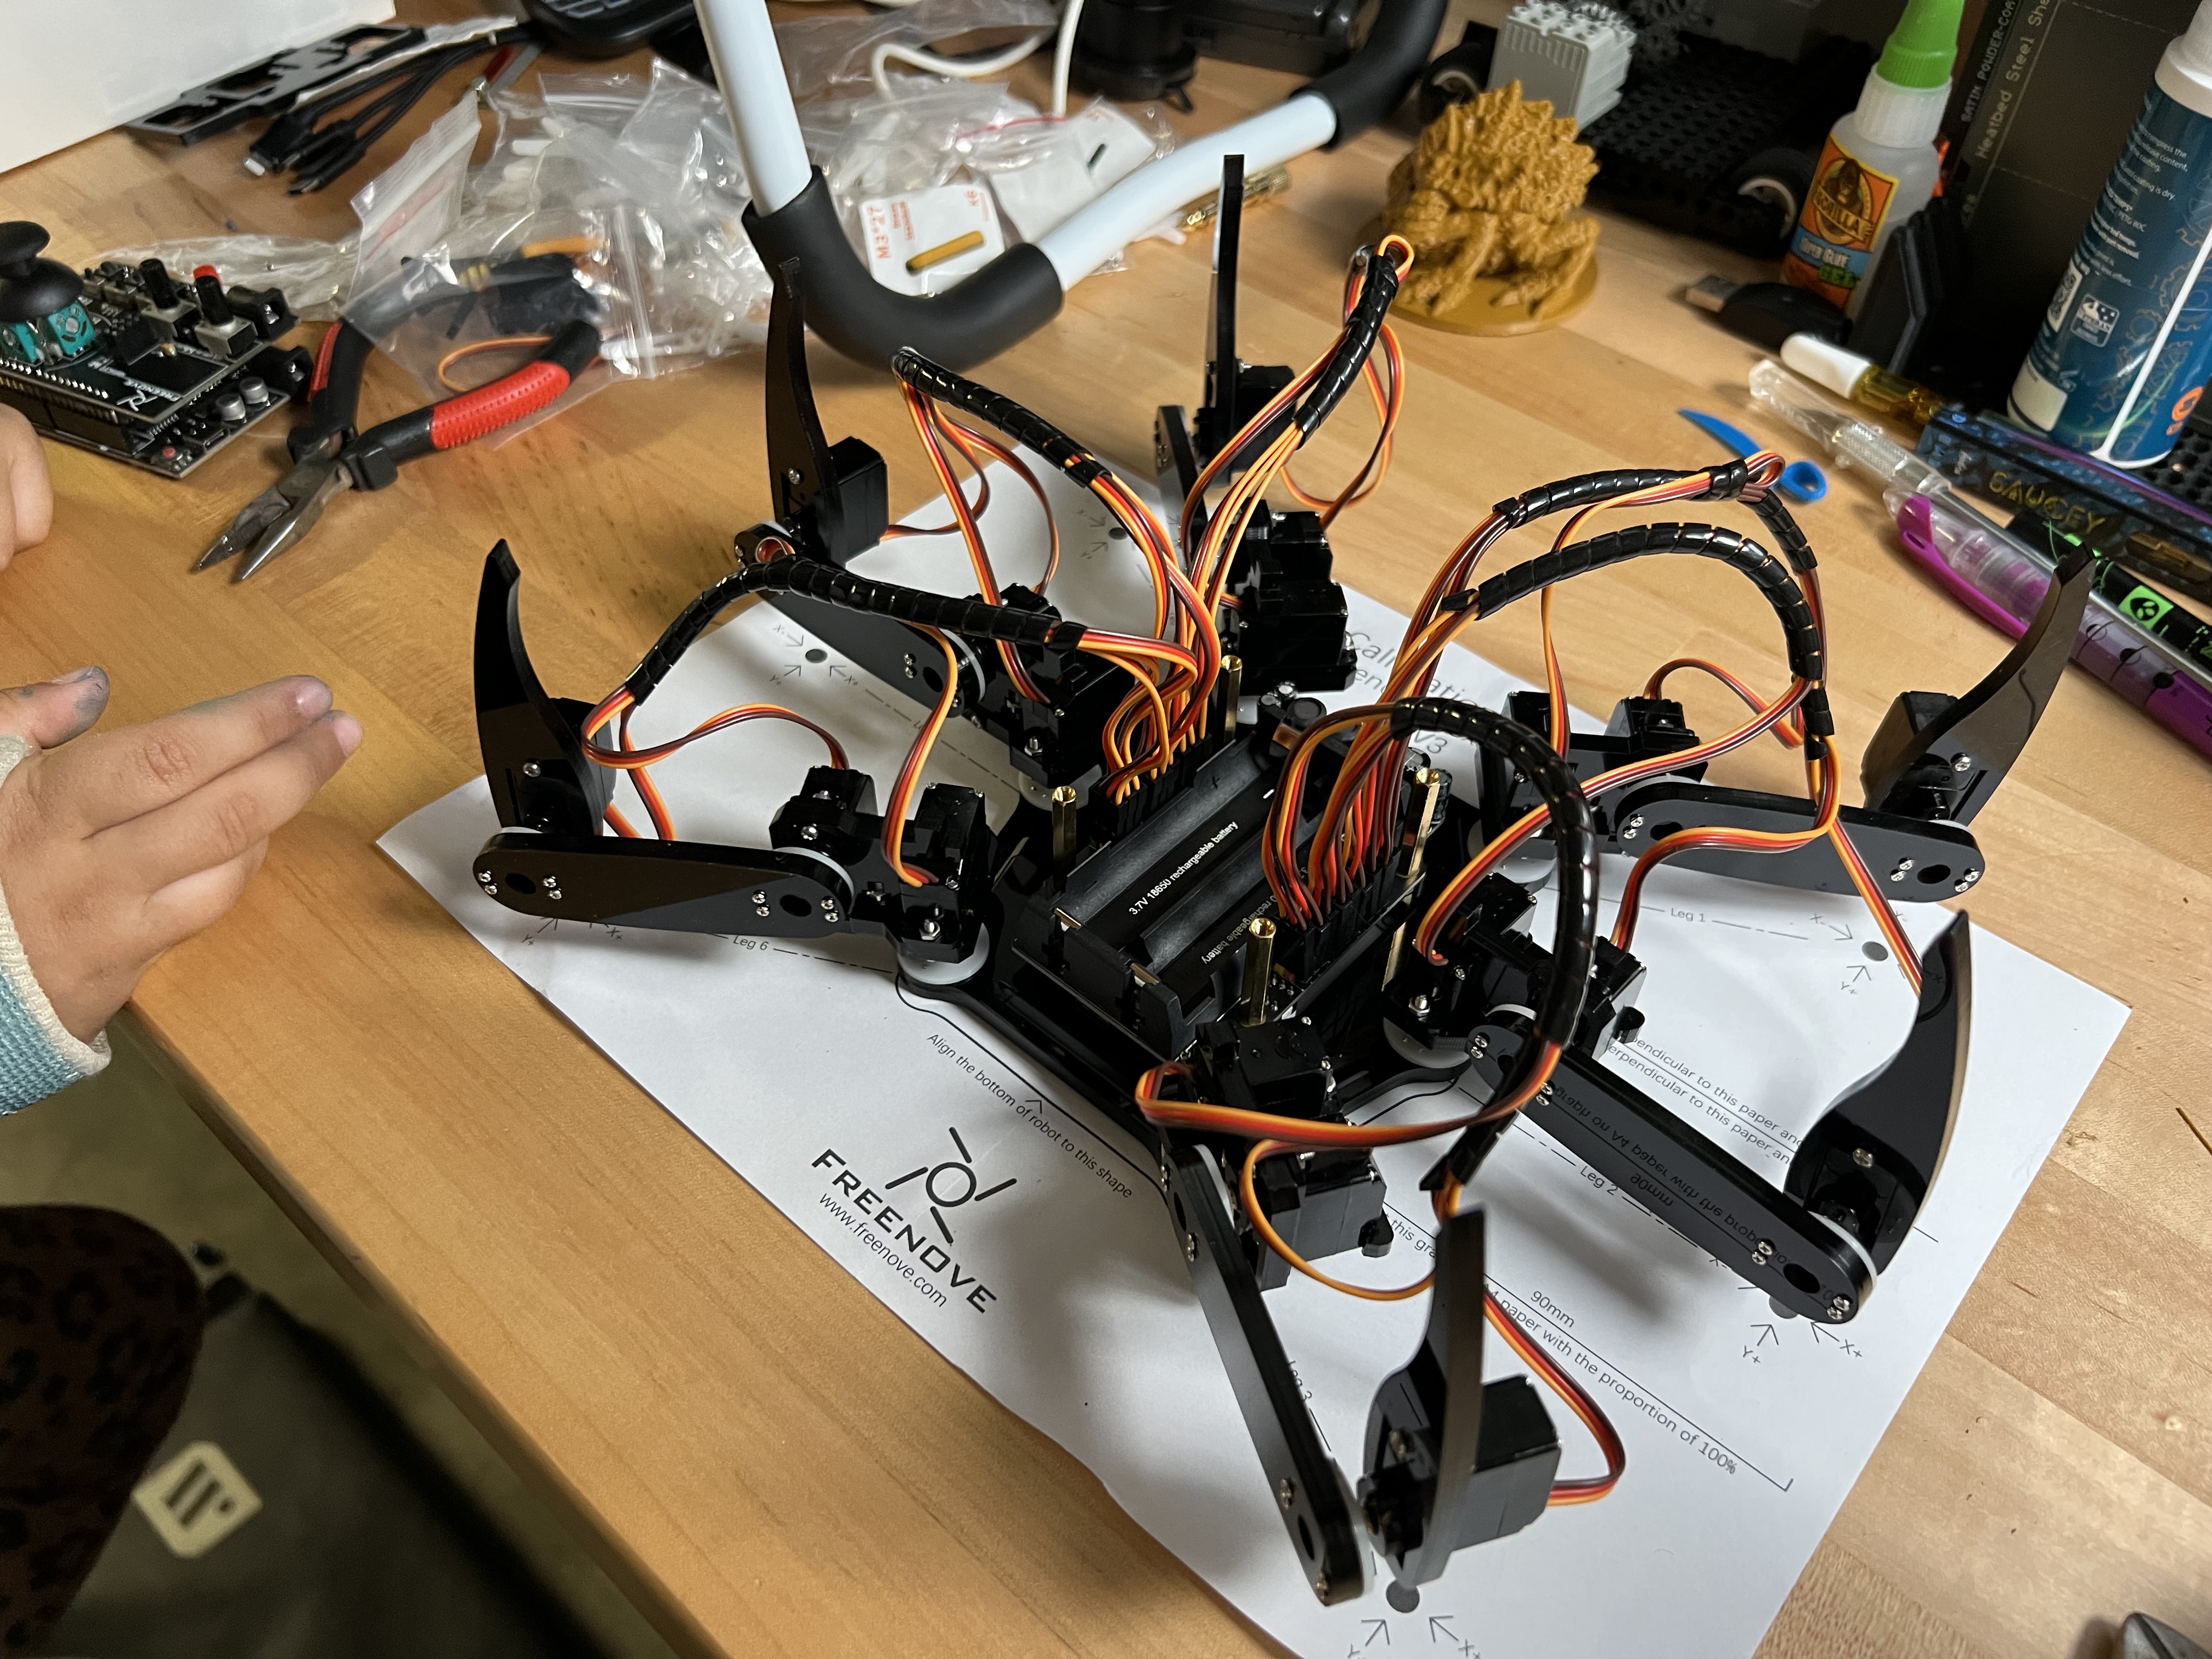
Finally, install the bottom plate.
And with that, the Hexapod's assembly is complete.
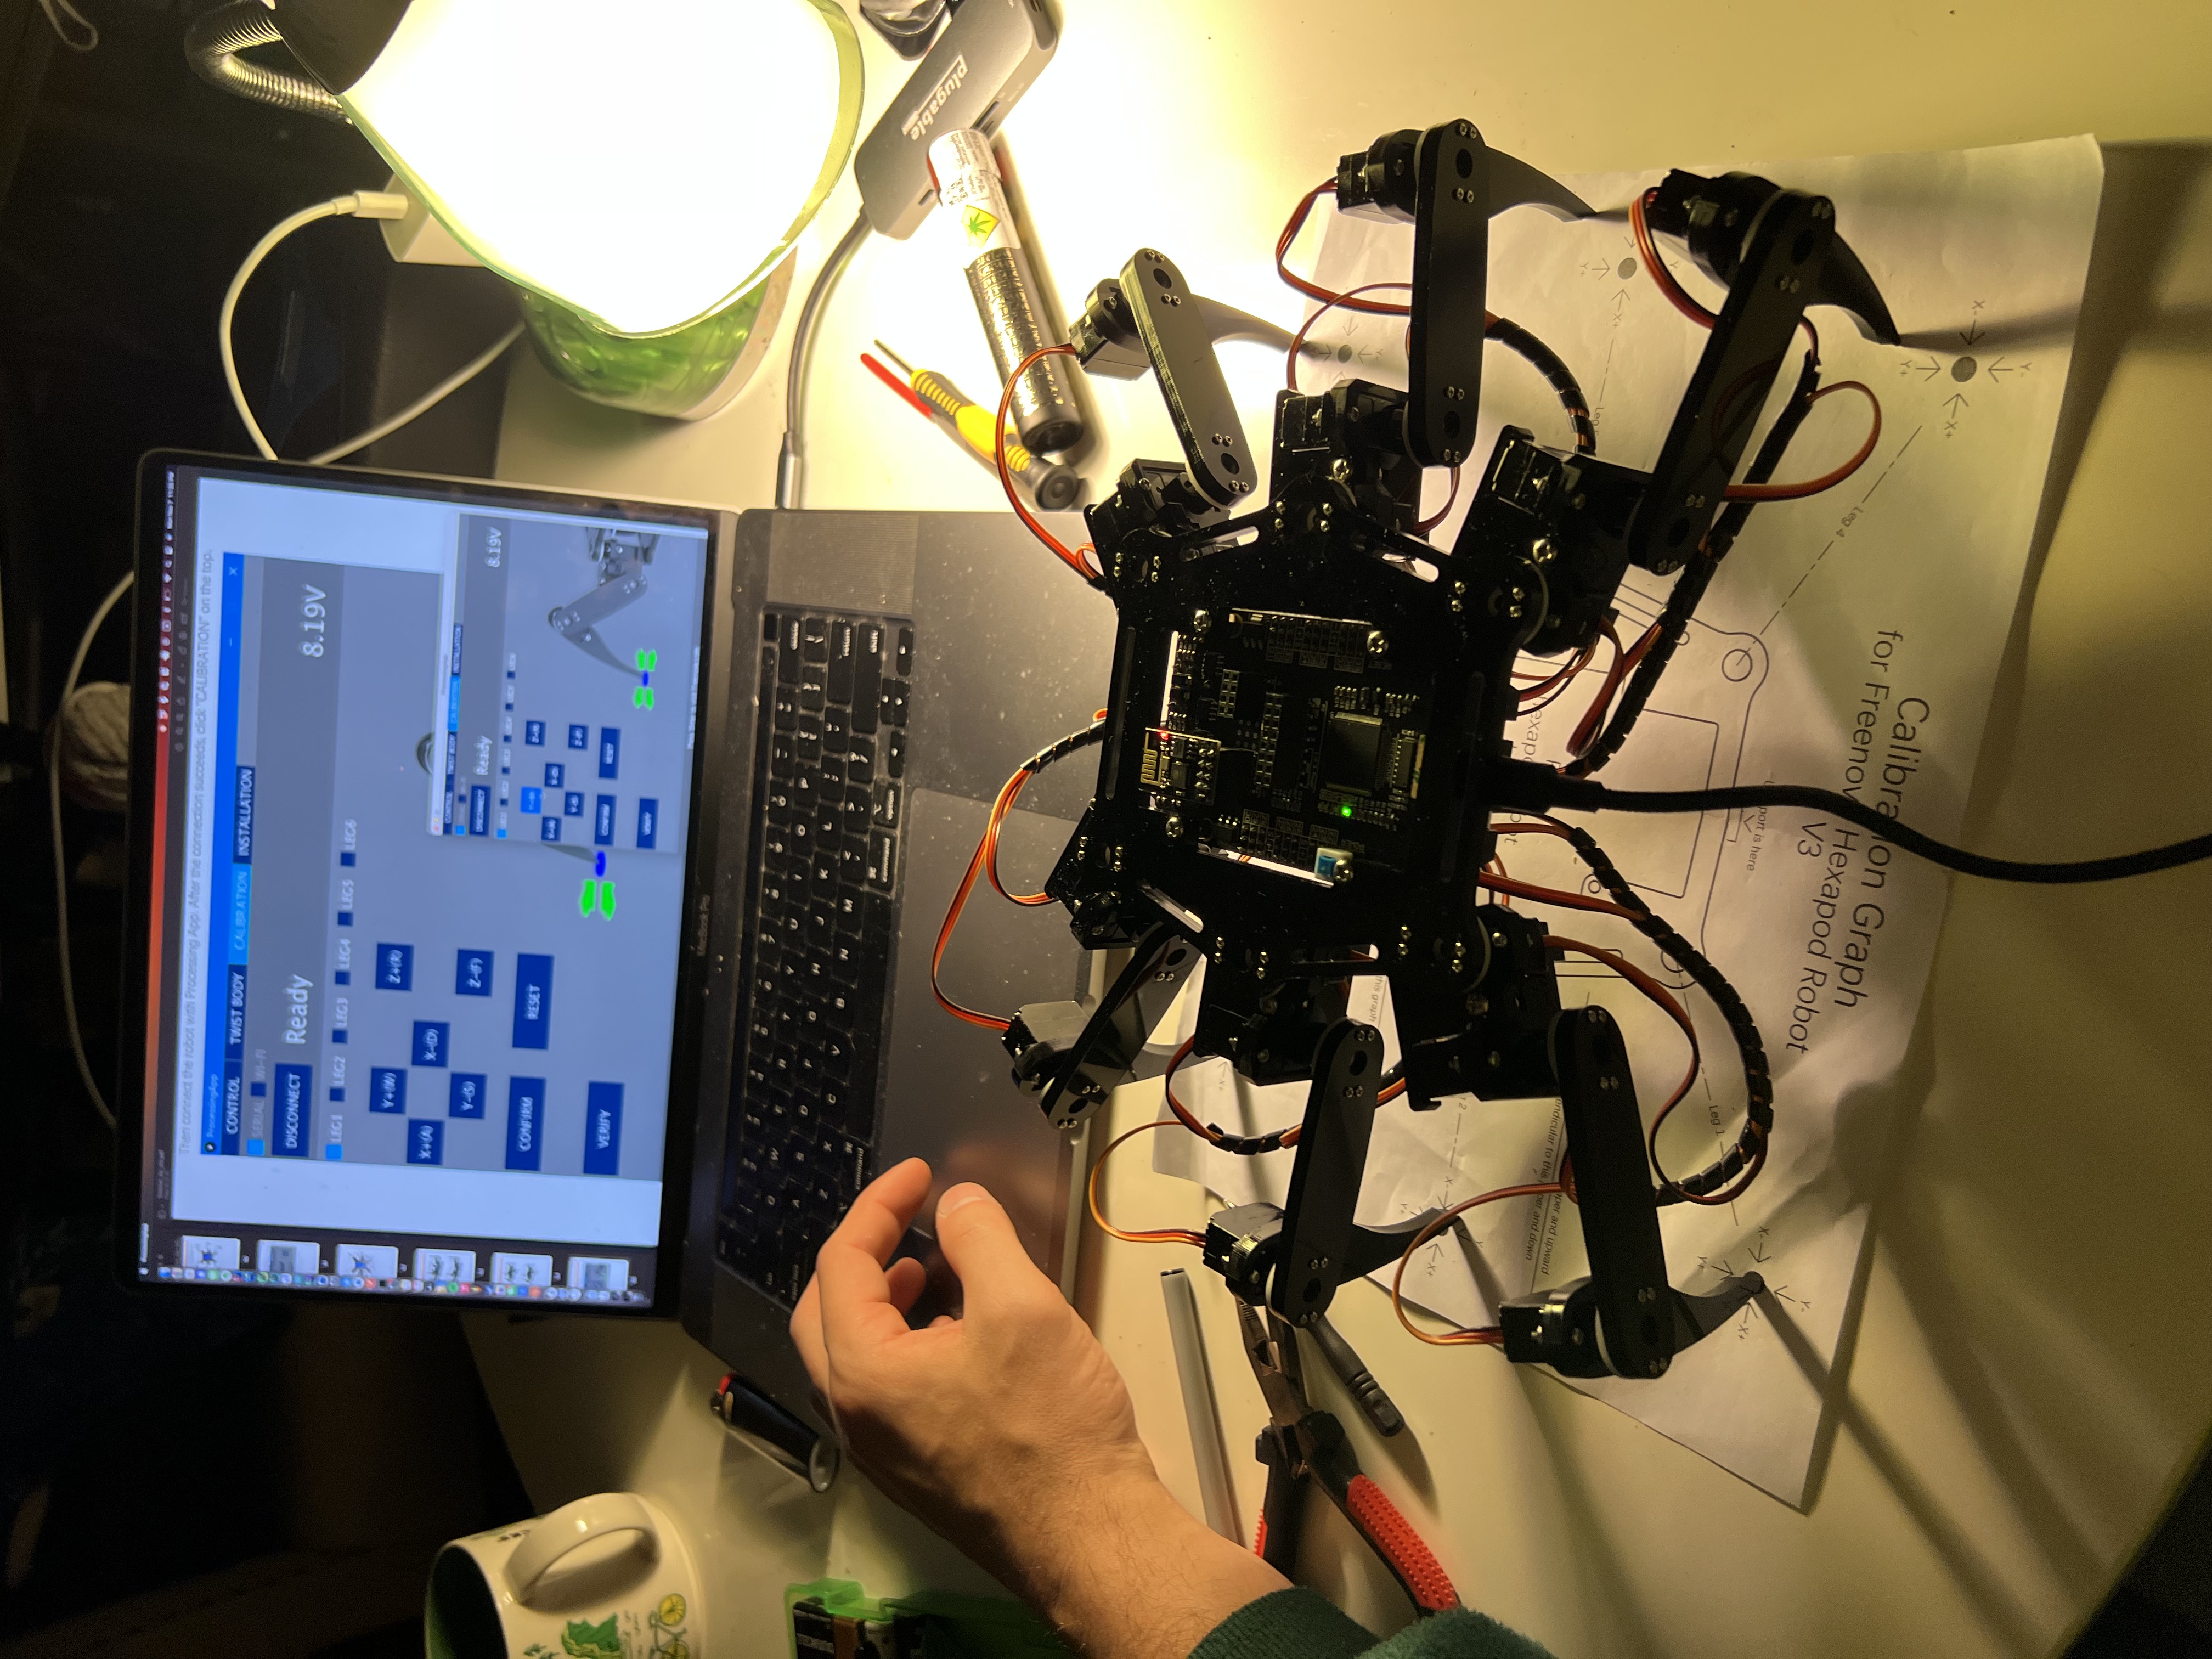
After assembly, the servo motors must be calibrated. Calibration is done via a Processing script and was pretty straightforward to use. I also took a small diversion to learn more about the Processing language, which I have heard of but never had the chance to explore.
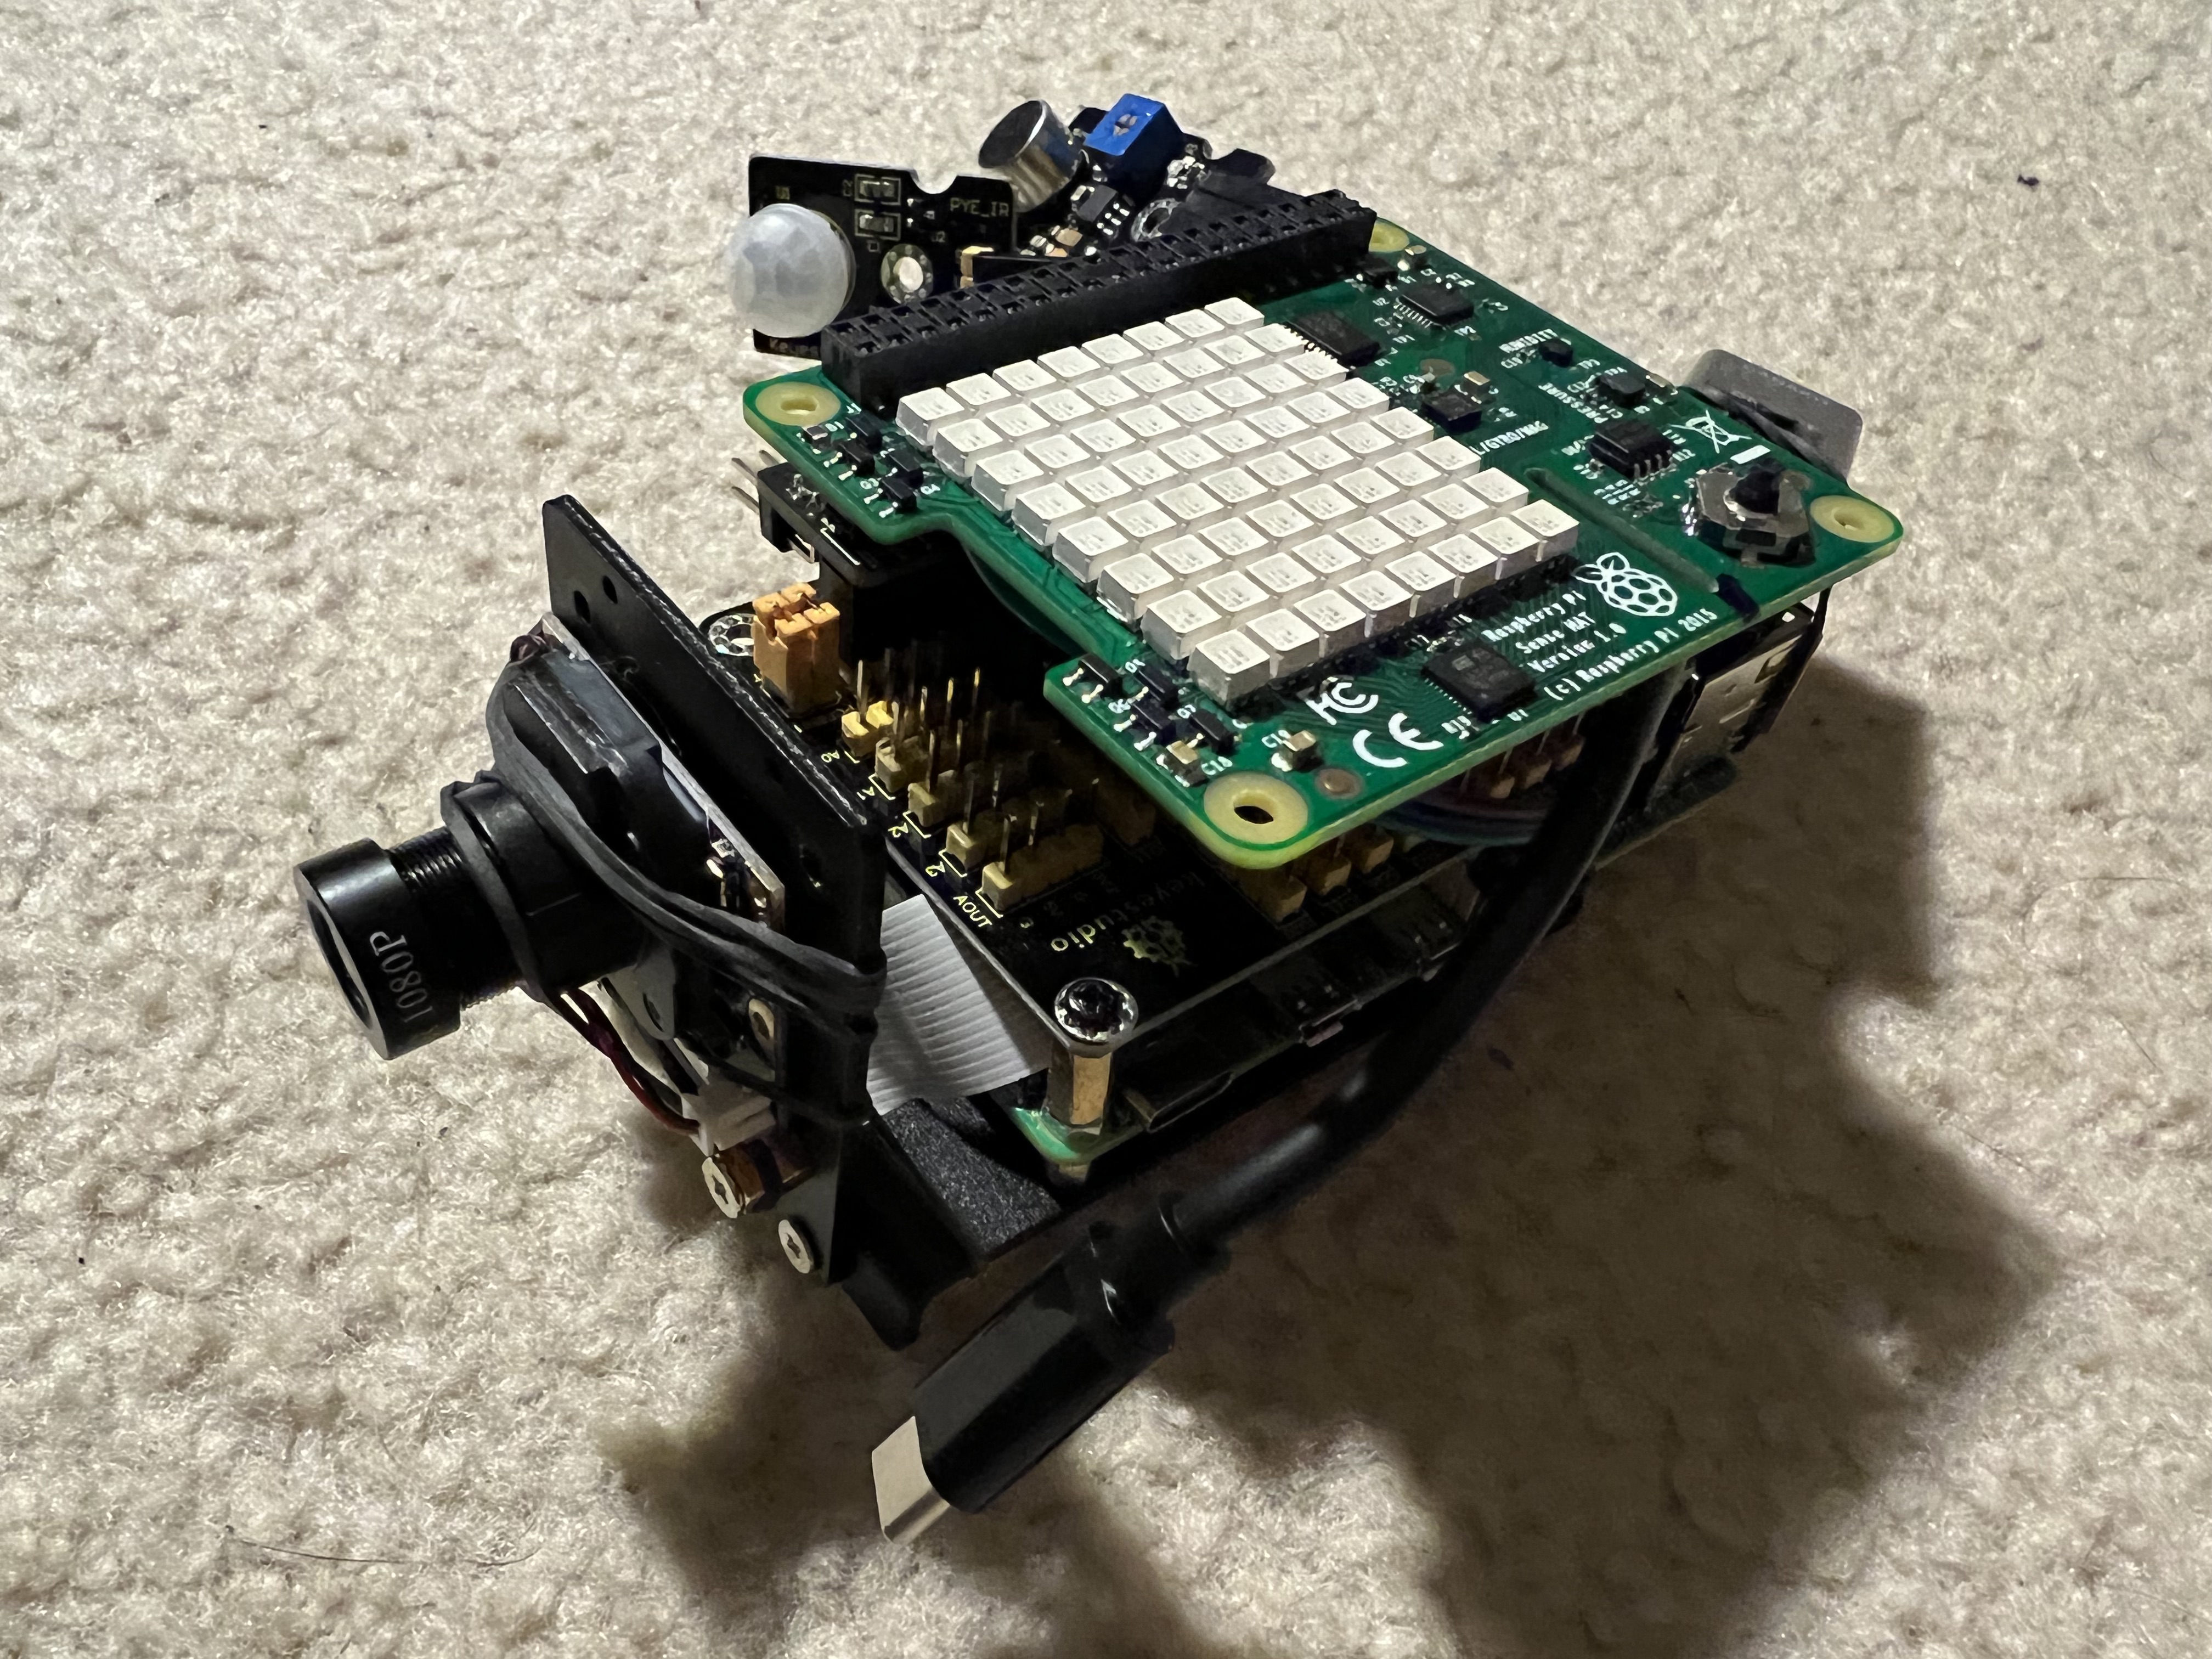
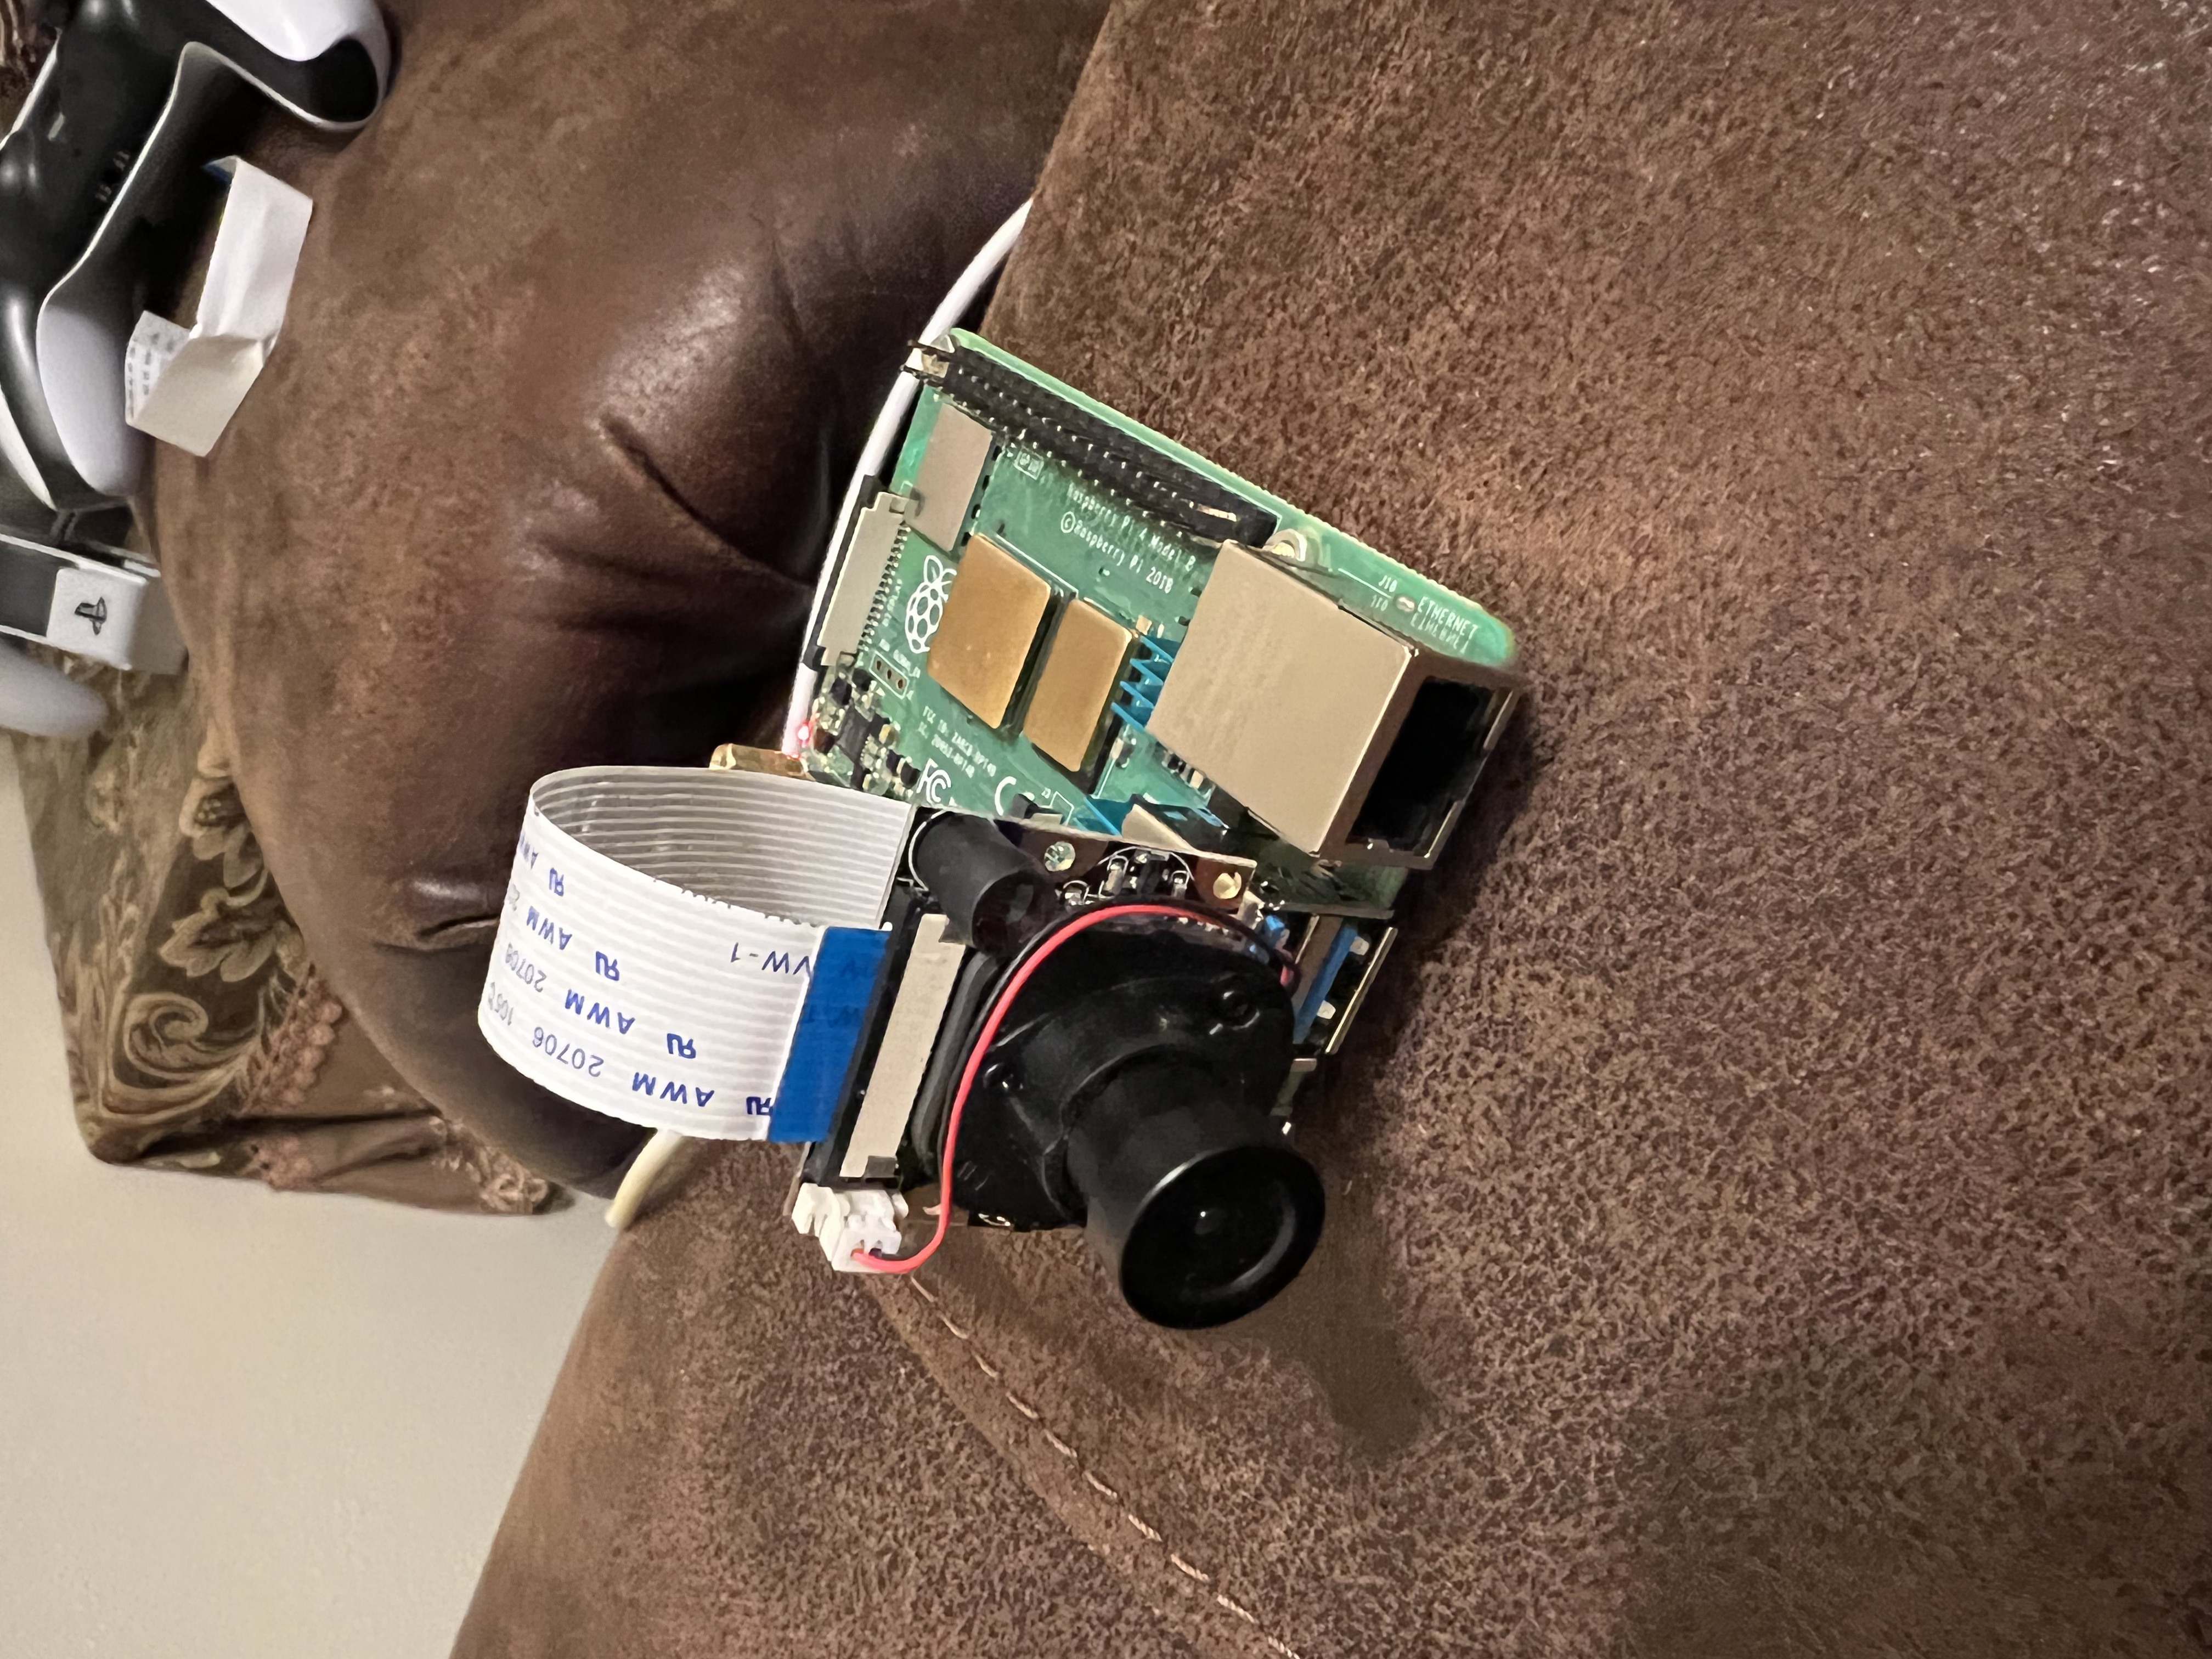
Mount Raspberry Pi "Brain"
Initially I was considering extending the existing Hexapod's base code and building on the Arduino board. But after more thought I decided to instead mount a Raspberry Pi 4 on top of the Hexapod. The Raspberry Pi will handle the camera stream, infrared sensor as well as any post-processing, such as using OpenCV for face detection, and Astro Pi integration.
I chose Python because of how easy it was to set up on the Pi, and it's numerous of libraries. There are libraries for GPIO communication, which is how we interface with most of our sensors. Libraries like Tensorflow and OpenCV are also available. Even libraries like Pygame are nice for quick PS5 controller support, which is now my default controller. Finally, I wrote a light REST API interface using Flask.
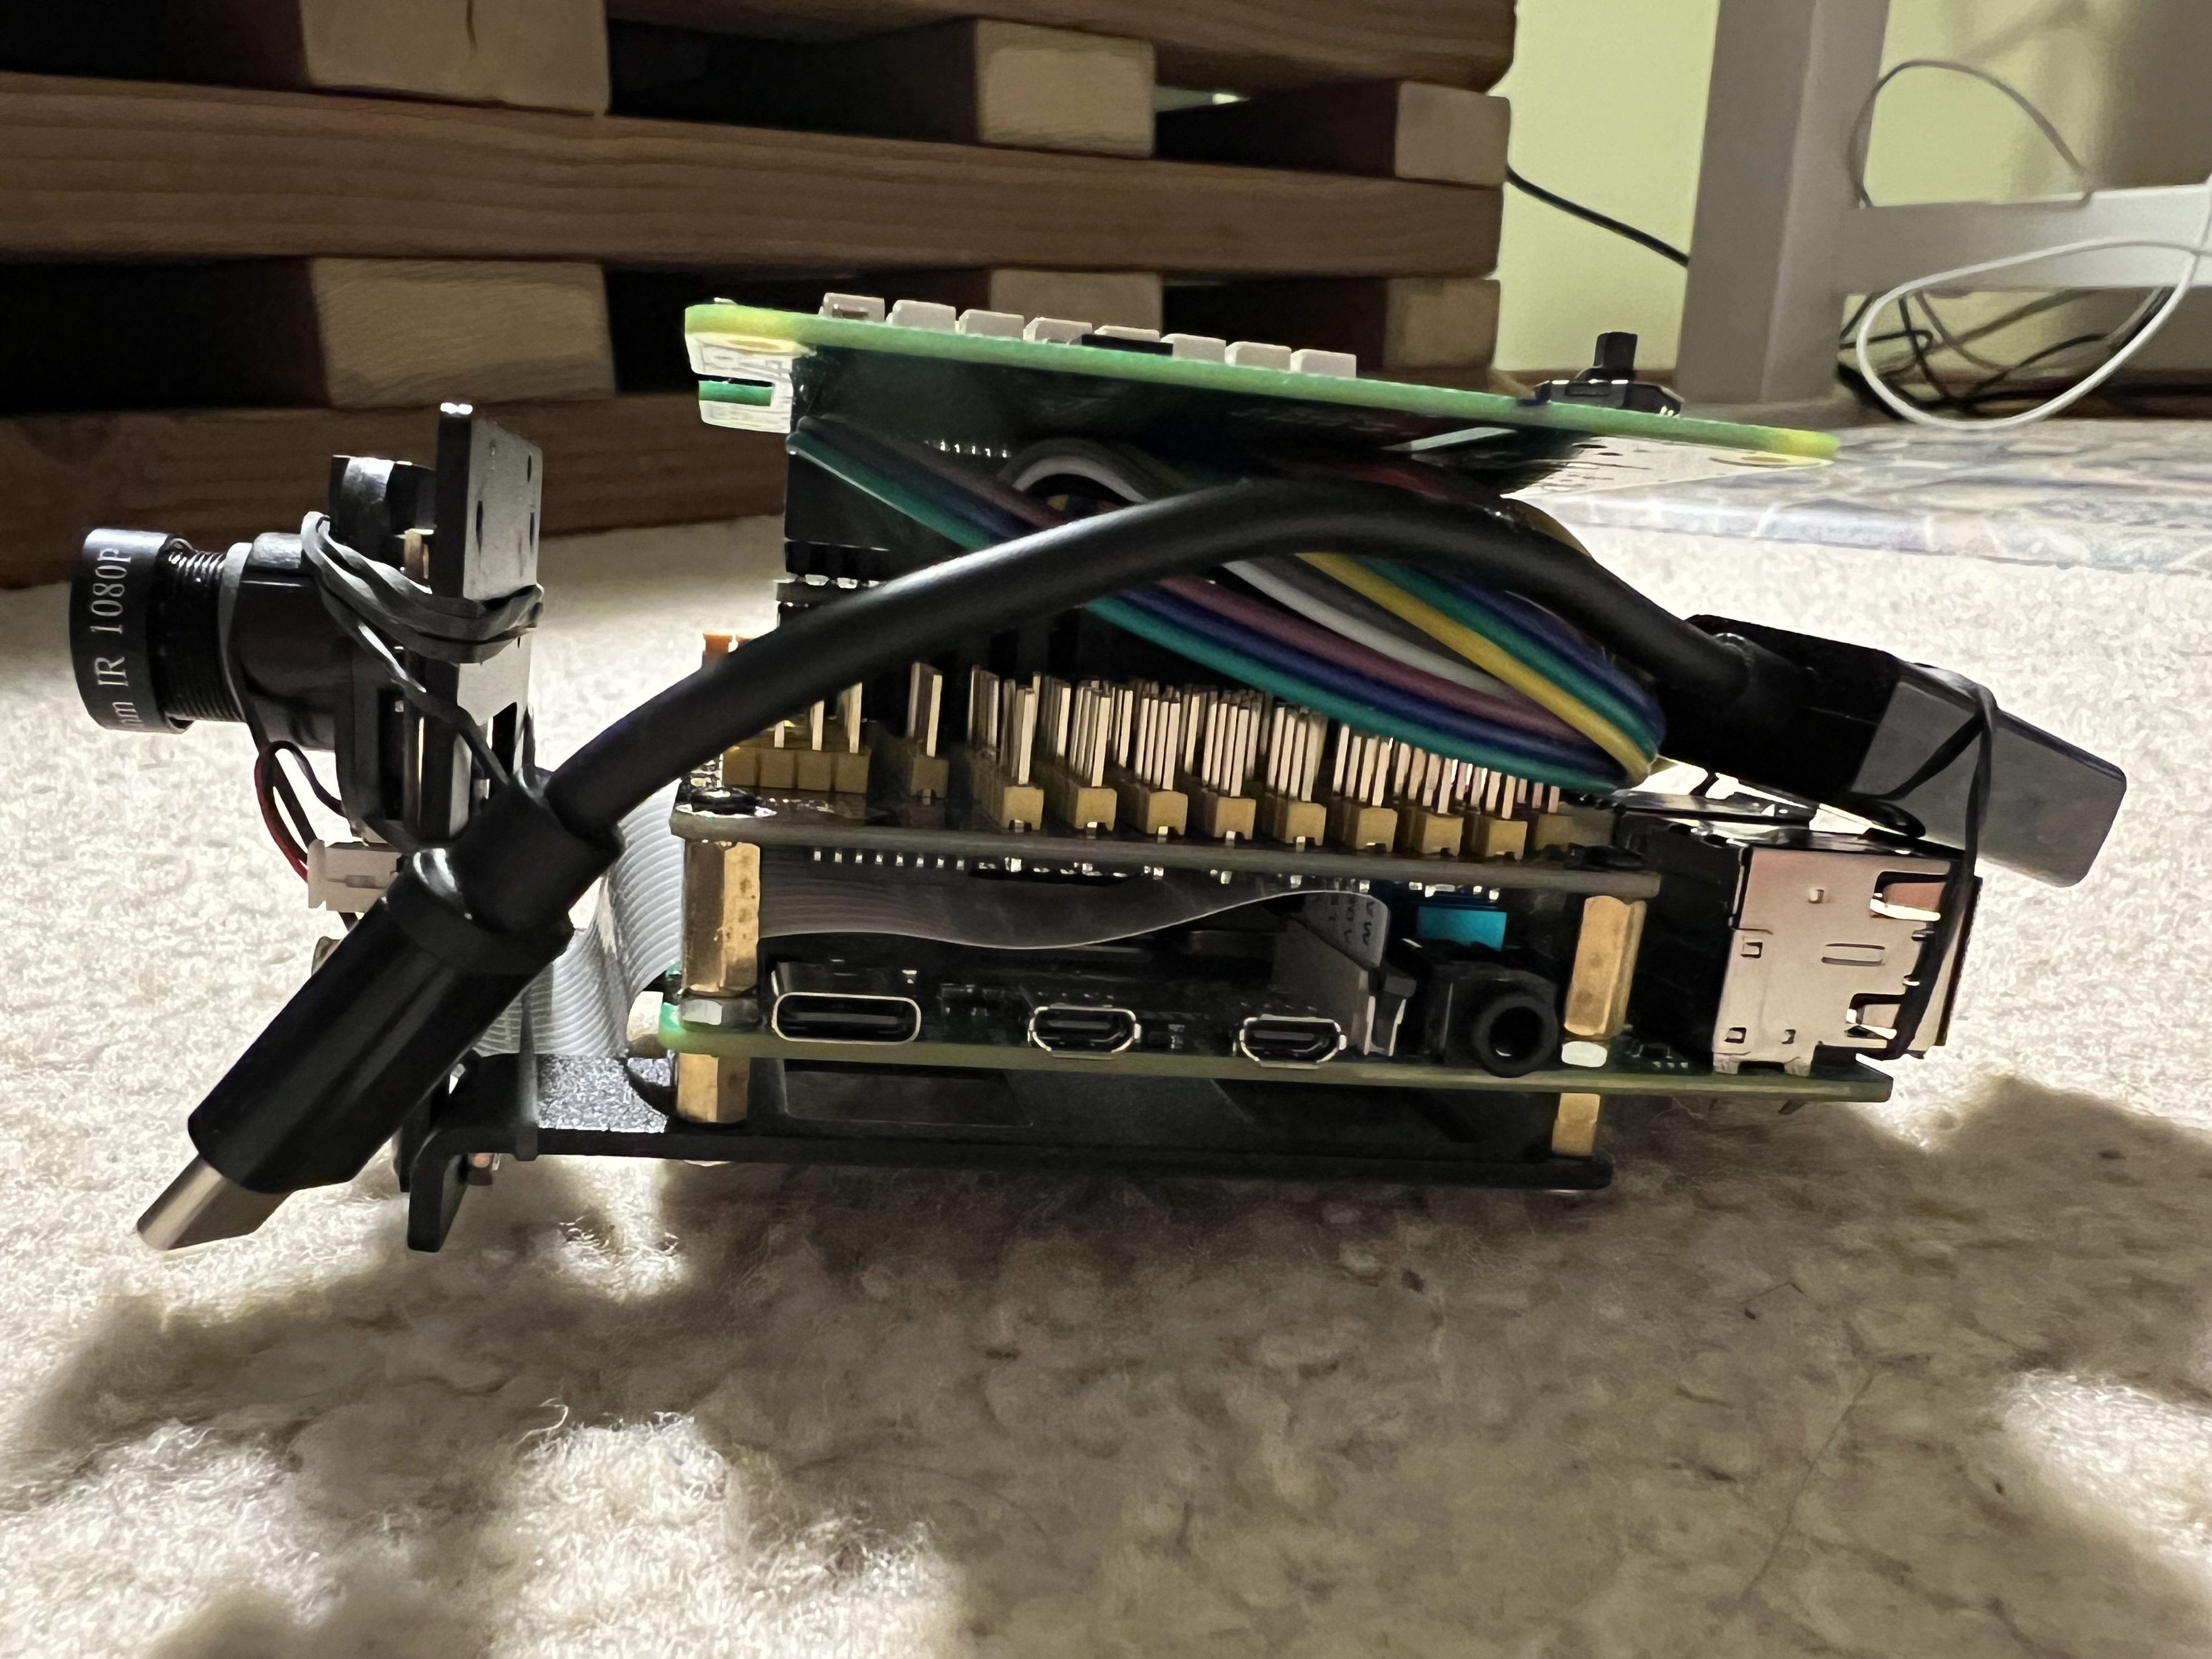
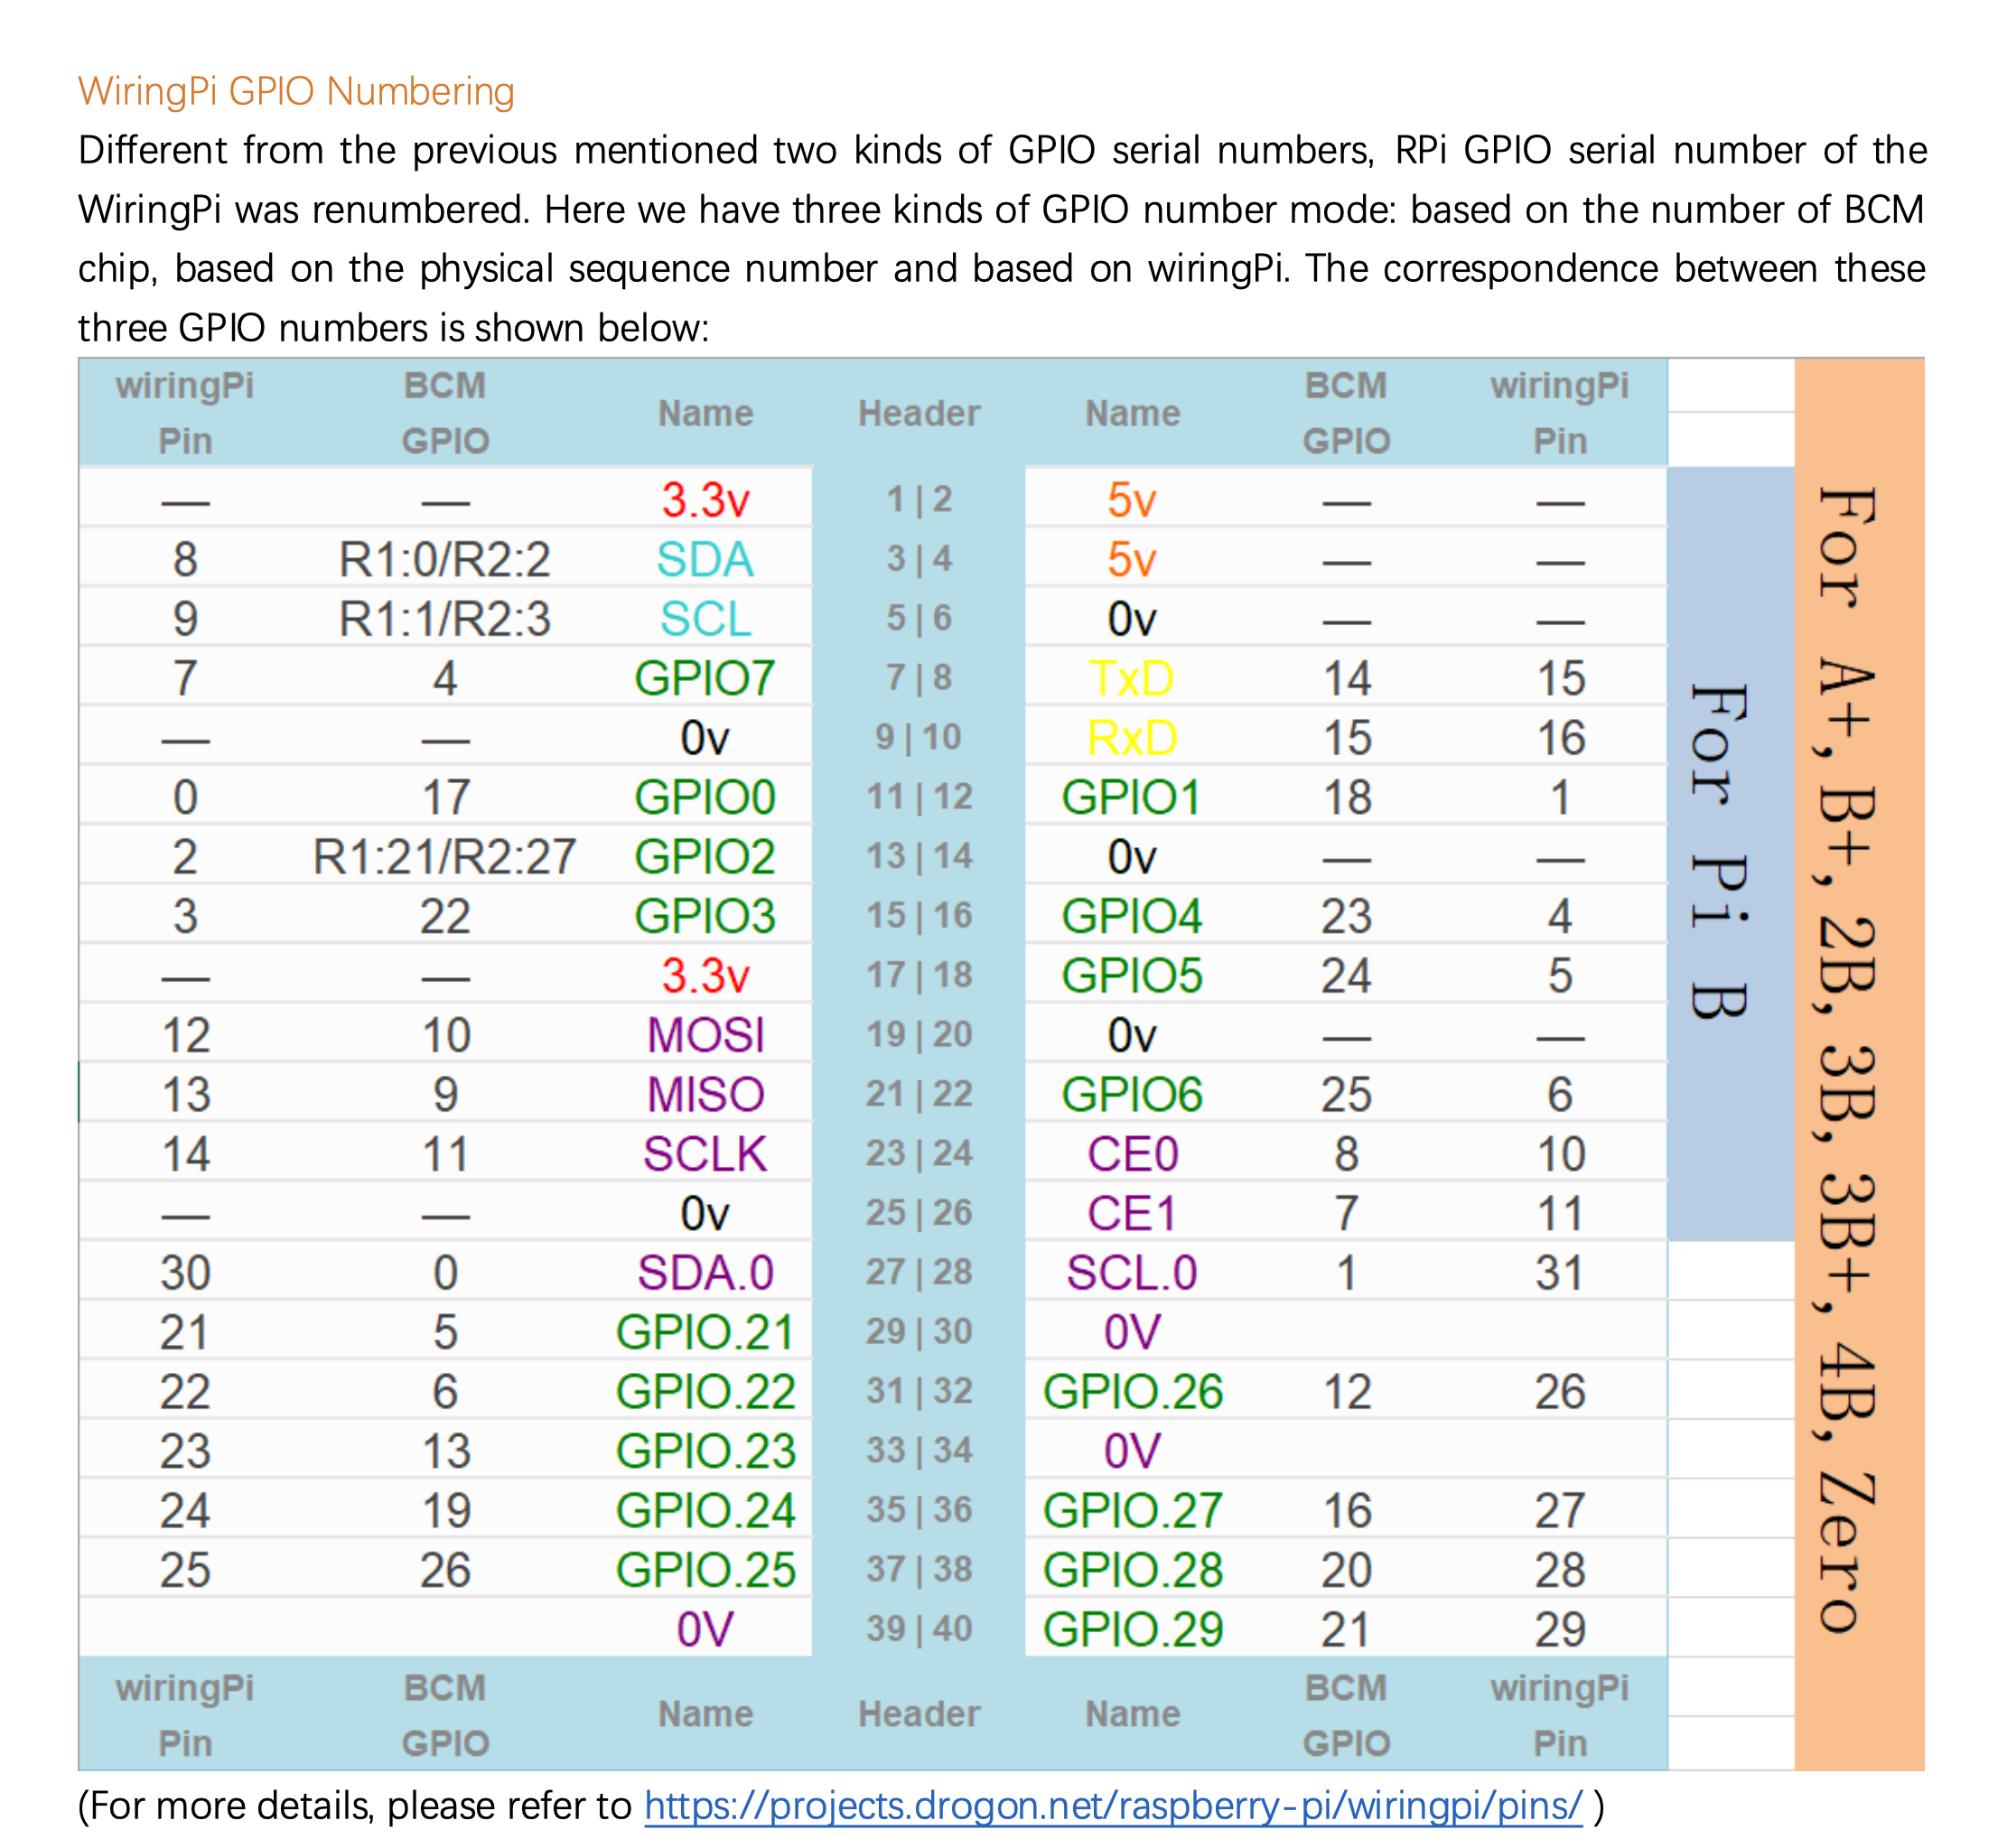
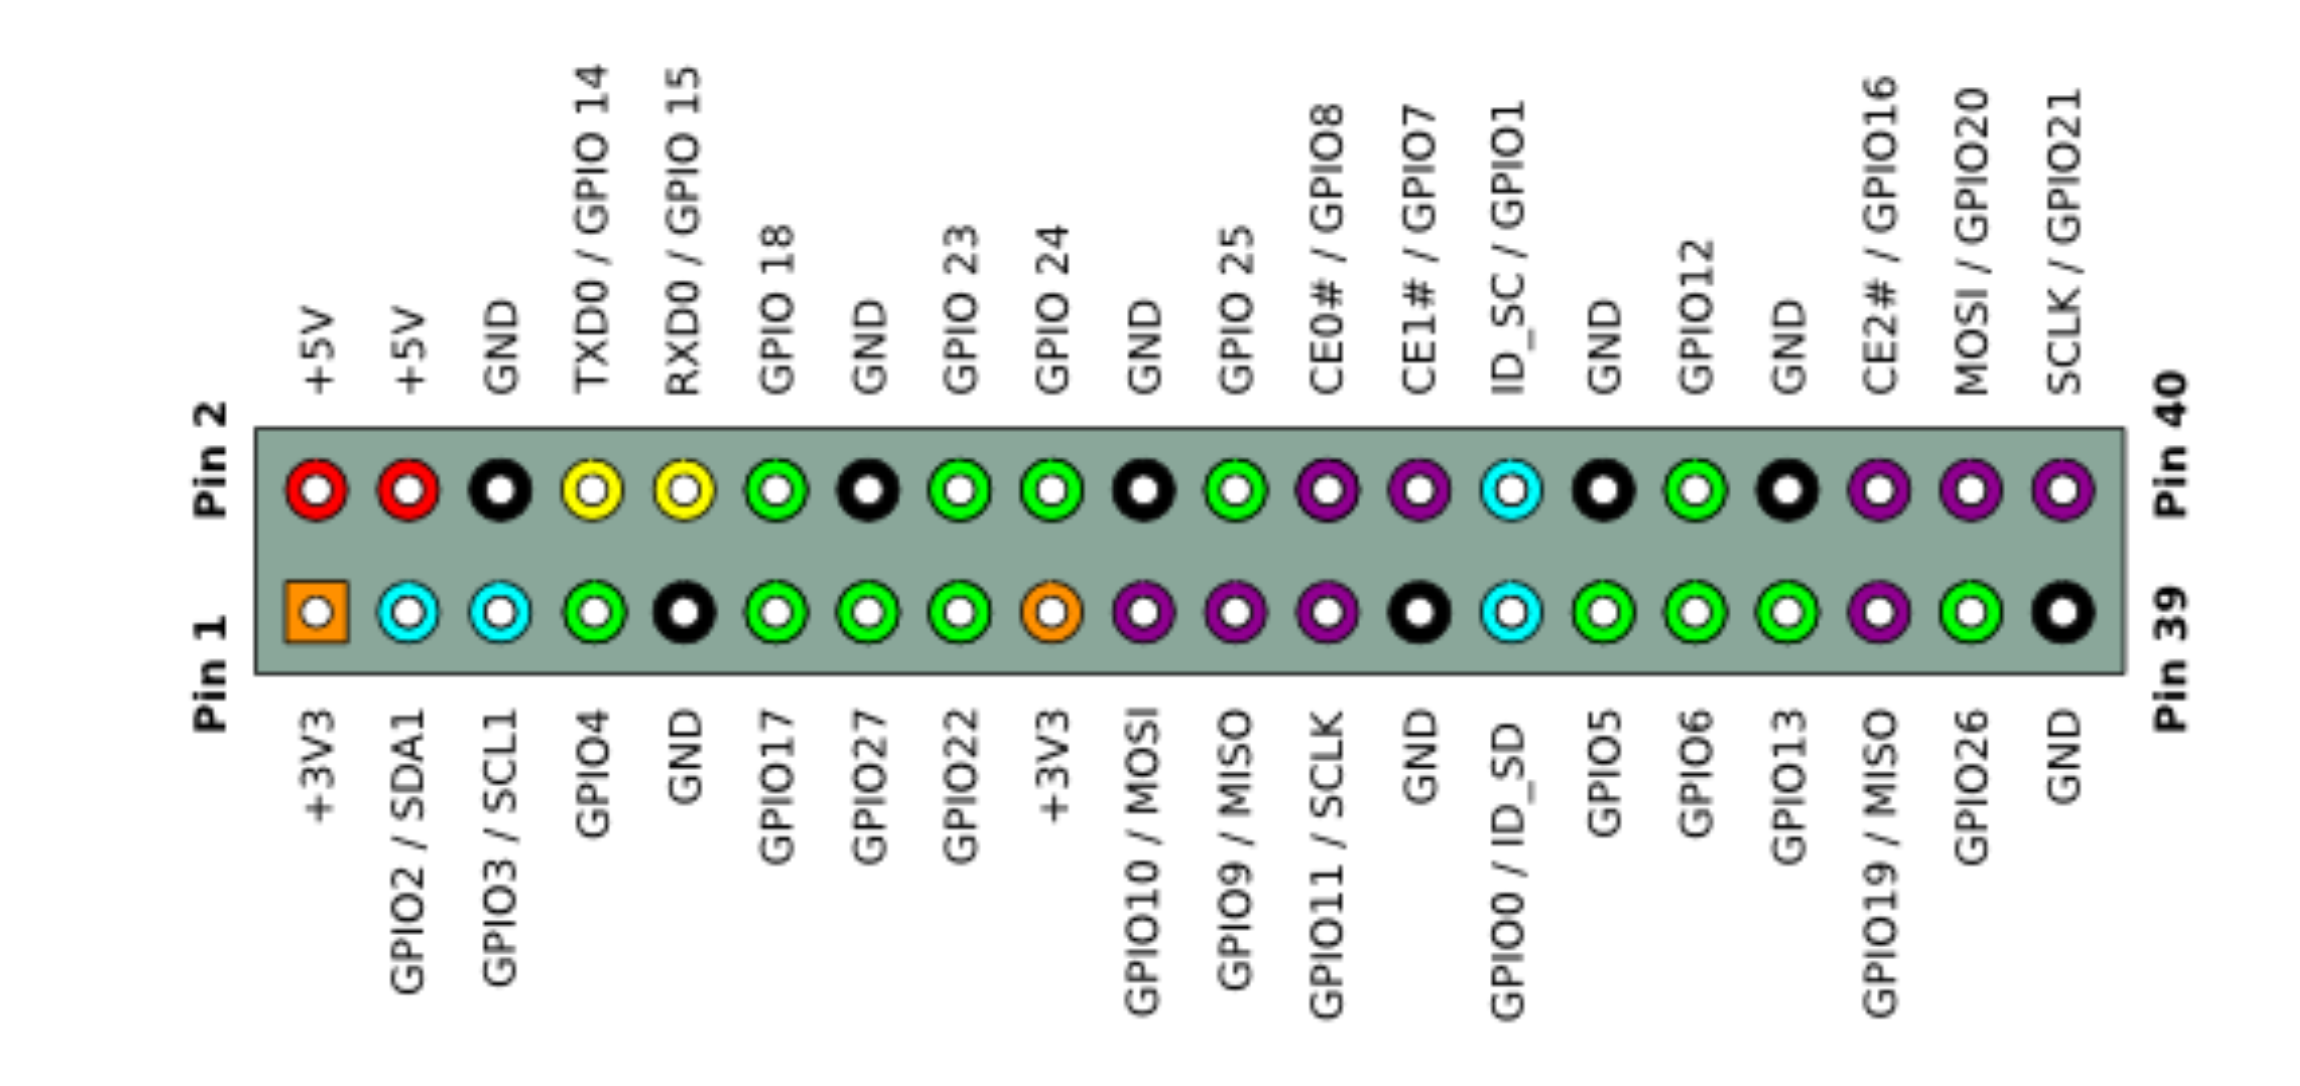
I found the below references helpful when mapping GPIO pins. I unfortunately am not sure where I found these.
Astro Pi
From the ESA website:
Astro Pi is a small Raspberry Pi computer developed by the Raspberry Pi Foundation (RPF), in collaboration with the UK Space Agency and the European Space Agency (ESA).
Astro Pi computers come with a set of sensors and gadgets that can be used to run great scientific experiments by means of computer coding. This set of sensors is called ‘Sense HAT’ (that stands for ‘Hardware Attached on Top’).
The Sense HAT add-on board was specially created for the Astro Pi competition. The board gives Astro Pi the ability to ‘sense’ and make many kinds of measurements, from temperature to movement, and to output information using a special display - the 8x8 LED matrix. The Astro Pis are also equipped with a joystick and buttons - just like a videogame console!
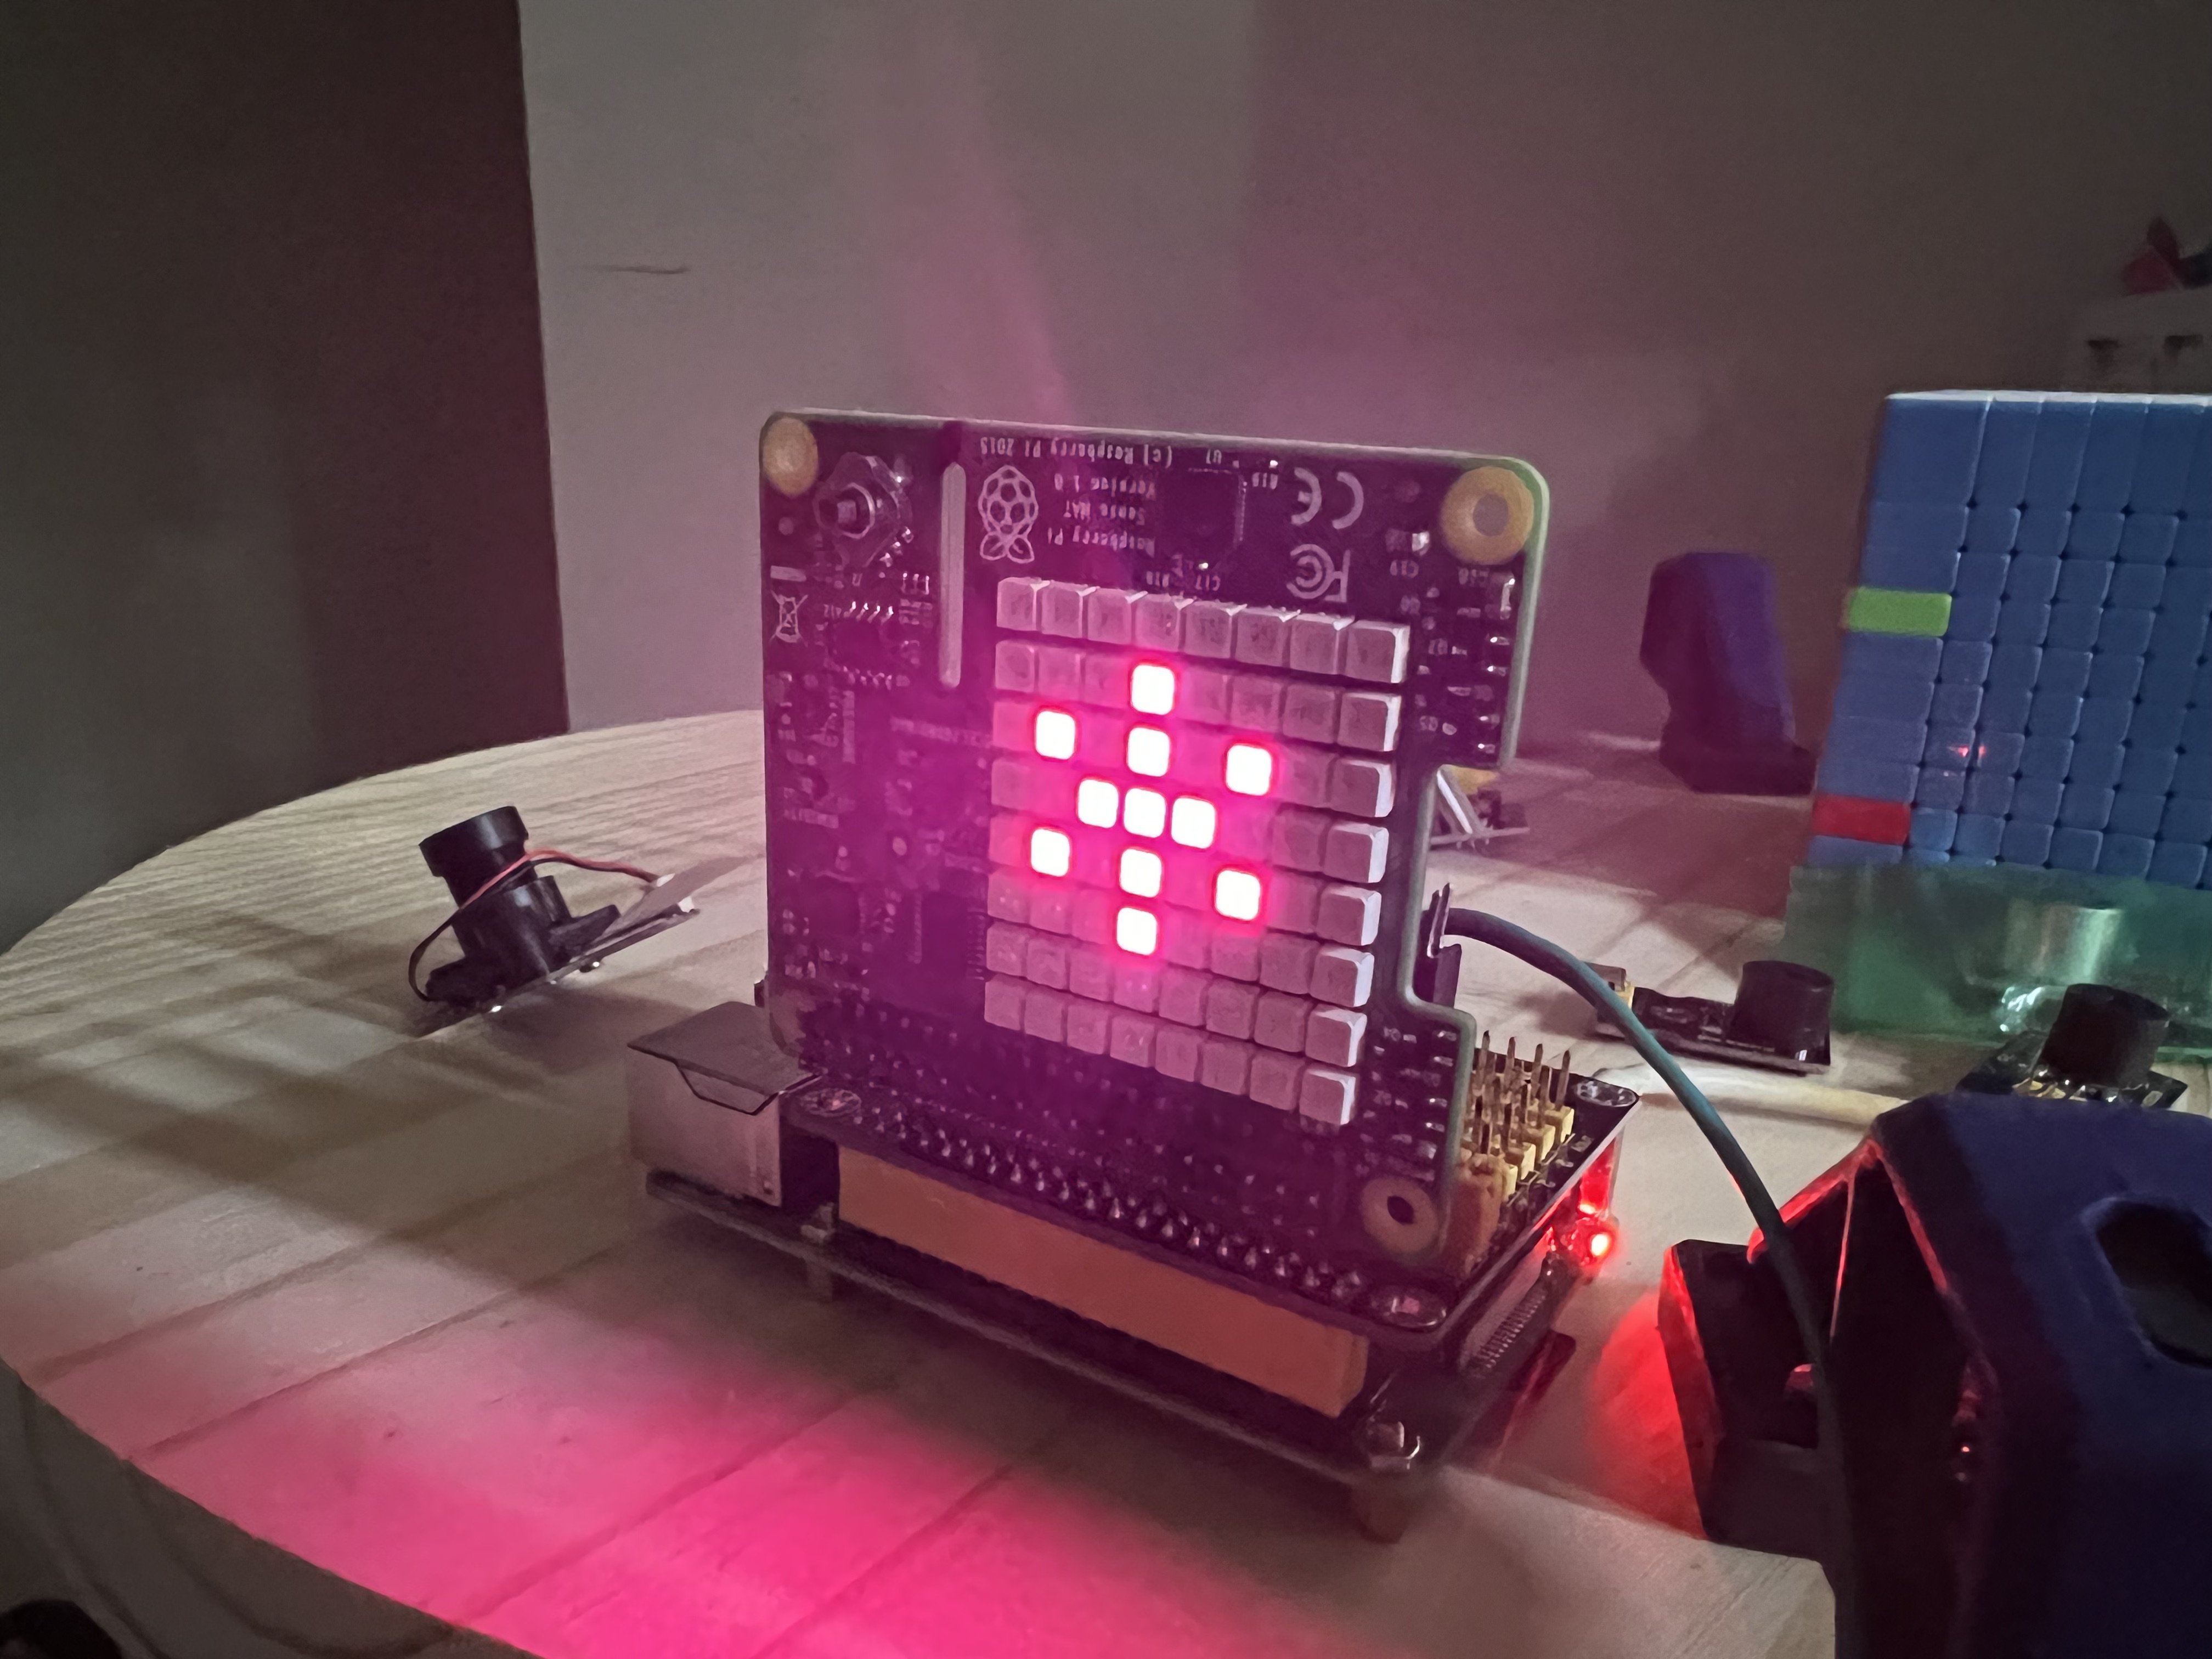
I bought it on a whim, but really enjoyed programming with it. I was able to write code that would change the LED display based on the Hexapod's orientation. I'm looking forward to using its sensory as input for other robots.
Code for interfacing with the Astro Pi HAT can be found here.
Example code to read temperature:
from sense_hat import SenseHat

sense = SenseHat()
sense.clear()

temp = sense.get_temperature()
print(temp) # 21.263586044311523 Celsius
Stream Video over TCP
To stream video from the Raspberry Pi to a client computer, I used libcamera-vid and ffplay/vlc.
For my video client I would either use my primary laptop or a Raspberry Pi 3 + Monitor.
Server (spider.local)
libcamera-vid -t 0 -q 100 --framerate 3 -n --codec mjpeg --inline --listen -o tcp://192.168.4.76:8888 -v
or with lower quality and a higher framerate.
libcamera-vid -t 0 -q 50 --framerate 10 -n --codec mjpeg --inline --listen -o tcp://192.168.4.76:8888 -v
Client (VLC -> Open Network)
tcp/mjpeg://192.168.4.76:8888
Client using FFPlay
ffplay -probesize 32 -analyzeduration 0 -fflags nobuffer -fflags flush_packets -flags low_delay -framerate 30 -framedrop tcp://192.168.4.76:8888
Notes:
- Sometimes I begin to experience video lag after a while. Dropping the quality and framerate seemed to help, but this issue occurred frequently.
- Another option I had success with was to configure the Pi for Virtual Desktop and VNC Viewer as seen below.
- Using
libcamera-vidandffplay/vlcmeans you directly stream the webcam data to clients without any video processing. In order to apply face-detection, I use a Python + OpenCV to read images from the camera directly on the Pi.
OpenCV + Face Detection
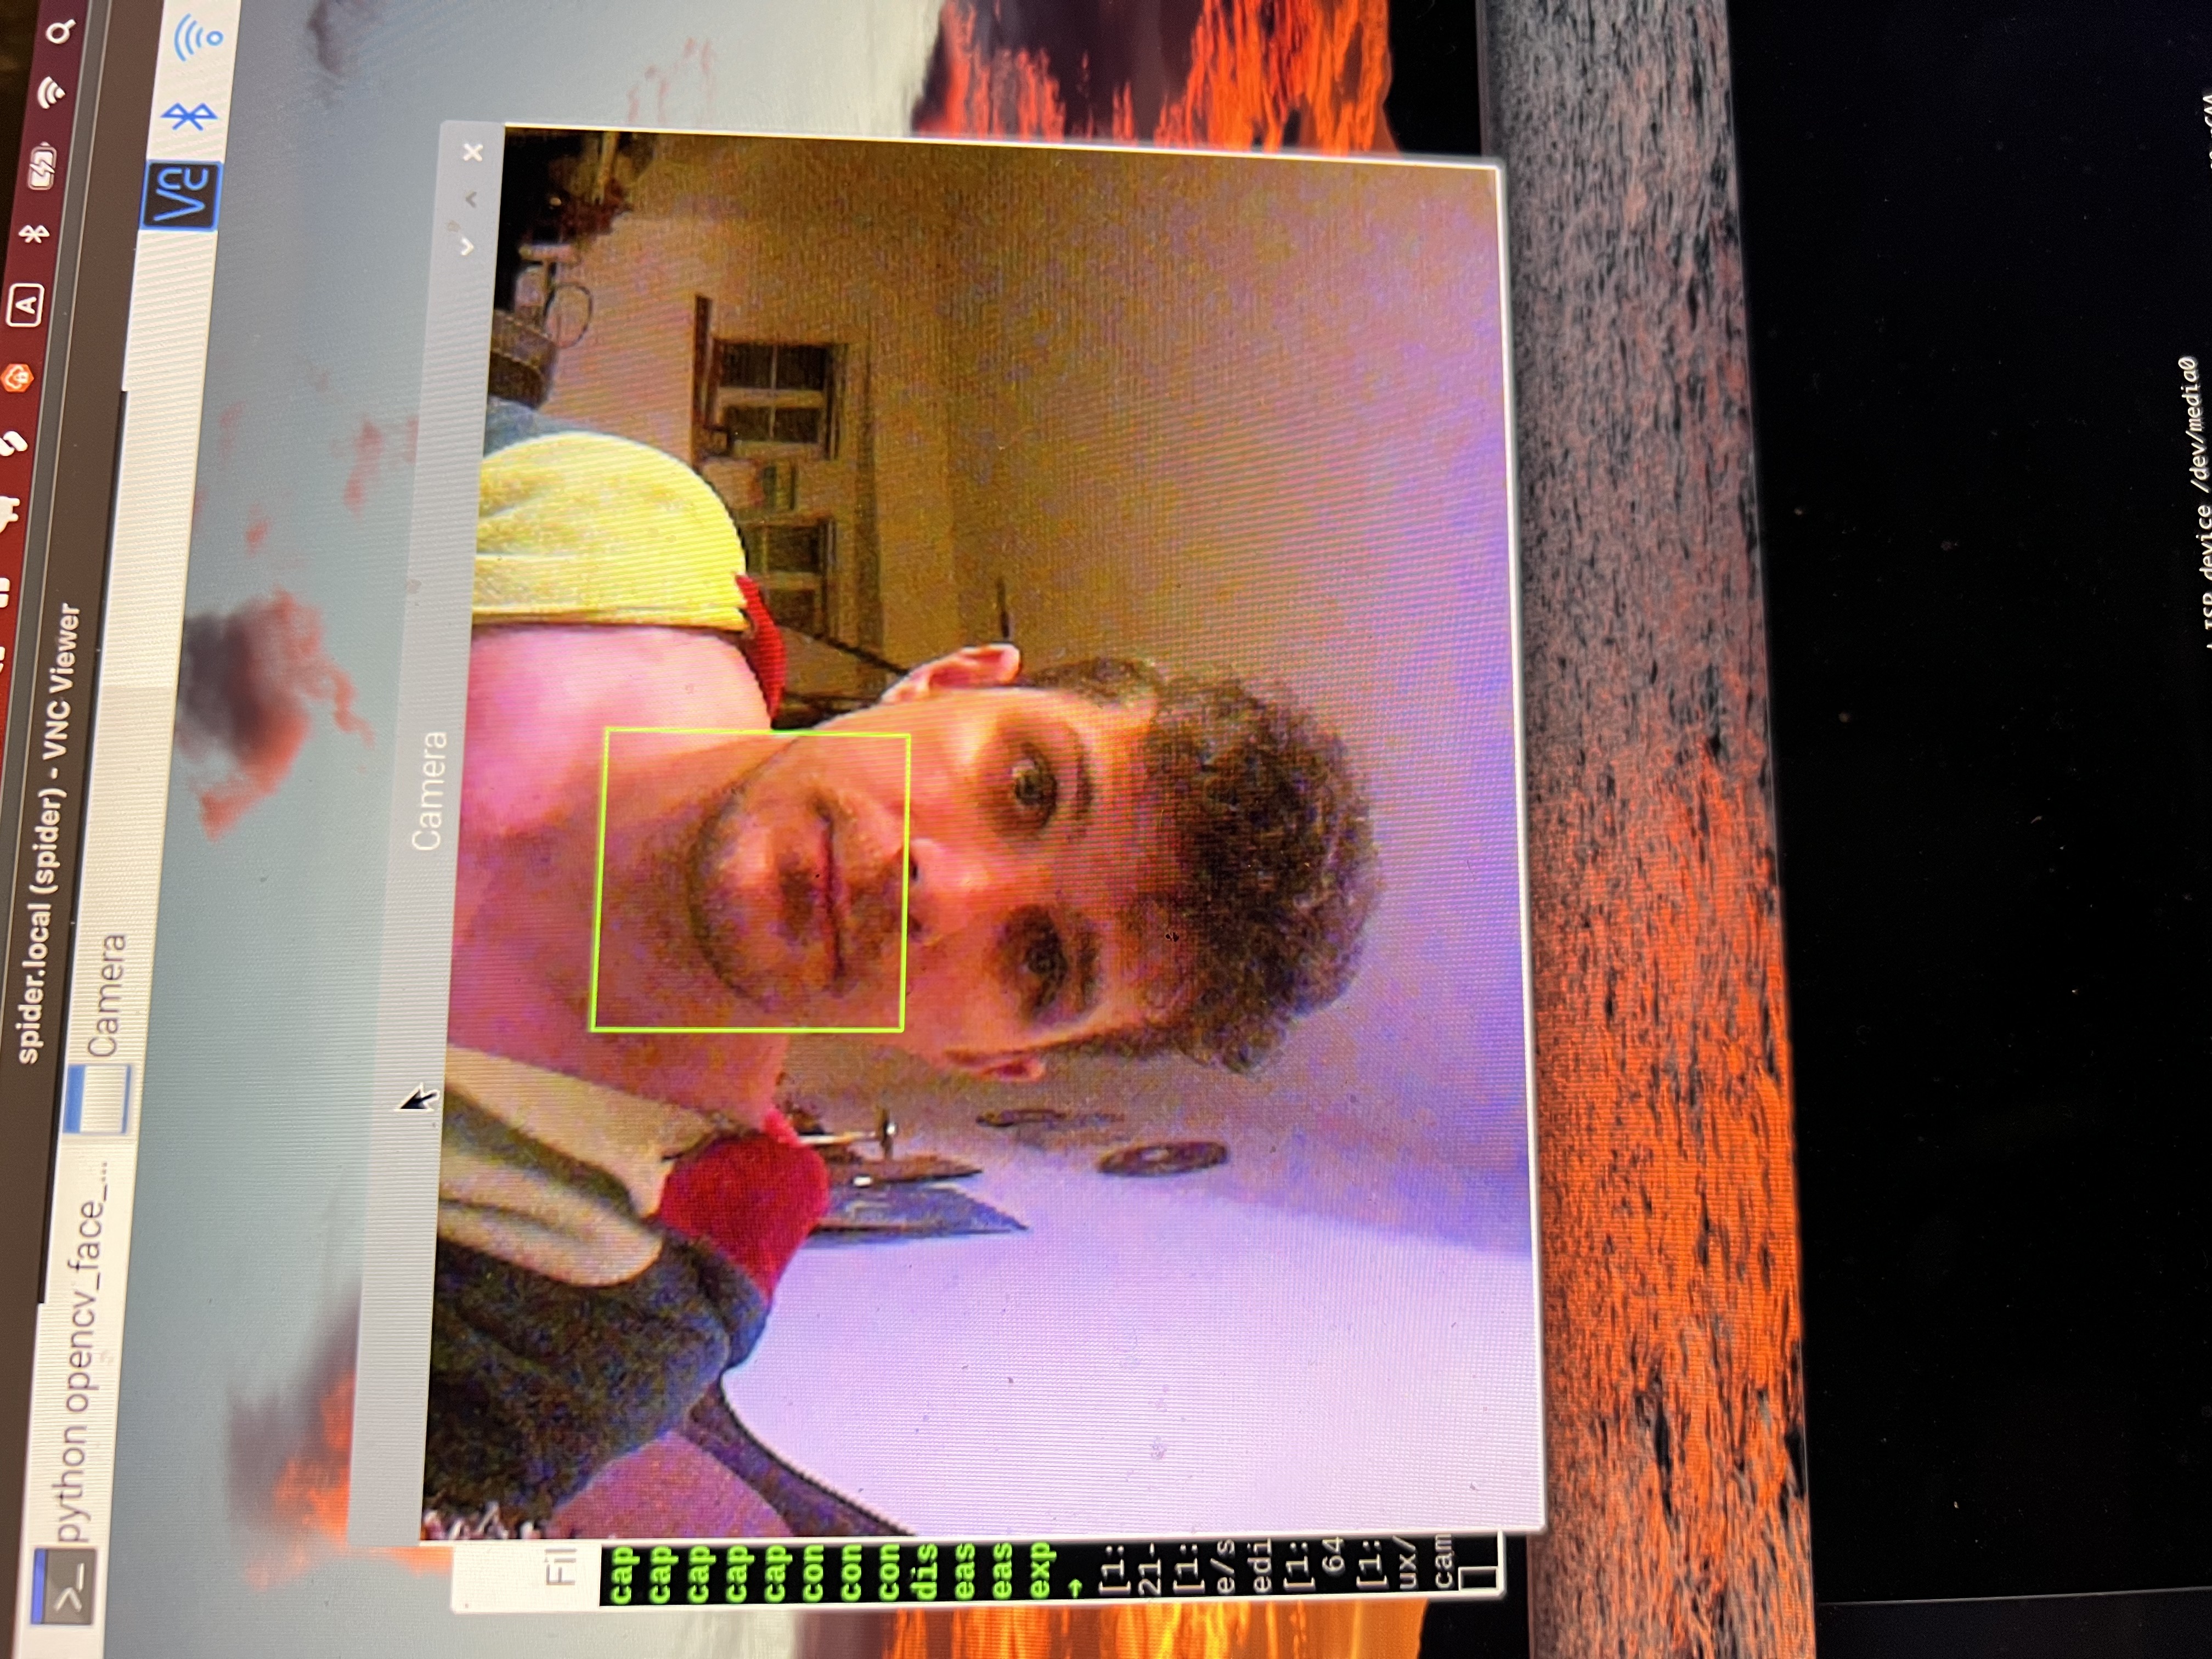
Below is sample Python code demonstrating how easy it is to use OpenCV to perform face detection from a camera stream.
#!/usr/bin/python3

# run the if running from terminal/ssh
# export DISPLAY=:0
import cv2
from time import sleep

from picamera2 import Picamera2

# Grab images as numpy arrays and leave everything else to OpenCV.
face_detector = cv2.CascadeClassifier(cv2.data.haarcascades + "haarcascade_frontalface_default.xml")
cv2.startWindowThread()

picam2 = Picamera2()
picam2.configure(picam2.create_preview_configuration(main={"format": 'XRGB8888', "size": (640, 480)}))
picam2.start()

i = 0
while True:
    image = picam2.capture_array()

    grey = cv2.cvtColor(image, cv2.COLOR_BGR2GRAY)
    faces = face_detector.detectMultiScale(grey, 1.1, 5)

    for (x, y, w, h) in faces:
        cv2.rectangle(image, (x, y), (x + w, y + h), (0, 255, 0))

    cv2.imwrite("/tmp/camera" + str(i) + ".jpg", image)
    # cv2.imshow("Camera", image) # uncomment if using Virtual Desktop / VNC Viewer
    sleep(1)
    i += 1
Hardware Shopping List
- FREENOVE Hexapod Robot Kit with Remote
- Raspberry Pi 4
- Sumolink Mount Holder for Raspberry Pi HQ Camera Module
- GPIO Breakout Board + 37 Sensors Kit
- Dorhea for Raspberry Pi Camera Module Automatic IR-Cut Switching Day/Night Vision 1080p HD
- Astro Pi HAT
- VGE Battery Pack for Raspberry Pi 4, 4000mAh, 5V 2.4A, Adhesive (USB-C)
- 40-pin GPIO adapters & extenders
- 3600mAh Flat Top 3.7V 30A Flat Top Rechargeable Battery
- Universal Smart Battery Charger 4 Bay for Rechargeable Batteries with LCD Display
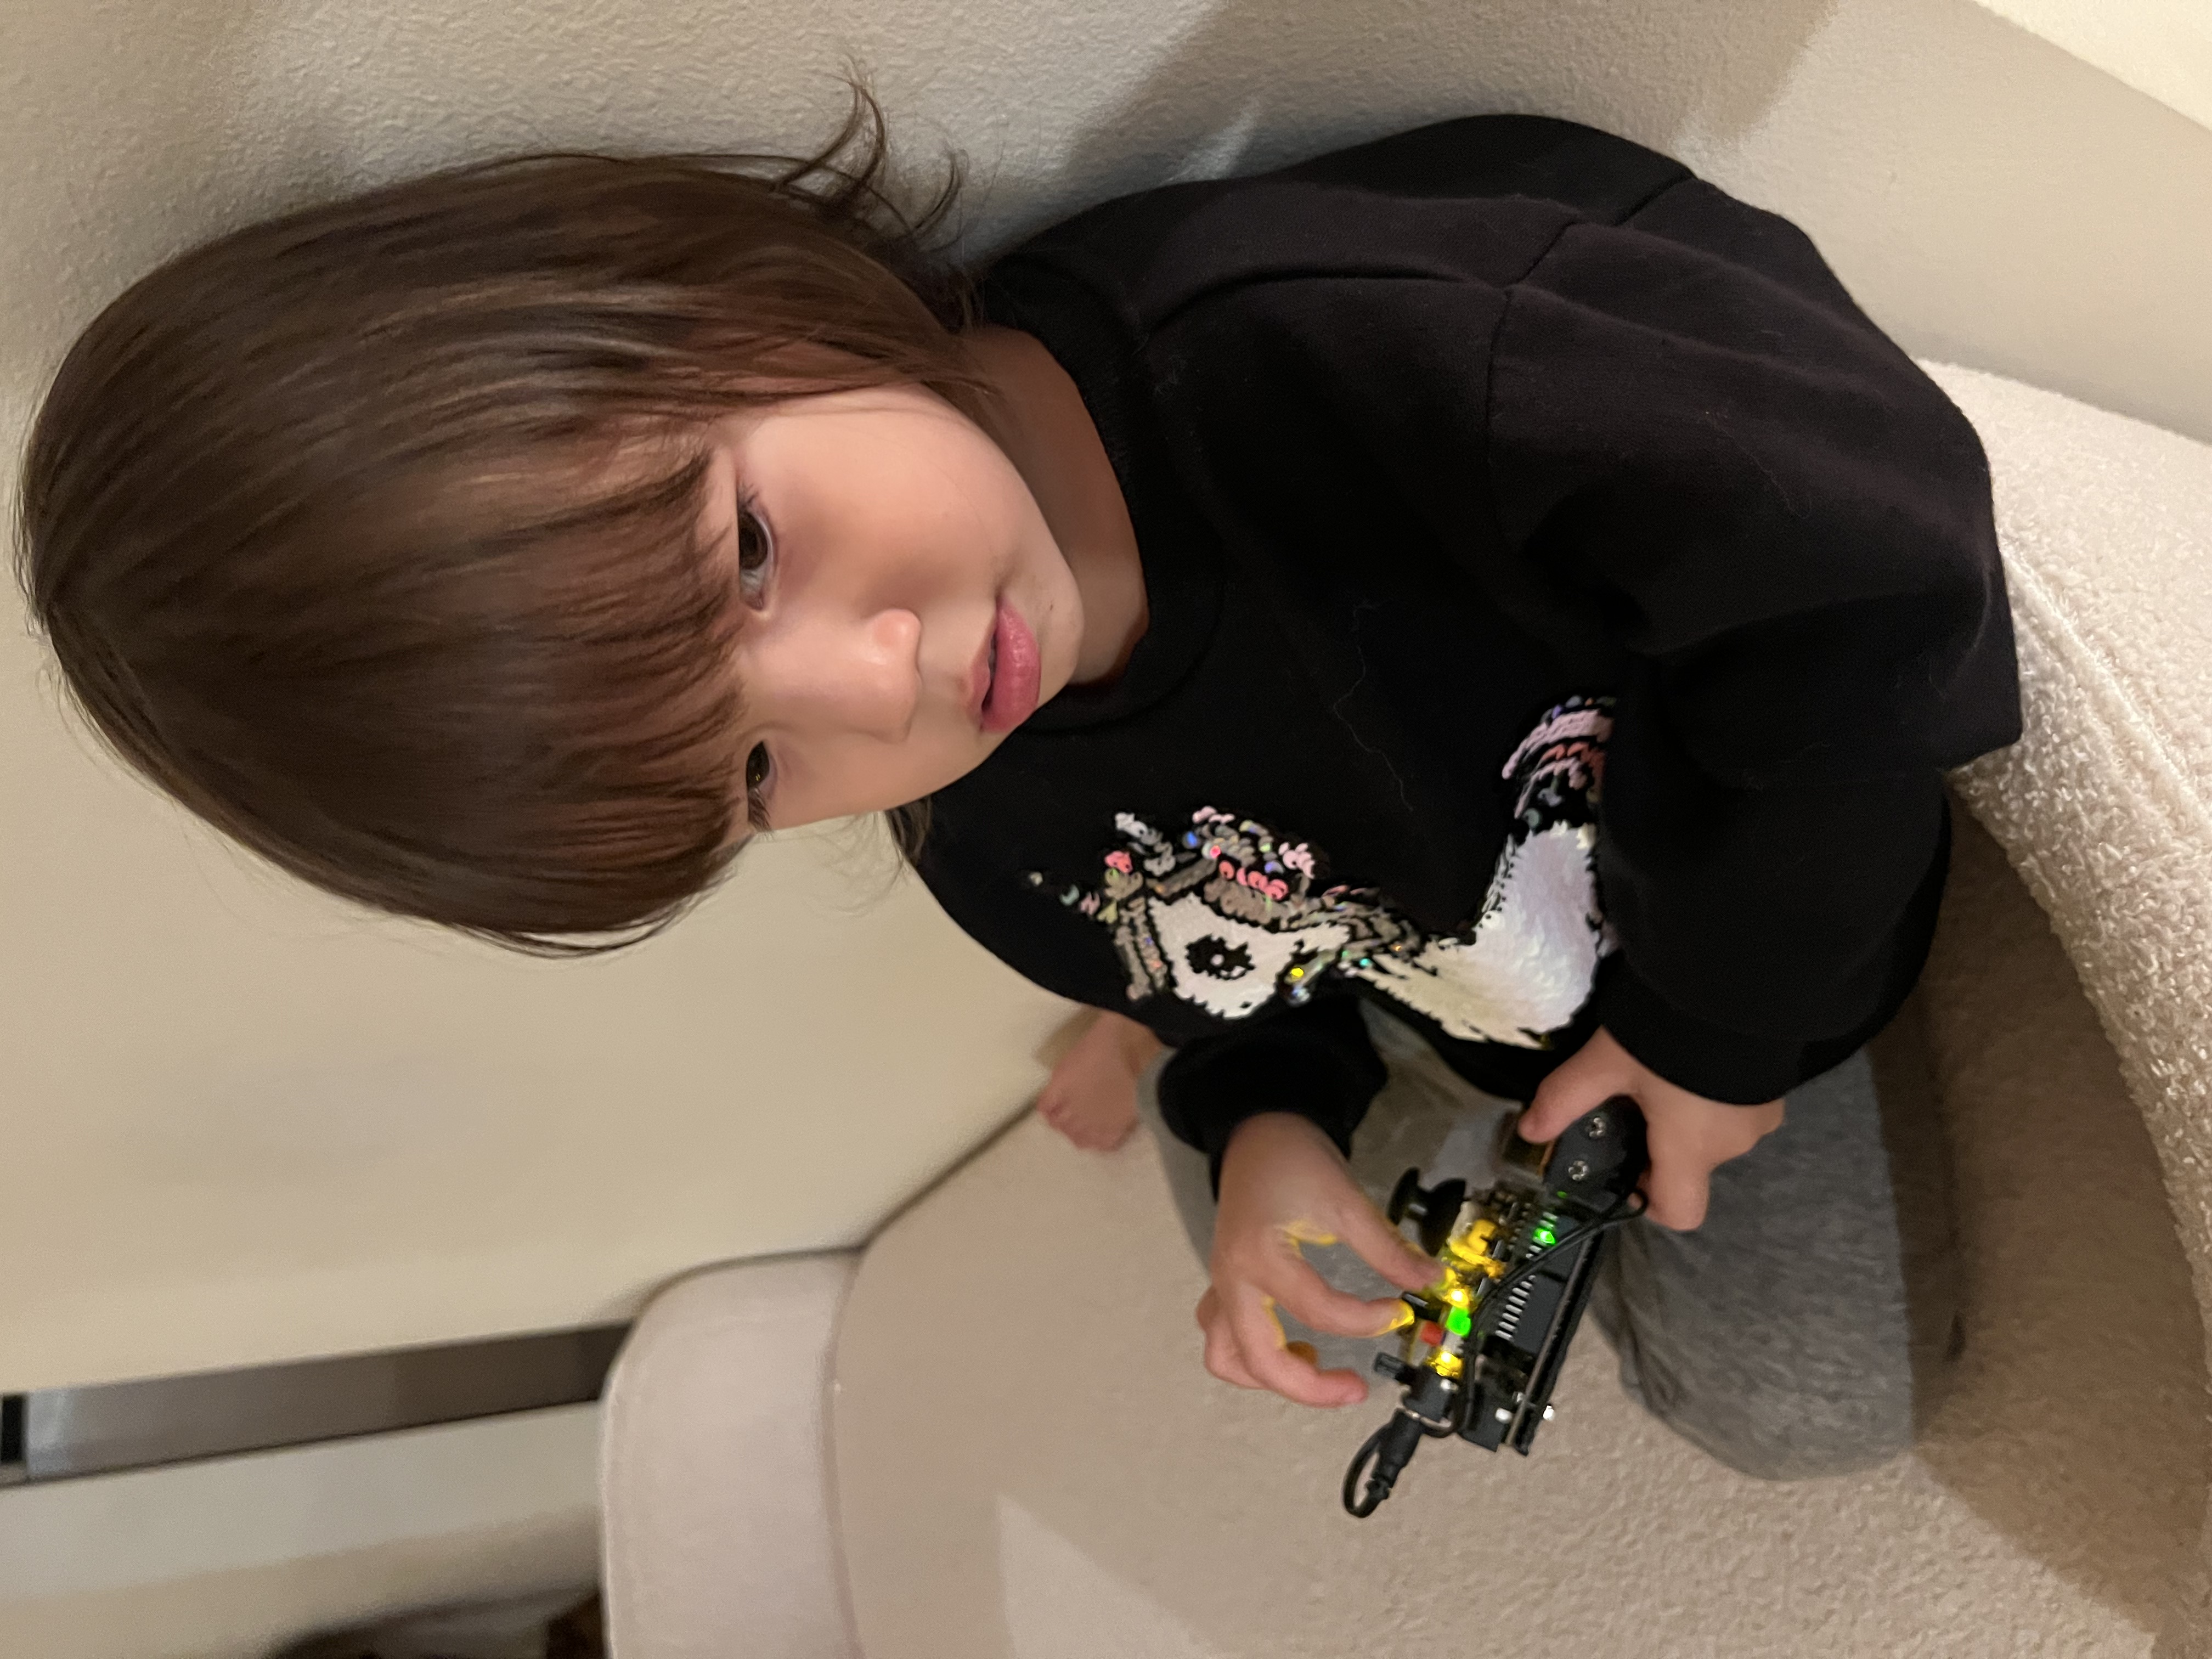
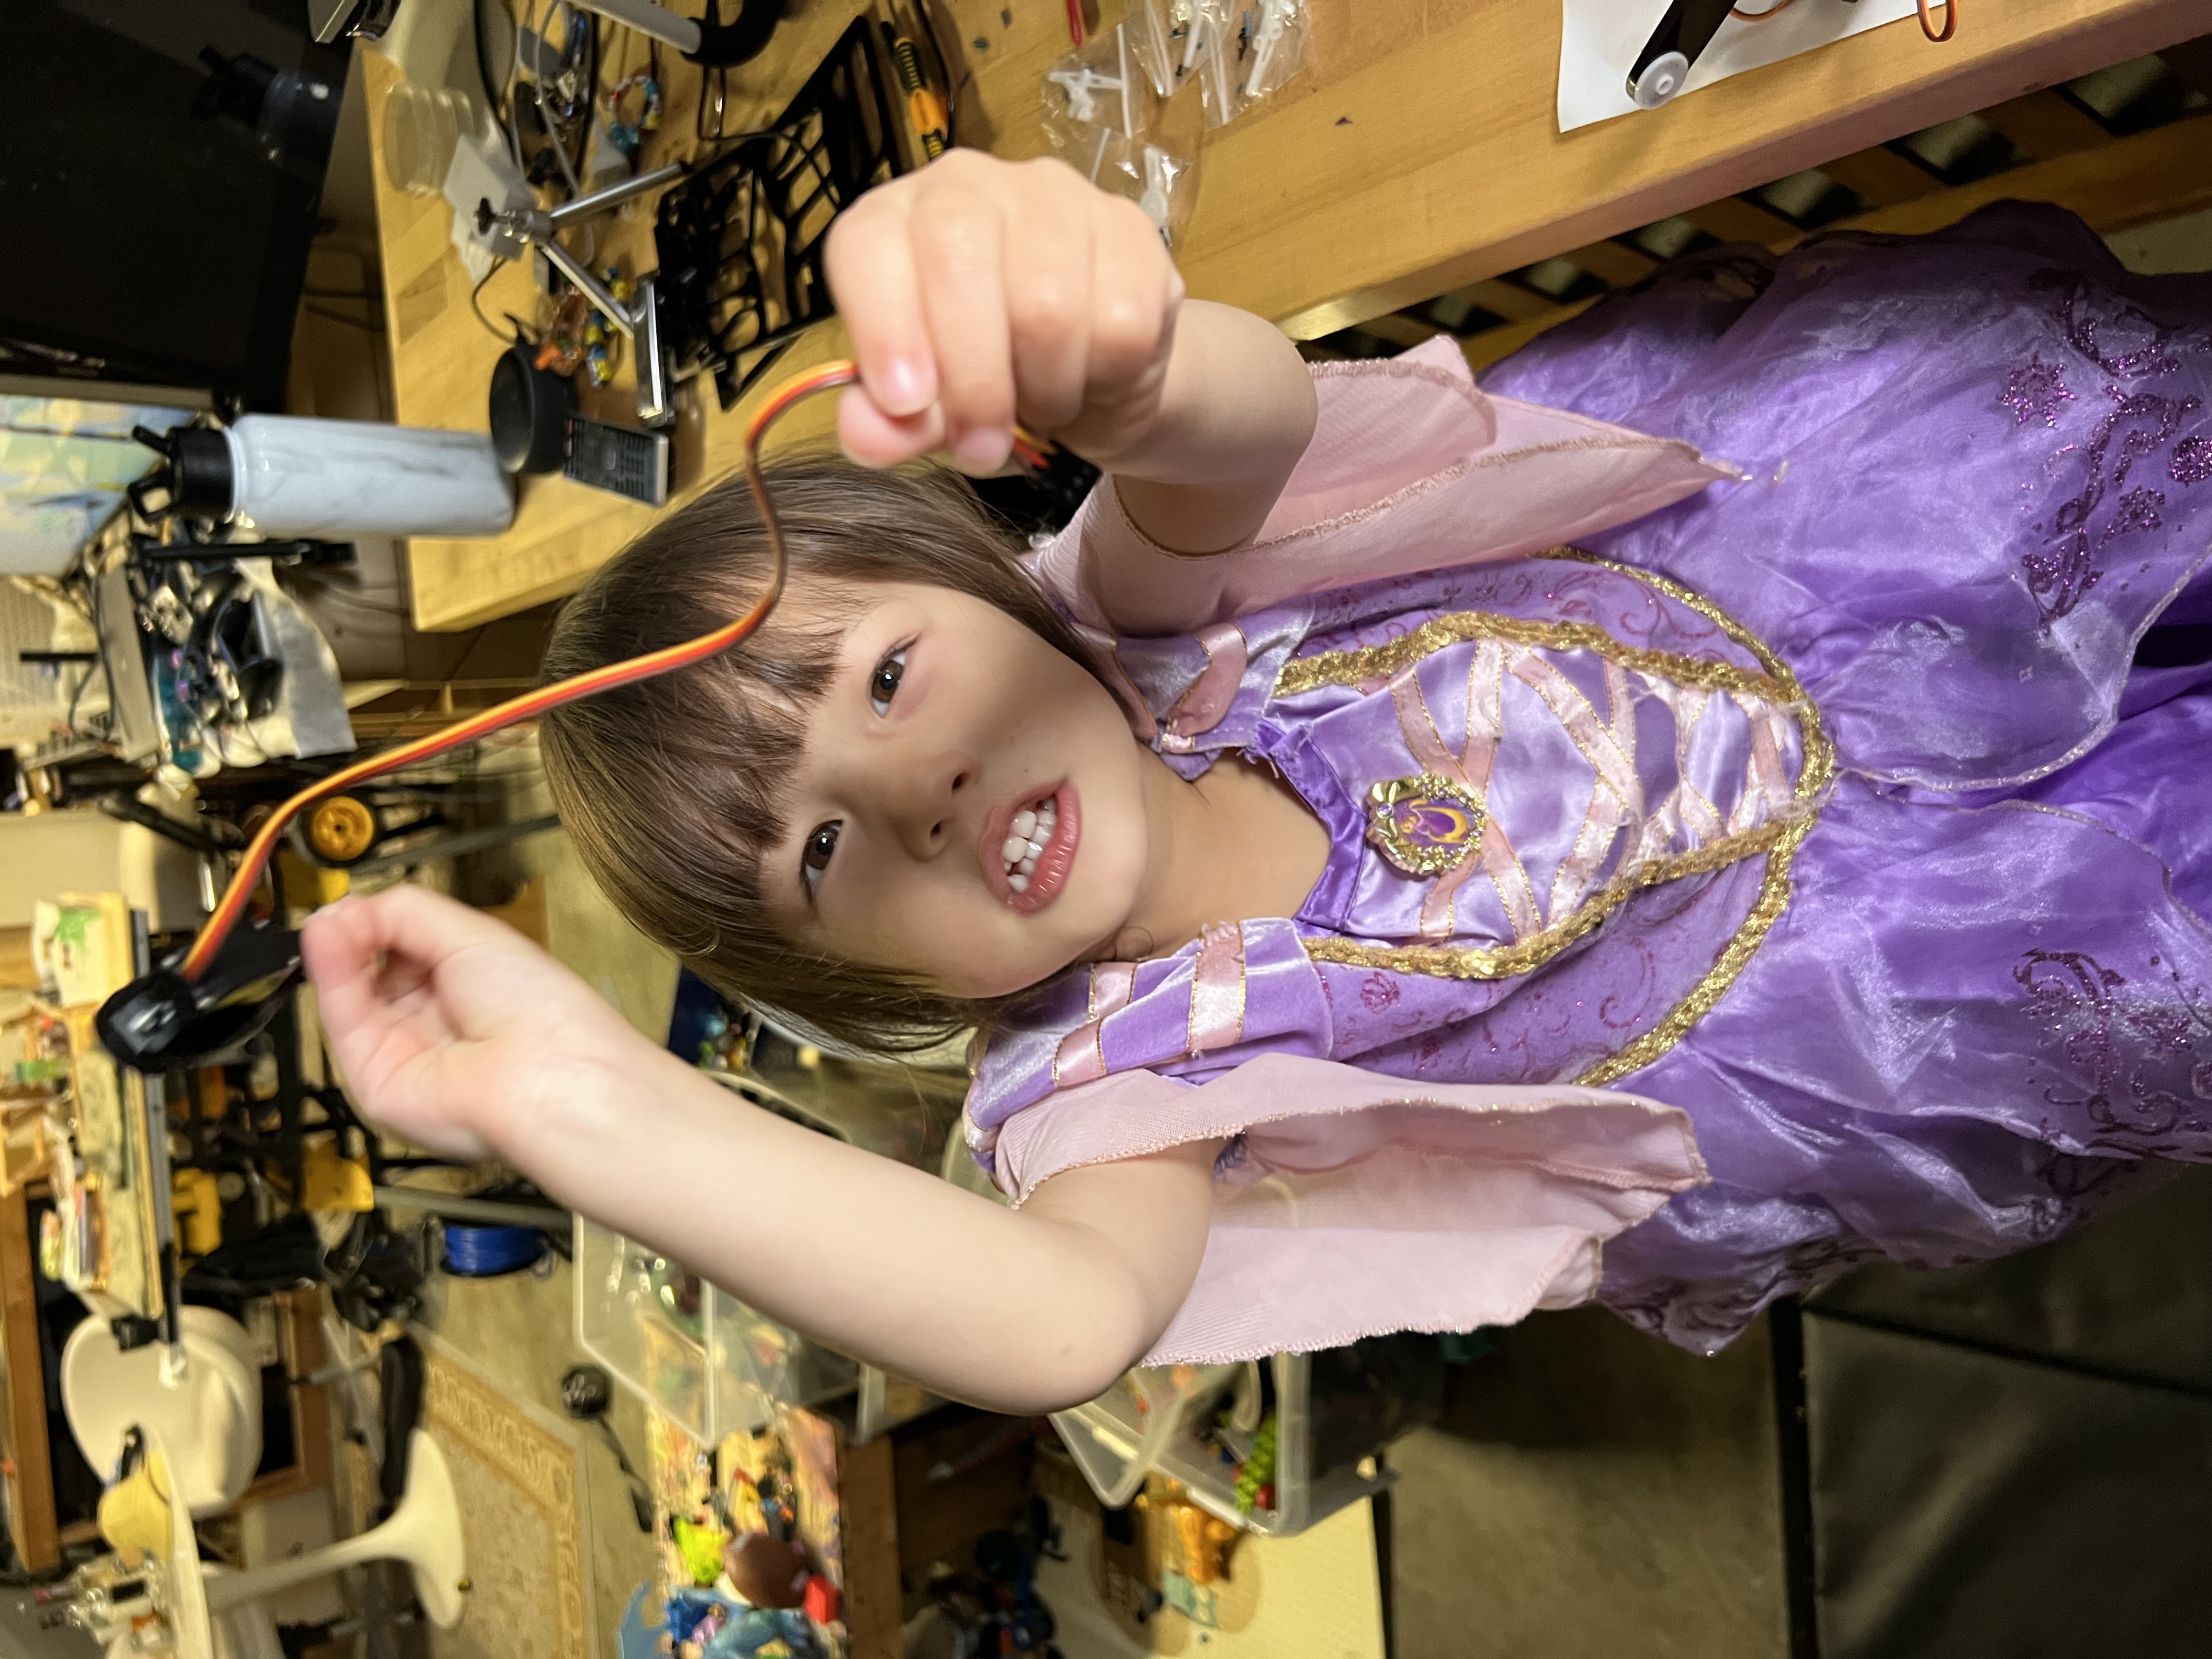
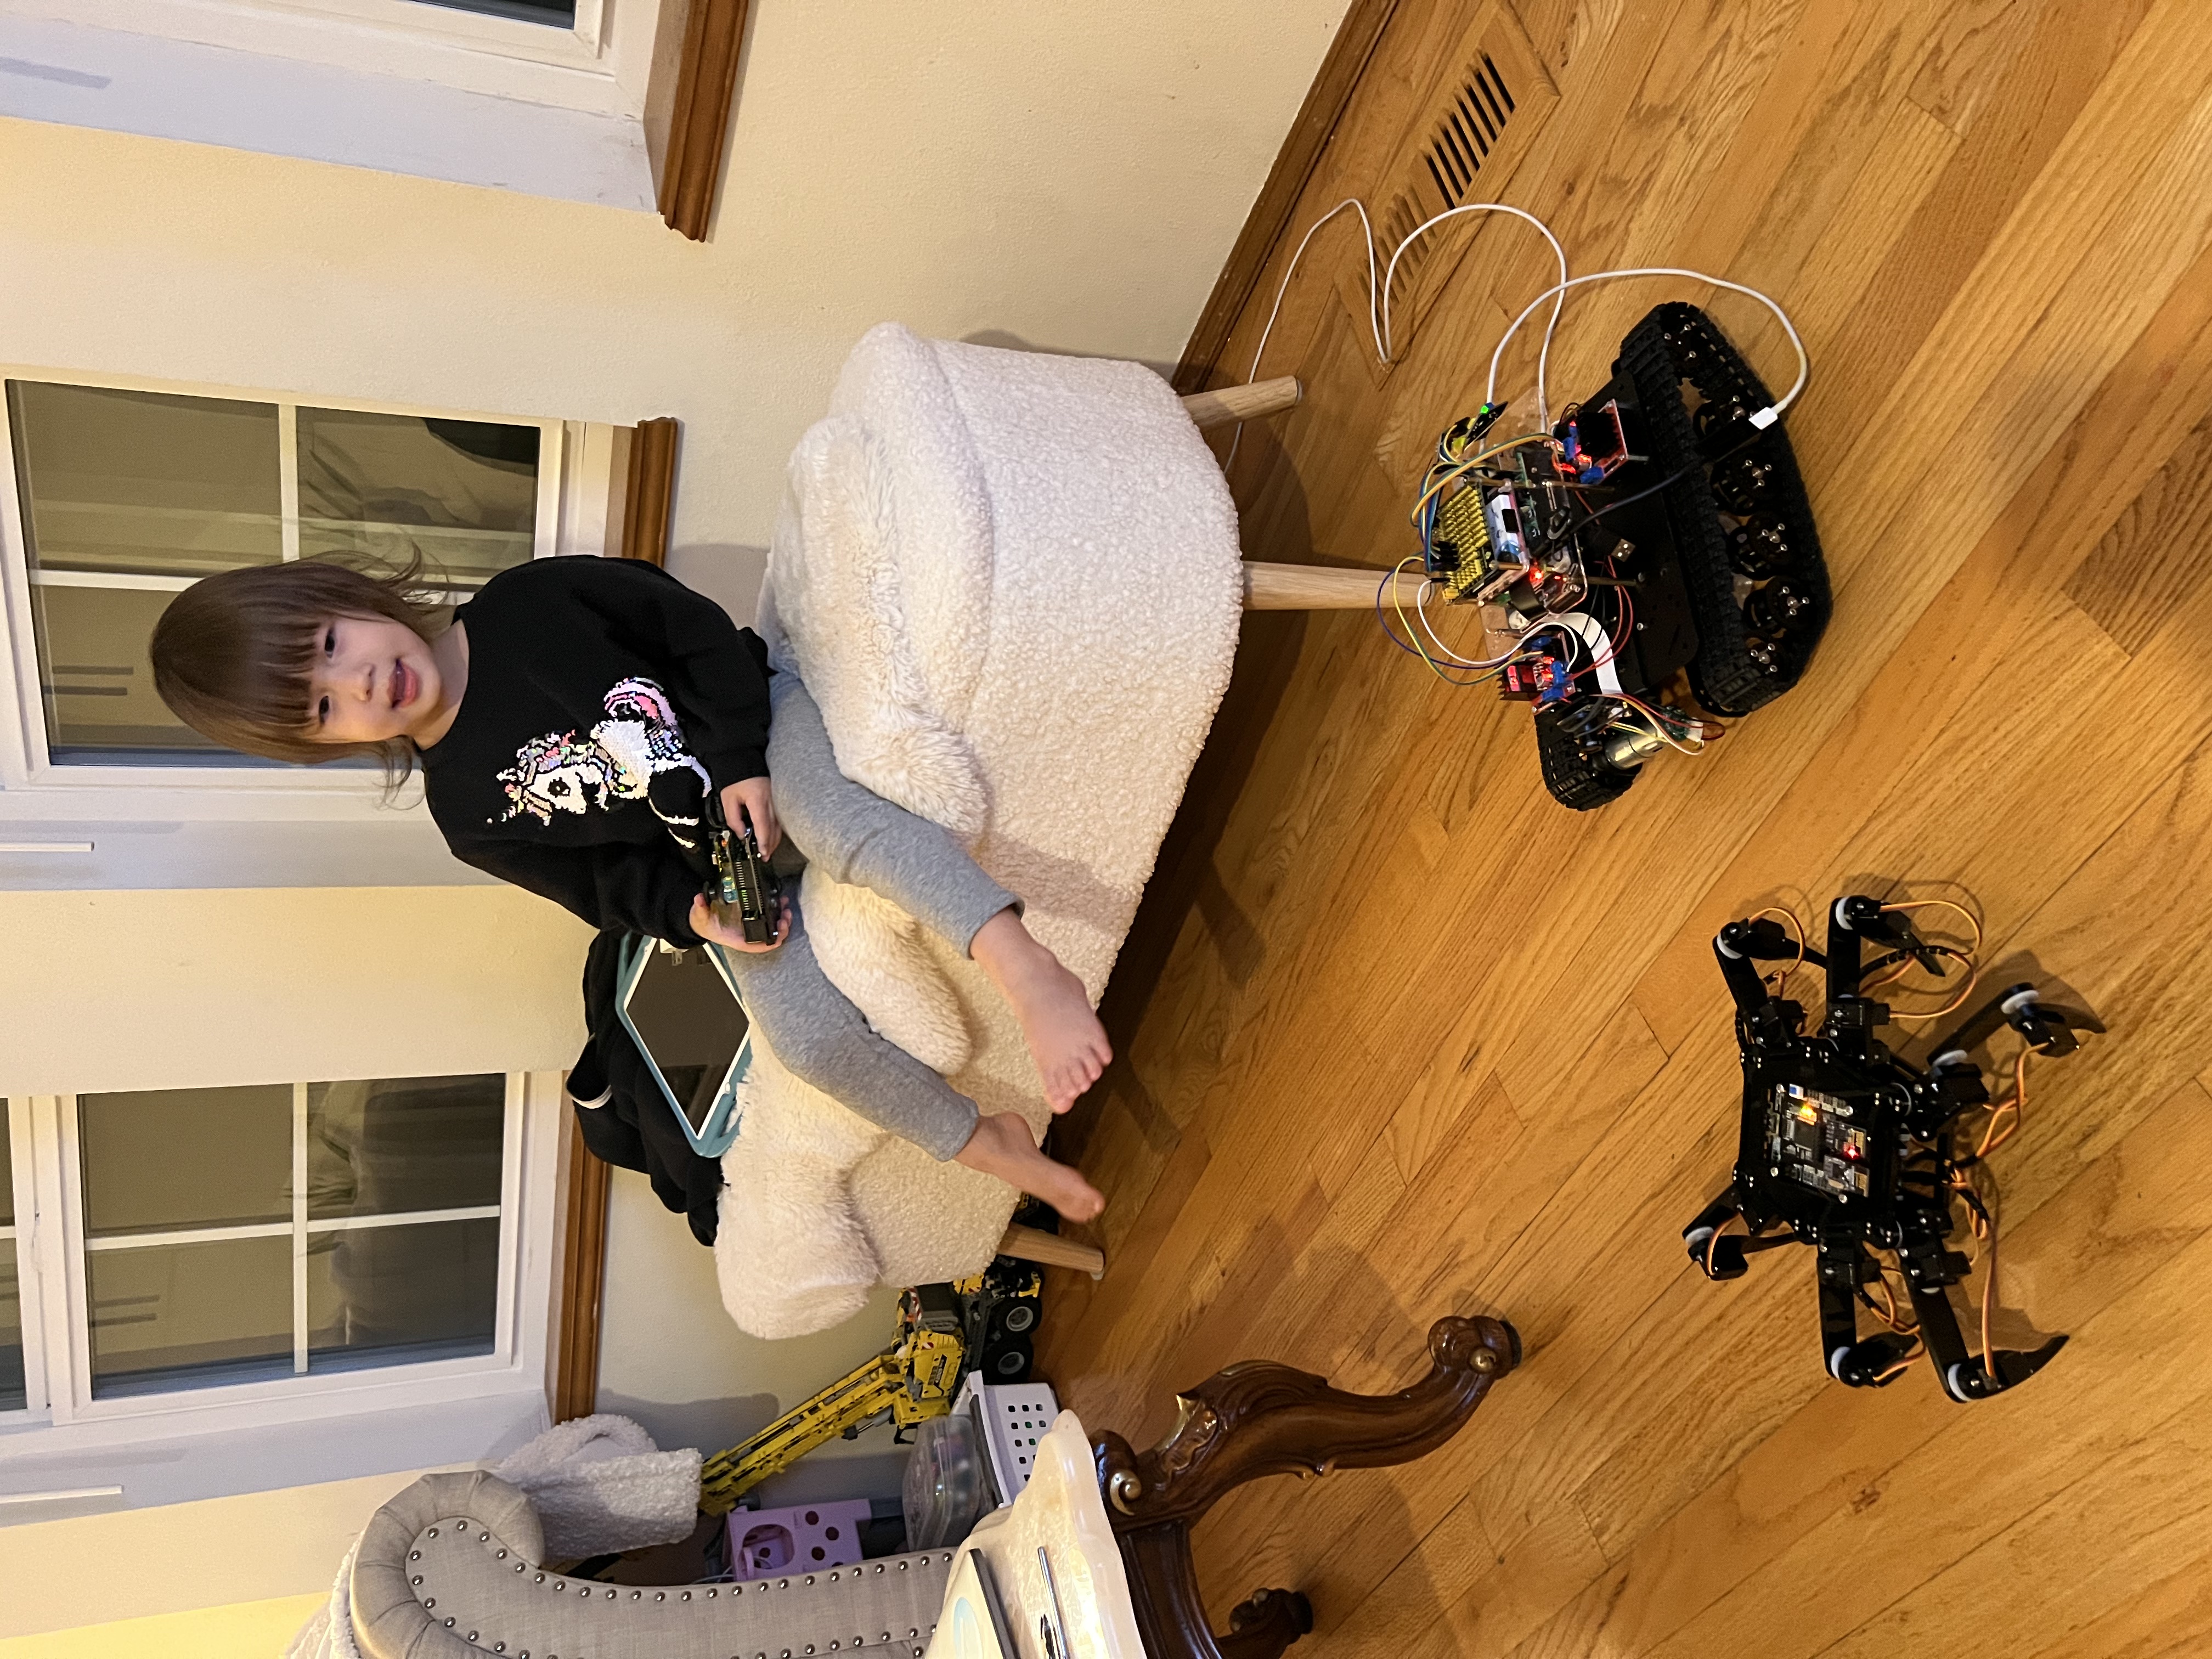 Scarlett playing with Spider Bot :)
 Arrived
 Ninja Turdle
 Twitch